
LED

|
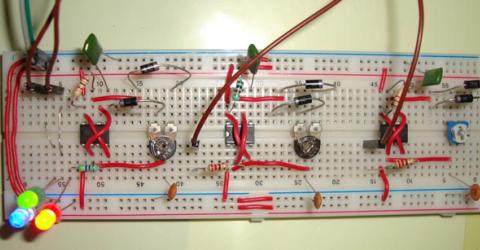
Emergency Light An emergency light is an integral part of household electronics nowadays. We all know an Emergency light is used during a power failure to light up the home. As it is used during a power failure, it should last long, hence generally bright white LEDs are used in emergency lights, because they produce more light and consume less power. Emergency light is a very useful… |
|
RGB Bulb All the colors can be made from Red, Green and Blue color (RGB), these are the basic three colors from which we can generate any color. By varying the amount of these three colors, many colors can be generated. In case of light, we can produce any color of Light by using the three basic lights i.e. Red, Green & Blue and varying the intensity of these three light. So our… |
|
LCD vs. LED Displays We often hear about LED and LCD displays without knowing the significant differences between both of them. Are you one of them who gets confused which one is the best to choose? Here in this article we are going to explore the difference between LCD and LED displays in a discreet manner and you must go through the whole article in order to come across this… |

|
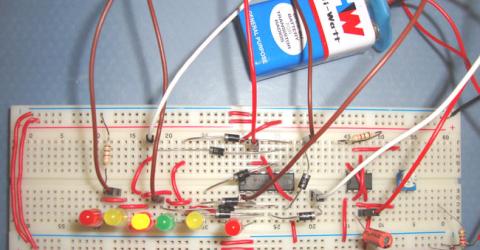
Digital Dice Circuit Dice can be used to play several games, such as Snakes and Ladders, Ludo, etc. Generally, dice are made of wood or plastic, which gets distorted over time and becomes biased. A digital dice circuit is an alternative to the traditional dice; it can’t be biased or distorted, and it acts so fast that nobody would be able to cheat. This guide will explain how to build a digital dice circuit… |
|
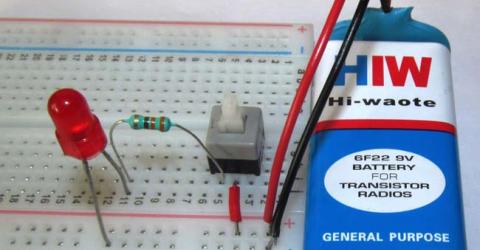
Dancing LEDs Dancing LEDs circuit is used for decorative purpose and looks very good when these LEDs glow in sequential manner. We can create many kind of Dancing LEDs patterns for decoration. In this particular circuit, we have created a pattern in which 6 LEDs are illuminating in forward and reverse order. To create this circuit we have mainly used 555 timer IC and 4017 IC. … |
|
Push ON Push OFF Button LED Circuit In this tutorial we are going to show you how to use a Push On-Push Off button by controlling an LED using it. For this, we are using a Self-locking Power Micro Push Button Switch. The switch we are using has double pole option or it’s a DPDT (Dual Pole Dual Throw) type switch. It has the capability to be used as both “normally open” and “normally closed” type switch.… |

|
Push Button LED Circuit In this tutorial, we are going to show you that how a push button works and how to use a push button in your circuit. Here, we are controlling a LED using Push Button. A Push Button is a type of switch which shorts or completes the circuit when it is pressed. It is used in many circuits to trigger the systems. A spring is placed inside it to take it back in initial or off… |

|
Simple LED Circuit Whenever we hear the name “Electronics”, the first thing which comes immediately in mind is LED and Resistor. LED and Resistors are the first few components which are introduced in the starting of Electronics subject in schools. So here we are building the simplest circuit in Electronics which is Glowing the LED using a Resistor and Battery. This is… |

|
Arduino Based LED Dimmer using PWM This LED DIMMER is an Arduino Uno based PWM (Pulse Width Modulation) circuit developed to get variable voltage over constant voltage. The method of PWM is explained below. Before we get start building a 1 Watt LED Dimmer circuit, first consider a simple circuit as shown in figure below. Now if the… |
|
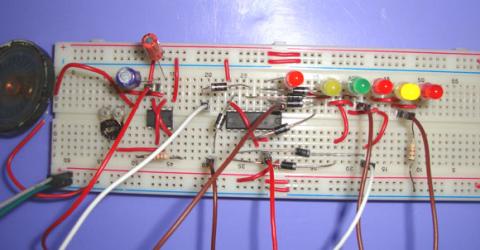
Clock with LED Pendulum and Tick Tock Sound Electronic clock with LED pendulum & tick tock sound produces Tick Tock sound every second and it has a LED pendulum in which 6 LED glow in forward and reverse sequence like a Pendulum, each LED glow in one second. This circuit is very useful and inexpensive. You can build your own clock which can be used in many applications like toys, robots etc. To create… |
|
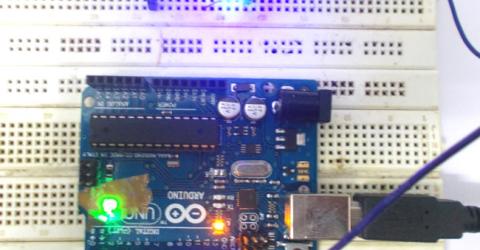
LED Blinking with Arduino Uno ARDUINO UNO is an ATMEGA controller based board designed for electronic engineers and hobbyists. Arduino based program development environment is an easy way to write the program when compared to other environment development programs. Components Required Hardware: Arduino uno board, connecting pins, 220Ω… |

|
LED Interfacing with 8051 Microcontroller LED interfacing is the first thing one would try to do while getting started with any microcontroller. So here in this tutorial, we are going to interface an LED with an 8051 microcontroller, and we will write a C Program to blink the LED. We have used a very popular microcontroller, AT89S52, of the 8051 family, by ATMEL. LED interfacing with 8051 microcontroller… |