
arduino
|
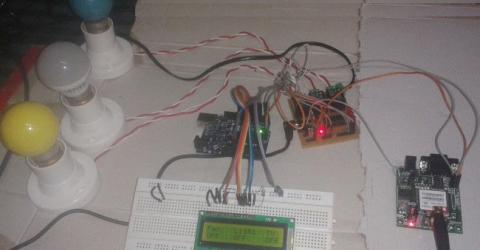
GSM Based Home Automation using Arduino Mobile phone is a revolutionary invention of the century. It was primarily designed for making and receiving calls & text messages, but it has become the whole world after the Smart phone comes into the picture. In this project we are building a home automation system, where one can control the home appliances, using the simple GSM based phone, just by sending SMS… |
|
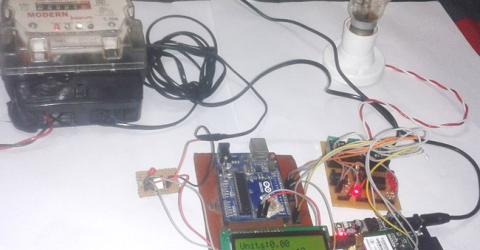
Prepaid Energy Meter using GSM and Arduino Prepaid Electricity Energy Meter is a good concept in which you can recharge its balance, like we do in our mobile phones. In this project we are building a automated system by using Arduino and GSM module. You can recharge the electricity balance through this system, just by sending a SMS. It can also disconnect the home power supply connection, if there is low or zero… |

|
Clap Switch using Arduino In this project we are going to make Clapper circuit using the concept of ADC (Analog to Digital Conversion) in ARDUINO UNO. We are going to use a MIC and Uno to sense the sound and trigger a response. This Clap ON Clap OFF switch basically turns ON or OFF the device, by using the clap sound, as switch. We have previously built Clap switch and Clap ON Clap OFF… |

|
Arduino vs Raspberry Pi: Differences between the two Arduino and Raspberry Pi are the most popular boards among the students, hobbyists and professionals. Experienced and professionals know the utility and differences between the two. But beginners and students often get confused between them, like which board to use for their project or which board is easy to learn or why should they use Arduino over Pi and vice versa. So… |
|
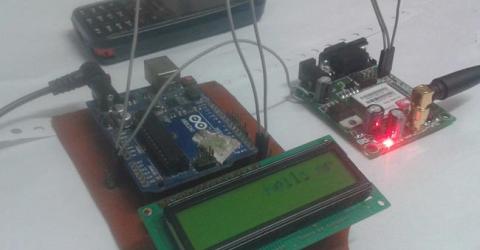
Wireless Notice Board using GSM and Arduino Wireless notice board is very selective term for this project, as it has a very wide scope rather than just being a simple notice board. First we should understand the purpose of this project, in this system we can display a message or notice to some display device like LCD, and this message can be easily set or changed from anywhere in the world, just by using the SMS… |

|
DIY 3X3X3 LED Cube with Arduino In this project we are going to design a 3x3x3 LED CUBE and connect it to Arduino UNO to get different patterns. For a beginner we will start with a simple pattern. A typical 3*3*3 LED cube connected to UNO is shown in the image above, the cube consists of 27 Light Emitting Diodes, these 27 LEDs are arranged in rows and columns forming a cube… |

|
IR Remote Controlled Home Automation using Arduino Previously we have covered many types of Home automations using different technologies like DTMF Based Home Automation, PC Controlled Home Automation using Arduino, Bluetooth Controlled Home Automation. In this project, we are using IR based wireless communication for controlling home appliances. In this project, Arduino is used for controlling whole the process. We send… |

|
Bluetooth Controlled Toy Car using Arduino After developing few popular robotic projects like line follower robot, edge avoiding robot, DTMF robot, gesture controlled robot, etc. in this project we are going to develop a bluetooth controlled robo car. Here we used a Bluetooth module to control the car, and it is also an android based application. Components Arduino UNO DC… |

|
Servo Position Control with Weight (Force Sensor) In this tutorial we will develop a circuit using Force sensor, Arduino Uno and a servo motor. It will be a servo control system where the servo shaft position is determined by the weight present on the force sensor. Before going any further let’s talk about about the servo and other components.
Servo Motors are used where there is a need for accurate shaft movement or… |
|
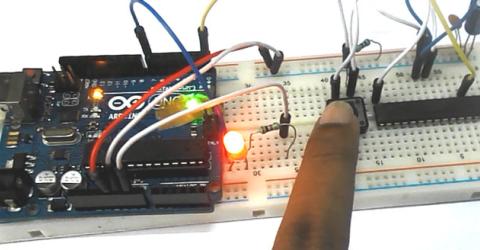
How to establish UART communication between ATmega8 and Arduino Uno? Here we are going to establish a communication between an ATmega8 microcontroller and Arduino Uno. The communication established here is UART (Universal Asynchronous Receiver Transmitter) type. It’s serial communication. By this serial communication data can be shared between two controllers, which is a required in various embedded system applications. … |
|
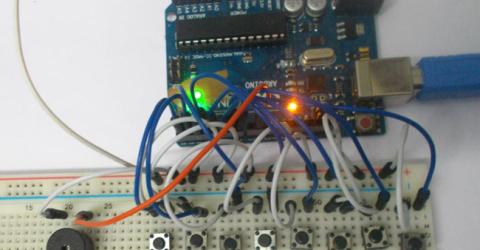
Arduino Based Tone Generator In this project we will develop a tone generator using Arduino Uno. We will have buttons interfaced with the UNO and each one of them generates different intensity of tone. The frequency of tone generated by the UNO is same at every internal. It’s the intensity of the sound which changes with each press. This is the one of the easiest way to make a piano with… |

|
Variable Power Supply By Arduino Uno In this tutorial, we will develop a 5V variable voltage source from Arduino Uno. For that, we are going to use ADC (Analog to Digital Conversion) and PWM (Pulse Width Modulation) features. Some digital electronic modules, like accelerometers, work on a voltage of 3.3V, and some work on 2.2V. Some even work on lower voltages. With this, we cannot get… |