
Raspberry Pi is the pocket sized computer having almost all the feature of a normal computer including USB port, LAN port, audio/video output, HDMI port etc. There are many official and unofficial third party operating systems are available for Raspberry Pi and we previously installed few of them on Raspberry pi like:
- Installing Raspbian on Raspberry PI
- Installing Android on Raspberry Pi
- Installing Windows 10 IoT on Raspberry Pi
Apart from them, as it has inbuilt Wi-Fi connectivity, Raspberry pi can be used to build many online servers like Webserver, Media server, Print Server, Plex server etc.
DietPi is one of the OSes which can be installed on Raspberry Pi for better and fast performance. As the name suggests, it is a light weighted operating system, and like Raspbian, DietPi is also a Debian-based operating system, but it is way lighter than Raspbian.
DietPi image file is of approx. 400 MB which is three times lighter than Raspbian lite. DietPi comes with ‘DietPi-Software’ tool that has "ready to run" and optimized software for your device. Diet Pi software has hundreds of popular software like Kodi, Goole AIY, Node-RED, etc. It has the following features:
- DietPi is an extremely lightweight Debian OS. It is three times lighter than 'Raspbian Lite.'
- DietPi is highly optimized for minimal CPU and RAM usage, ensuring that it can operate on any SBC.
- DietPi have a very simple interface. It uses lightweight Whiptail menus.
- In DietPi, you can quickly and easily backup or restore your operating system.
- In DietPi you can easily install all popular software’s using ‘DietPi-Software’.
Components Required
Hardware
- Raspberry Pi
- SD Card (At least 8GB)
- USB Keyboard
- HDMI Cable
- Monitor
Software
- Diet-Pi SD Image file
- Etcher
Here, we have used a Monitor with Raspberry Pi. But if you don’t have monitor, you can setup it in headless mode and use SSH to access it. Learn more about setting up Raspberry Pi headlessly here without a monitor or if you are new to Raspberry Pi then follow this article to get started with Raspberry Pi.
Download DietPi
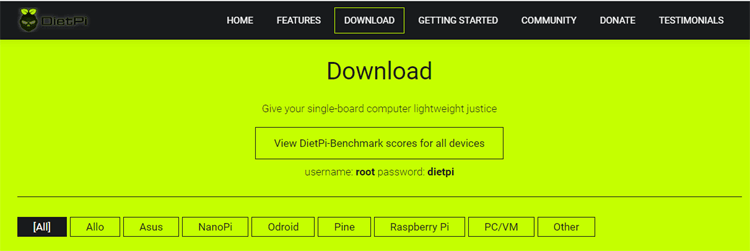
You can download the Diet-Pi image file from its website; it’s free to download and use it. To download the image file, navigate to https://dietpi.com/#download and click on ‘Download.’
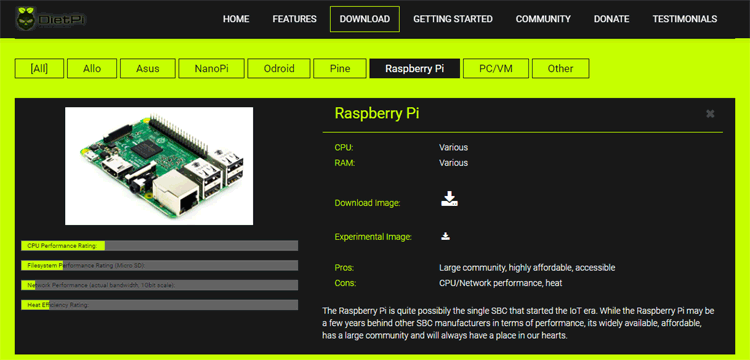
Now select Raspberry Pi and download the image file. This image supports all versions of the raspberry pi.
It will be downloaded as a 7z zip file so use 7zip for Windows to unzip it.
Download Etcher
balenaEtcher is a free and open-source utility used for burning image files such as .iso, .img files and zipped folders to create live SD cards and USB flash drives. You can download Etcher from here.
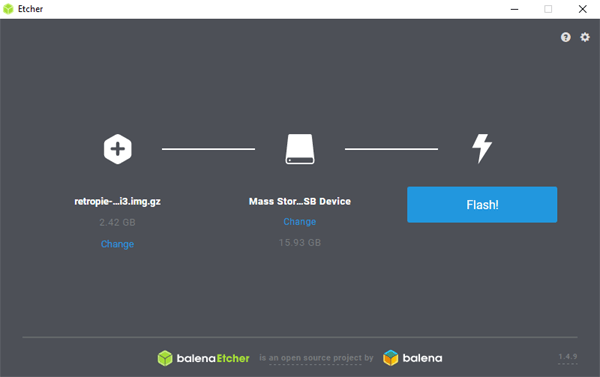
To flash the image file onto an SD card select image file. Now attach your SD card to the computer using SD card reader. Etcher will detect it automatically. Now click Flash to write the image file to the SD card.
Boot Your Raspberry Pi
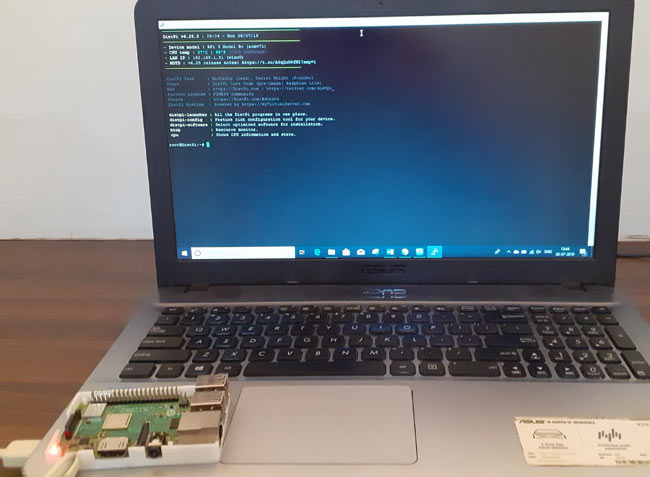
Insert the SD card that you just burned, and attach other peripherals to Raspberry Pi (Keyboard, Monitor, and Mouse) then turn on the Raspberry Pi. Your Pi will boot now. When it's done, Log in using the default username and password. If you don’t have monitor the setup the Raspberry Pi in headless mode.
Username: root
Password: dietpi

After the first login, the Diet pi will automatically update all of its packages, and for that, you have to connect it with the internet. You can use Ethernet or connect the Pi with Wi-Fi.
To set up Wi-Fi run the following command in terminal:
dietpi-launcher
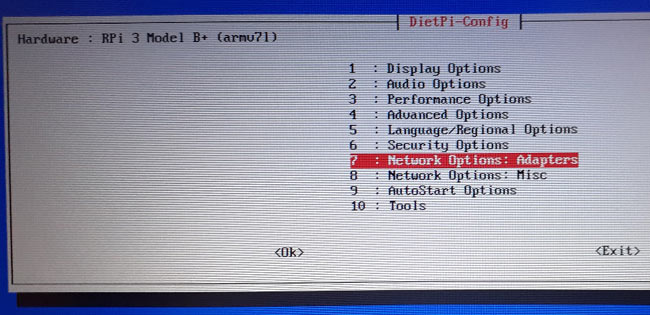
After this, a menu with diet pi tools will appear. Select DietPi-Config.

In the next window select ‘Network Options: Adapters’
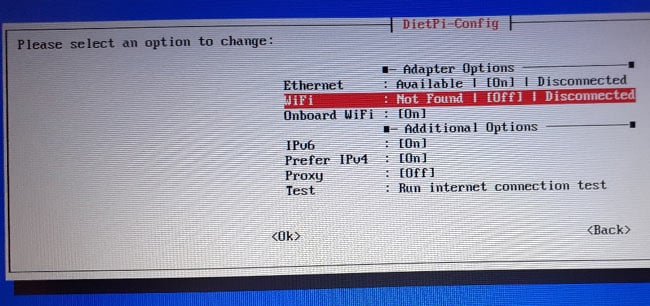
After that select ‘Wi-Fi,’ then scan for the available networks, choose your network and enter the access key/password. Now Diet-Pi is connected with Wi-Fi. Reboot the Pi.
After reboot, it will automatically update its packages. Finally, you have a fully functioning DietPi device.
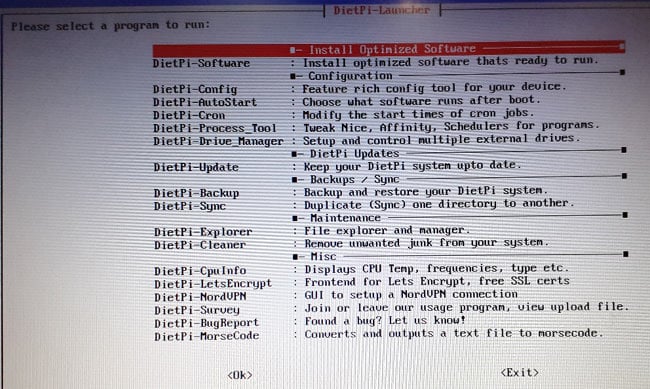
Introduction to DietPi Tools
DietPi has a lot of useful Tools. To access these tools, run the "dietpi-launcher" on a command line utility.
These tools can be run on a command line utility too. Use the name of the tool as a command; for example, you can access DietPi-Software using the following command:
DietPi-Software
Here’s the quick introduction about each of the tools below.
DietPi-Software
It is used to install optimized software for the DietPi. You can check all the available softwares here.
Dietpi-config
This script is used to configure hardware and software settings. Using this tool, you can change the Display, Audio, Performance, and Network settings.
Dietpi-autostart
Using this tool, you can specify how you want your DietPi to boot up. For example, you can set your Pi to boot into the desktop with Kodi running.
DietPi-Cron
DietPi cron is used to change the date and time for starting each cron job. If you want to run a script at a specific time, put it under the "/etc/cron.daily/." directory and set the time at which you want to run it.
DietPi-Drive_Manager
This tool is used for drive management. Using this tool, you can manage storage devices such as SD card, USB drive, etc. You can format these devices and mount these devices with this tool.
DietPi-Update
Using this tool, you can update your DietPi to the latest version as simple as one-click.
DietPi-Backup
Using this tool, you can quickly and easily backup or restore your operating system. You can find the backup files under the "/mnt/dietpi-backup" directory.
Dietpi-explorer
This tool is used to load a lightweight file manager and explorer.
DietPi-Cleaner
This tool is used to clean up junk from the operating system. It allows users to select the files to be removed.
DietPi-BugReport
This tool is used to send a bug report to DietPi. So you can use this command whenever you have issues with DietPi.
So this was a step-by-step tutorial about installing DietPi on Raspberry Pi. I hope this tutorial has given you a good overview of DietPi installation, its features and tools.
Check the complete procedure to install DietPi in Raspberry Pi in below video.
