Arduino has become the most popular Microcontroller among students and hobbyists in very less span of time. So everyone try to use Arduino to make any project, as it is easy and having smooth learning curve. We have created many Arduino projects from basic interfacing projects to advanced robotic projects and IoT projects, you can check all of them in our website.
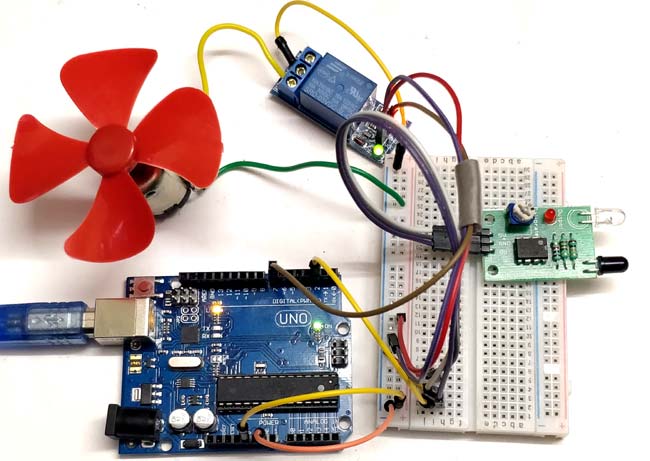
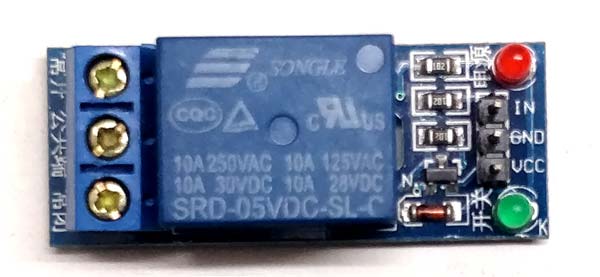
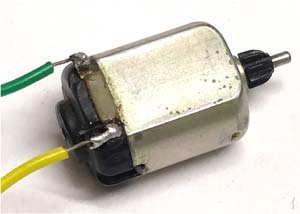
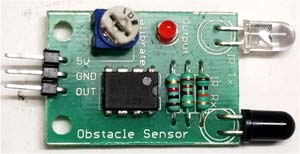
Today we are making a simple project with Arduino which uses three basic components that are IR Sensor, Relay Module and DC Motor. Here we will interface IR sensor with Arduino to control DC Motor. Here IR sensor will detect any object in front of it and Arduino will read the IR Sensor’s output and make the Relay High. Relay is further connected to DC Motor, so DC Motor will be ON whenever IR Sensor Detects any objects in front it.
Required Components:
- Arduino UNO
- 5V-relay module
- DC motor
- IR sensor module
- Breadboard
- Connecting wires
Circuit Diagram and Explanation:
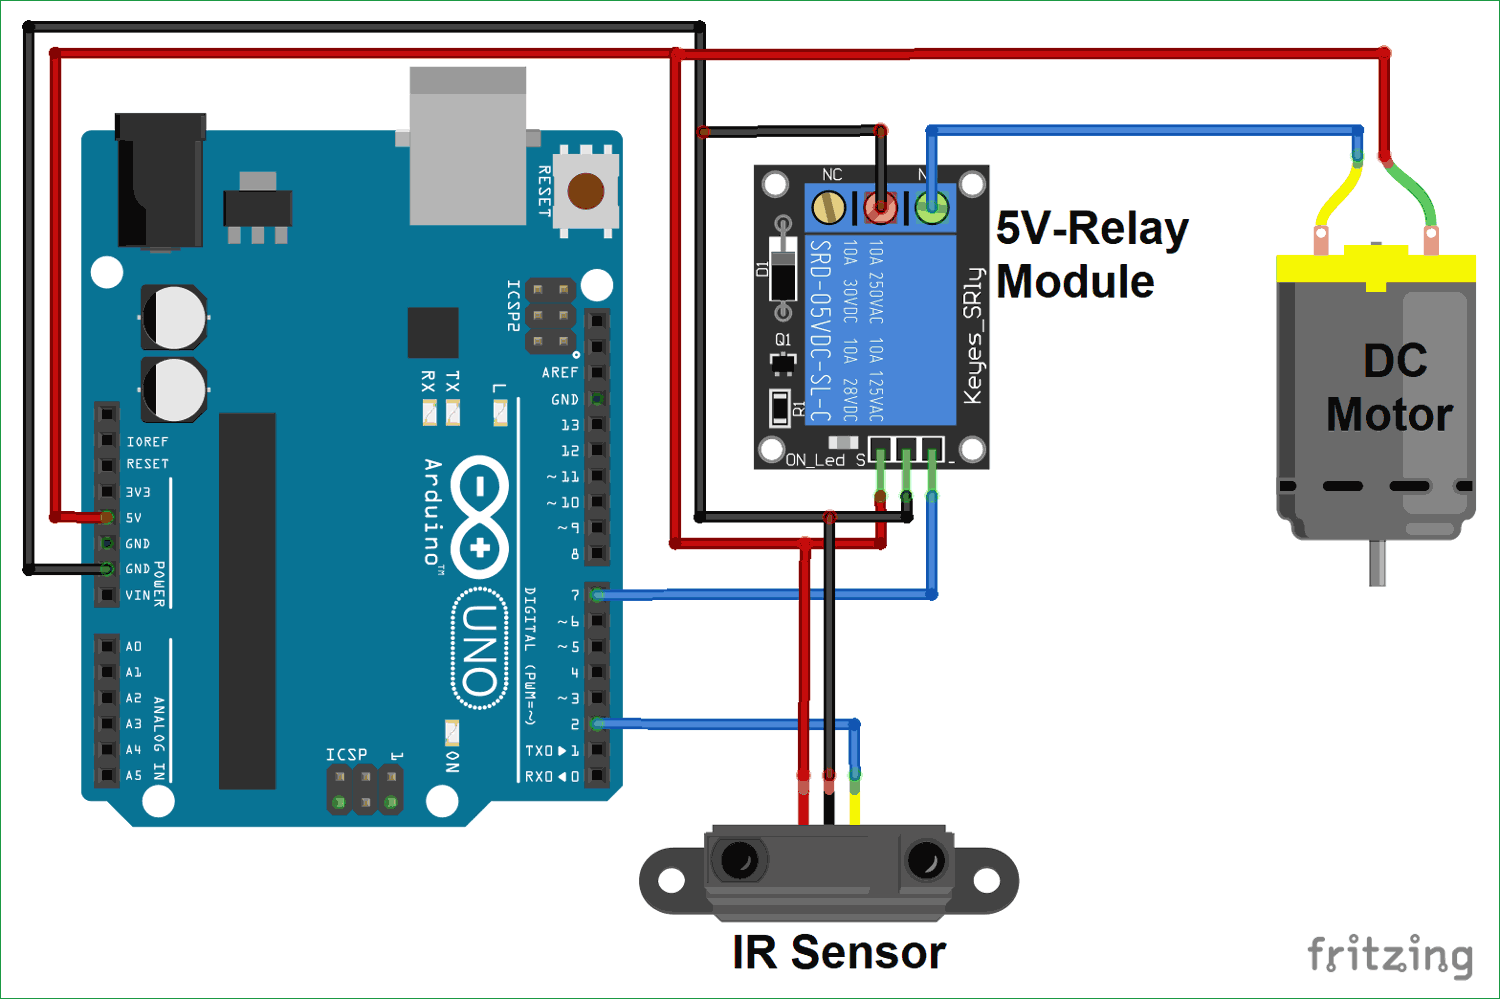
Circuit of this IR Sensor controlled DC Motor with Arduino is simple as shown below:
In circuit, IR sensor Module output pin is simple connected to the Pin 2 no of Arduino and Relay Module’s input is connected to Pin 7 no of Arduino. Further a DC Motor is connected to the Relay.
To learn more about IR Sensor, Relay and DC Motor, you can go through following projects:
- IR Sensor Module Circuit
- Arduino Relay Control Tutorial
- DC Motor Control using Arduino
- Arduino IR Sensor tutorial
Code Explanation:
Code for this project is very simple. Complete Arduino Code with Demo Video is given at the end.
Here we have connected IR sensor output pin to Pin 2 of Arduino. So whenever IR sensor detects any objects Pin 2 of Arduino will be high and based on that Relay will be turned on which is connected to Pin 7 of Arduino.
void setup() {
pinMode(2,INPUT);
pinMode(7,OUTPUT);
Serial.begin(9600);
}

void loop() {
  if (digitalRead(2) == 1)
{
  Serial.println(digitalRead(2));
  digitalWrite(7,HIGH);
}
Working of IR controlled DC Motor with Arduino:
When there is no object near IR sensor, the output of IR sensor will remain low and DC motor will also remain in Off state. The sensitivity of IR Sensor can be adjusted using the potentiometer on the module itself. Sensitivity simply means the distance from which it can detect the object.
Complete Arduino Code and demo Video for the project are given below.
Complete Project Code
void setup() {
pinMode(2,INPUT);
pinMode(7,OUTPUT);
Serial.begin(9600);
}
void loop() {
  if (digitalRead(2) == 1)
{
  Serial.println(digitalRead(2));
  digitalWrite(7,HIGH);
}
else{
    digitalWrite(7,LOW);
    }
}



I'am trying to do this project. I've given all the wiring connections but the DC motor is not getting power. Please give a solution. Thanks in advance.