
Raspberry Pi

|
Interfacing I2C LCD and 4 x 4 keypad with Raspberry Pi zero W The Raspberry Pi Zero W is the new and improved upgrade of Raspberry Pi Zero family. In this getting started series for Raspberry Pi Zero W, we have previously controlled an LED with Pi GPIO, interfaced a 3.5-inch TFT display with Raspberry Pi Zero W and in this tutorial, we are going to interface I2C 16x2 LCD and 4x4 keyboard with Raspberry Pi zero W. Throughout… |

|
Interfacing 3.5 inch TFT LCD Display with Raspberry Pi Zero W In this tutorial, we are going to interface a 3.5-inch TFT display with Raspberry Pi Zero W development board. Although Raspberry pi zero itself has an HDMI output that can be directly connected to a Monitor, but in projects where space is a constrain, we need smaller displays. This TFT touch screen display can be easily interfaced to the Raspberry Pi to display… |

|
Home Automation using Node-RED and Home Assistant on Raspberry Pi Ever wondered why do you need Node-RED with Home Assistant? It looks like that both Home Assistant and Node-RED do the same things but they excel in different areas. Home Assistant’s main power is its ability to interface and control any smart device existing at the moment. The main method of creating automation in Home Assistant is by using… |

|
Raspberry Pi Based Open-Source KVM over IP lets you Remotely Manage your Servers and Workstations If you are the Systems Engineer or someone who often has to remotely access your workstation or server, you must have used apps like TeamViewer, Anydesk or other VPN methods to control your PC remotely. These apps undoubtedly solve the purpose but you need to manually go and switch on your system as these apps are incapable of rebooting or accessing your BIOS, let alone… |

|
Basic GPIO Control on Raspberry Pi Zero W – Blinking an LED In our previous tutorial Getting Started with the RASPBERRY PI ZERO, we had an overview Raspberry Pi zero W and setup the Pi Zero. In this tutorial we are going to design a simple LED circuit and control it with the Raspberry Pi Zero W by connecting the circuit to its GPIO pins. So lets discuss the basics of the GPIO (general purpose… |
|
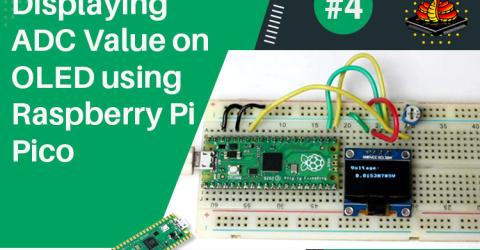
ADC on Raspberry Pi Pico using MicroPython - Reading ADC Value and Displaying on OLED Display Module We are here with yet another tutorial of the Raspberry Pi Pico. If you are following our Raspberry Pi Pico tutorial series, then you already know the basic setup and how to interface an OLED display module with the Raspberry Pi Pico. In this tutorial, we will use the Pico board to perform an ADC conversion. The Raspberry Pi Pico has four 12-bit ADC channels, but one of them… |
|
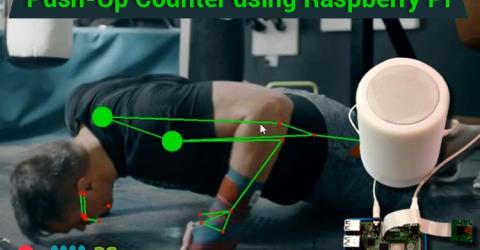
Push-Up Counter using Raspberry Pi and MediaPipe Human pose estimation technology is becoming increasingly popular due to the recent growth and popularity of Virtual and Augmented Reality. In our previous tutorial, we used Media pipe Hand Tracking module to control Raspberry Pi media player using hand gestures. In this project, we are going to use the MediaPipe Pose estimation package to build a push up counter. We will be… |

|
Getting Started with the RASPBERRY PI ZERO W – Headless Setup without Monitor Raspberry Pi zero W is an affordable and compact derivative of Raspberry Pi but if you attach Raspberry Pi zero W with monitor, keyboard, and mouse, it takes up a lot more space. There's no need to connect Reaspberry Pi to a display or input devices if you're only trying to program it or using it to operate electronics like lights, motors, and… |
|
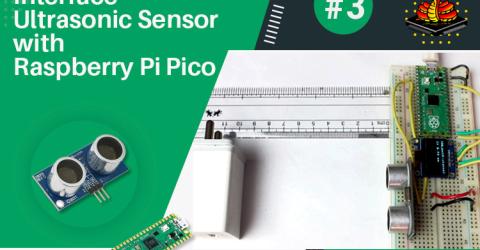
Interfacing Ultrasonic Sensor with Raspberry Pi Pico and Displaying the distance on OLED display Using MicroPython If you are following our Raspberry Pi Pico tutorial series, then you must have read the tutorial on how to interface an OLED display module with a pico board in which we measured the ADC value from the ADC channel of the pico board. In this tutorial, we will interface an ultrasonic sensor with the pico board and we are going to measure the… |

|
Kryptor: Single-chip Hardware Security Module for Embedded Systems Kryptor is a single-chip, easy-to-use, plug-and-play encryption solution for your embedded systems. This Max10 FPGA-based tool is a hardware security module (HSM) for processors supporting serial interface communication, a perfect security solution for boards like Raspberry Pi, Arduino, and BeagleBone. Advantages of Kryptor FPGA BoardThe… |
|
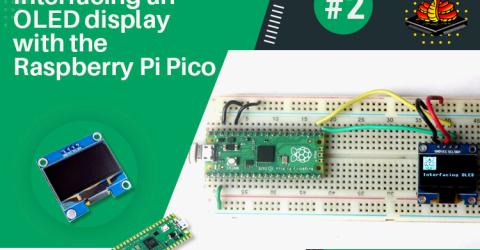
Interfacing an OLED Display with the Raspberry Pi Pico Using Micropython In this tutorial, we are going to interface an OLED display module with the Pico board. You will be able to perform an I2C communication on Raspberry Pi Pico at the end of this tutorial. Here, we are going to display some strings on an OLED display by using Micropython. We already have some articles and projects on the Interfacing of the OLED display. You can refer to those… |

|
Getting started with Home Assistant & Raspberry Pi: Control and Automate Smart Devices With the Internet of Things taking over the lives, home automation is becoming more and more common. Home automation can include the scheduling and automatic operation of lighting, heating, cooling, window blinds, security systems, and other devices. There are many home automations platforms available that allow vital home functions to be controlled remotely from anywhere in… |