
By Gautham Chenoth Praveen
I created Memento-Flex, a flexible camera designed specifically for students.It is a programmable camera that changes its "brain" depending on what you need to do. Instead of buying a separate expensive camera for photography and a separate sensor for scientific work, this one device does both.
The Three Modes
- Creative Mode: A "fun" camera for personal use that applies vintage, lo-fi filters (like the GameBoy look) to your photos.
- Scientific Mode (AI Powered): This acts as a scientific assistant. It takes a photo of a circuit or a random thing and uses AI to identify components or explain what is infront of the user.
- Field Mode: A ruggedized monitor that stays outside.It takes photos at specific intervals set by the user.
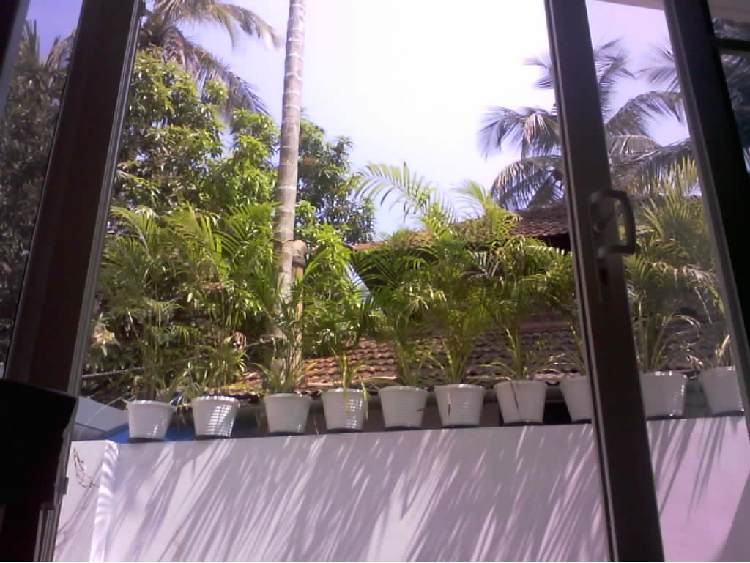
Some Images captured using Memento-flex

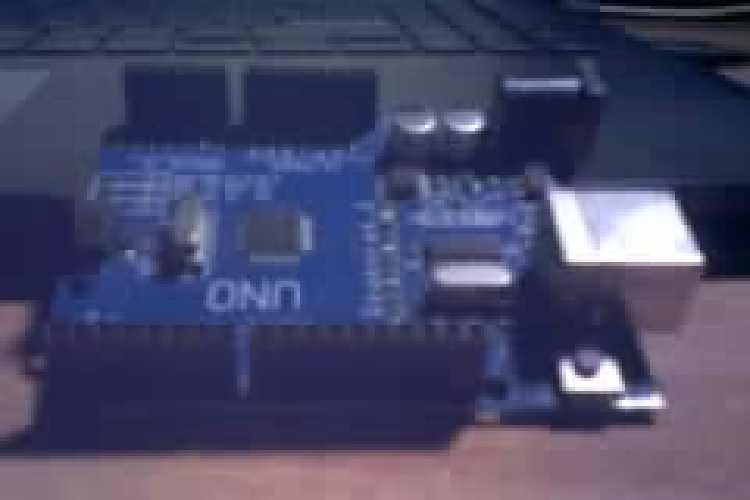
Components Required
| Component Name | Quantity | Datasheet/Link |
| Adafruit MEMENTO | 1 | View Datasheet |
| microSD card | 1 | - |
Circuit Diagram

Hardware Assembly
The Memento-Flex hardware setup utilizes a standalone Adafruit Memento board, which integrates an ESP32-S3 microcontroller and an OV5640 camera module into a single, pre-assembled unit. To support specialized "Task-Based" operations like remote scientific monitoring, the system is extended using a simple external circuit consisting of a momentary push button and jumper wires. These jumpers connect the button directly to the board's A0 JST connector.
Code Explanation
1. The Setup
When you turn the device on, it first tries to connect to your Wi-Fi.
- It syncs its internal clock with an NTP server (atomic clock) so it knows exactly what time it is.
- It prepares a connection to OpenRouter, which is the "brain" (AI) that will analyze your photos.
2. The AI Magic
This is the most advanced part of the code. When triggered, the camera:
- Takes a photo: It snaps a picture and saves it to a microSD card.
- Simplifies the image: It converts the photo into a text-based format (Base64) that the internet can understand.
- Asks for help: It sends that data to an AI model with a prompt like "Describe this image in 5 words."
- Displays the result: Once the AI replies, the code uses a custom wrap_text function to make sure the words fit neatly on the tiny screen without cutting off.
3. Different Camera Modes
The code allows the camera to act in several different ways:
- JPEG Mode: A standard camera that takes still photos.
- GBOY Mode: Applies a "GameBoy" filter, making your photos look like retro 4-bit pixel art.
- LAPS (Time-lapse): Automatically takes a photo every few seconds (e.g., to watch a plant grow). It even has a Low Power mode to dim the screen and save battery during long sessions. This is used as the field mode.
- GIF Mode: Records a short, looping animation.
- STOP (Stop Motion): Helps you make animations by showing a faint "onion skin" of your last frame so you can line up the next shot perfectly.
4. How You Control It
The "Main Loop" at the bottom constantly listens for your button presses:
- Shutter Button: Snaps the photo or starts a recording.
- D-Pad (Up/Down/Left/Right): Navigates through settings like resolution, color effects, and light levels.
- OK Button: In standard mode(JPEG mode), this is the "Identify" button that triggers the AI process.
Summary of the Workflow
- See: The camera shows a live preview on the screen.
- Think: You press OK, and it sends the image to the cloud.
- Speak: The AI sends back a description, which appears in green text on your screen.
GitHub Repository


