

Streaming media from the internet is getting high popularity due to faster and cheaper internet availability. And because of the COVID-19 pandemic, use of OTT platforms like Amazon Prime, Netflix, Hotstar, YouTube has been increased significantly. It also has many benefits over the downloading of media files. Streamed media requires minimum hard drive space and you can set the visual quality according to your internet speed.
As we know that Raspberry Pi is Linux based palm-size computer and can do all the tasks which a ‘normal’ computer can do. We previously used Raspberry Pi to watch Amazon Prime Videos and also learned to install Mopidy Music Server, Minecraft server, Print Server, etc. Today we will again use Raspberry Pi to watch Netflix using the Kodi media player software platform. We previously installed Kodi on Raspberry Pi to create a Media Server.
Materials Used
- Raspberry Pi 3B
- Raspberry Pi TFT 5 inch Display
- Micro SD Card (16 GB)
- USB Optical Mouse
- USB Keyboard
- Power Adopter for Raspberry Pi
What is Kodi?
Kodi is an open-source software media centre, which allows us to access all kinds of content, including videos and music. We can run that content on any device like TV, laptop, phone, even in our Raspberry Pi. It comes with its own attractive GUI and it supports some third-party add-ons which we can use for various interesting media streaming purposes.
Kodi is a free to use software as it is distributed under license GNU / GPL 2. It was formerly called “XBMC”. We need to install OSMC OS in our Raspberry Pi in order to avail Kodi features. Let’s find out what OSMC is, and how to install it on Raspberry Pi.
OSMC

OSMC (open source media centre) is a Linux based open source operating system. OSMC allows media playback from the local network, attached storage, and from the Internet. There are many media servers for Raspberry Pi which can be used for media streaming but because of rich features, we have chosen OSMC for this Raspberry Pi Amazon Prime Video project.
After OSMC installation in Raspberry Pi, we can see the interactive Kodi interface in the display and can enjoy the media streaming. It also offers simple and effortless installation in Raspberry Pi in a few minutes. Since OSMC runs Kodi, we can also add several add-ons like Amazon prime video, Netflix, etc. as per our requirements.
Installing OSMC in Raspberry Pi
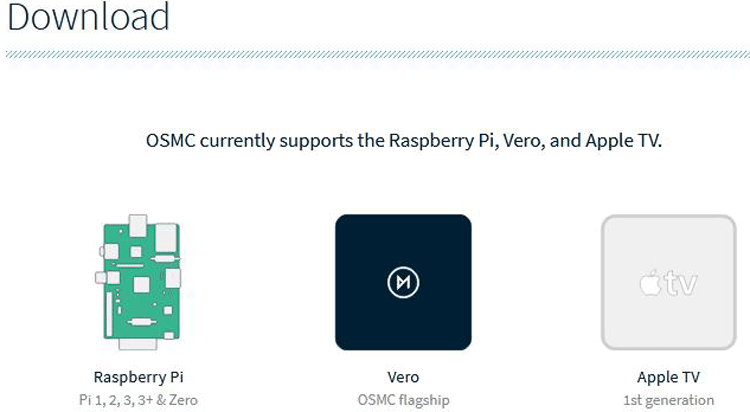
1. Download OSMC
First of all download OSMC from the official OSMC website. Download the disk images for Raspberry Pi from the website, which can be later written into Pi SD card.
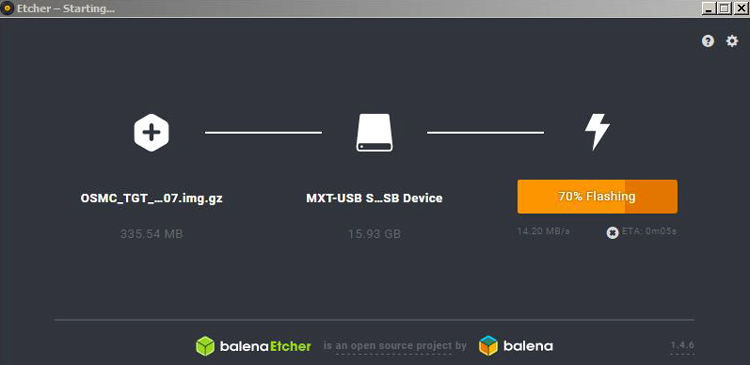
2. Write the Disk Images into SD Card:
Next, write the downloaded OSMC files into the SD card. For this, you can use an application called “BalenaEtcher” which can be downloaded and installed from here. Select the image file download as shown below, and SD card as the drive options. Then click on Flash to complete the writing process.
3. Boot Raspberry Pi and Configure OSMC:
After successful image writing on SD card, boot the Raspberry Pi for the first time. Here we have to do some configurations which are given below:
- Set your Default Language as per preference
- Set your Time Zone
- Set your Device Name
- Make sure SSH is enabled, if not enable it
- Configure your Networking (Wired or Wireless). Connect to your preferred network in this option.
- Exit the welcome Menu
4. Get the IP Address of Raspberry Pi:
Once all the OSMC configuration is successfully completed, we can now see the OSMC home screen. Now go to Settings à System Info and note the IP address of your Raspberry Pi.
5. Connect Raspberry Pi through SSH:
Now after all the configuration is done, we can now access the Pi Terminals through SSH. For using SSH, download terminal application like Putty. Putty can be downloaded and installed from here.
Put the IP address of Raspberry Pi, which we noted earlier in the place of IP address as shown in the figure below. In my case, the IP address was 192.168.43.198.

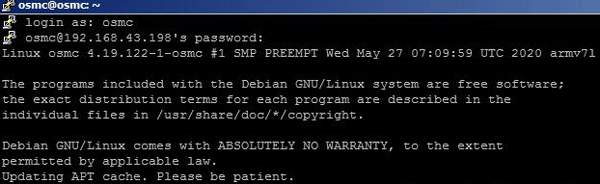
6. Login to OSFC using the Terminal Program:
Now, login the OSFC terminal application using username and password. The default username and password are:
Username: osmc
Password: osmc
After successful login, you can see a screen as shown below:
Installing Netflix in OSMC
1. Download Netflix Video Add-on
To install Netflix, we have to download the Add-on for Netflix. To do this, run the script below through putty after successful login.
wget https://raw.githubusercontent.com/zjoasan/netflix-install-cript/master/netflix_prep_install.sh

Now add permission to the download using the script below:
chmod +x netflix_prep_install.sh
Now, Run the script below,
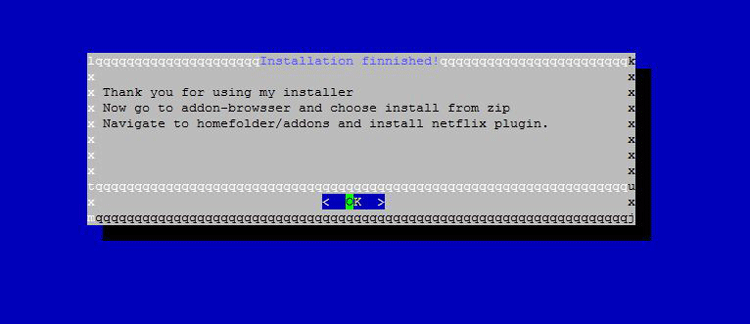
./netflix_prep_install.sh
This will install the dependencies and shows a success screen after some time. The screen is shown below:
2. Install Netflix
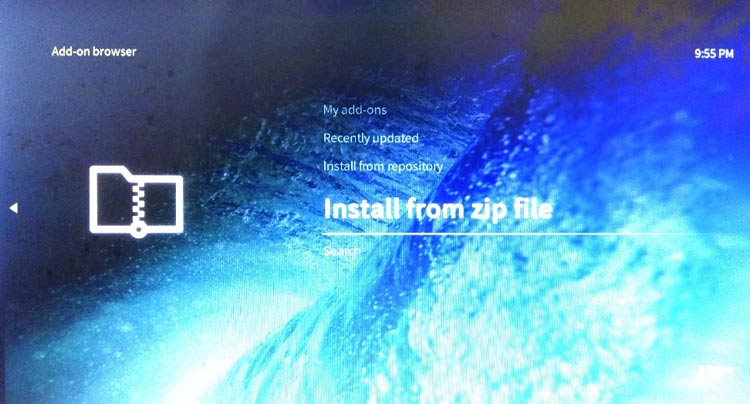
- After Rebooting the Pi, Switch to Kodi Interface, then go to ‘Settings’ and select ‘Add-on browser’ as shown below:
- Select ‘Install From Zip file”.
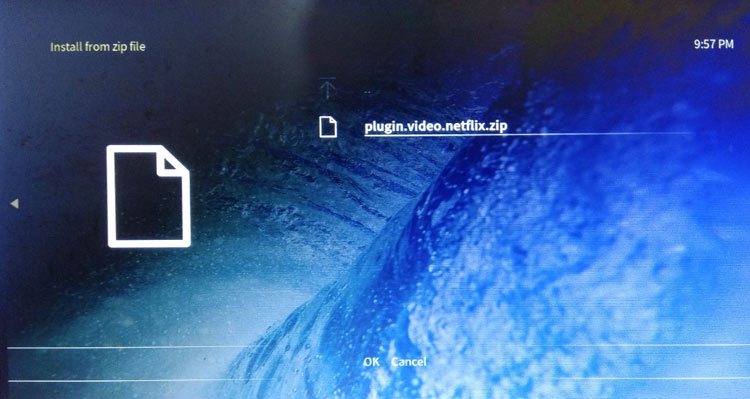
- Select “Home Folder” à “addons” and select Netflix zip
Select Install, and accept all the permissions. When the installation is successful, exit to the main KODI menu.
- Select Video add-ons -> Netflix. This will popup Netflix Login screen, where you can put your login credentials to watch your favourite content on Netflix.
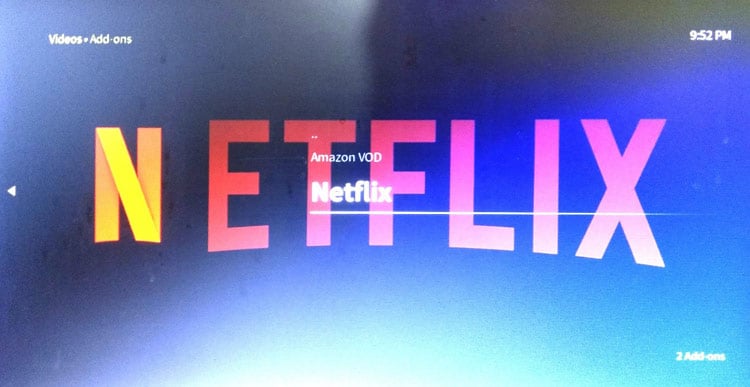
After successful logging into Netflix, you can now enjoy all your favourite TV series, movies, etc.
Here we have used a 3.5 inch Pi TFT screen with Raspberry pi but you can use HDMI cable to connect it with your TV set to watch it on a big screen.
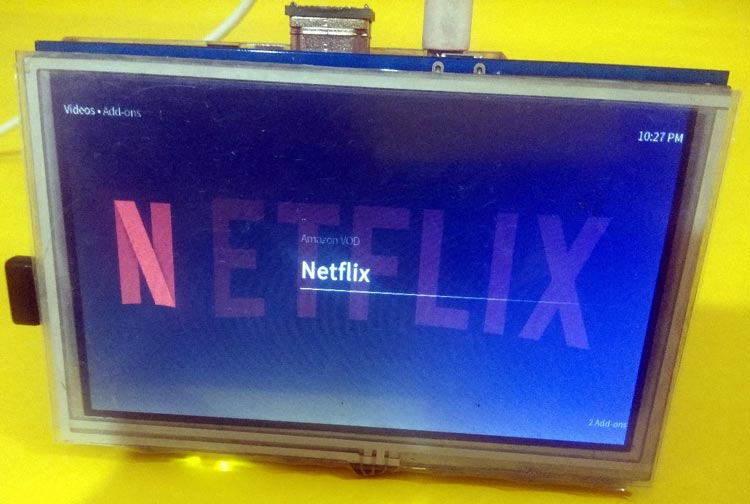
This is how we can Watch Netflix on Raspberry Pi 3. A detailed Video is given below.
