
MicroPython is a subset of Python 3 optimized to run on microcontrollers. It provides an interactive prompt (REPL) and a simple way to run Python code on microcontrollers. In this tutorial, we'll be using the ESP32 board and program it using Arduino labs and the MicroPython firmware.
Materials required
- ESP32
- Usb cable
Commonly asked question about MicroPython
Can I use standard Python libraries with MicroPython?
MicroPython has a subset of the Python Standard Library implemented, so not all standard libraries are available. However, MicroPython provides its own set of libraries tailored for microcontrollers and embedded systems. Additionally, some Python libraries have been ported specifically for use with MicroPython, allowing you to leverage existing code and functionality in your projects.
Can I run MicroPython on any microcontroller?
MicroPython supports a wide range of microcontrollers, including popular platforms like Arduino, ESP8266, ESP32, and Raspberry Pi Pico. However, not all microcontrollers are compatible with MicroPython due to their hardware limitations or lack of community support. It's important to check the official MicroPython documentation or community forums to ensure compatibility with your specific microcontroller.
How does memory management work in MicroPython?
MicroPython utilizes a dynamic memory allocation system with automatic garbage collection. It manages memory resources by allocating and deallocating memory blocks as needed. The garbage collector automatically identifies and reclaims memory that is no longer in use, reducing the need for manual memory management and making development more convenient for programmers.
Installing esptool on Windows
To install the micropython on esp32, you need to first install esptool on your computer.
How to install esptool?
To install esptool on your computer, you can follow these steps:
1. Install Python: esptool is a Python-based tool, so you need to have Python installed on your computer. You can download the latest version of Python from the official website: https://www.python.org/downloads/. Follow the instructions to install Python on your computer.
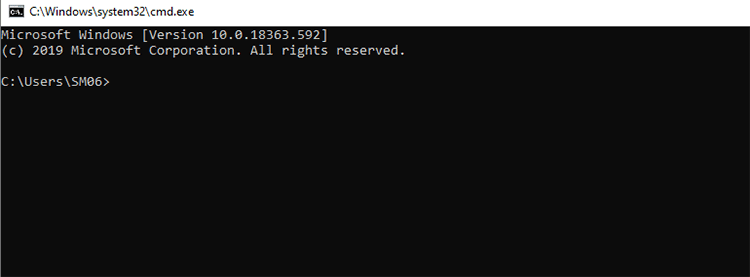
2. Open the Command Prompt (Windows) or Terminal (Mac/Linux): esptool is a command-line tool, so you need to use the Command Prompt or Terminal to install and use it.
3. Install esptool using pip: Once you have Python installed, you can install esptool using the pip package manager. In the Command Prompt or Terminal, enter the following command:
pip install esptool
This will download and install the latest version of esptool and its dependencies.
4. Install the setuptools which is a requirement for esptool to work
pip install setuptools
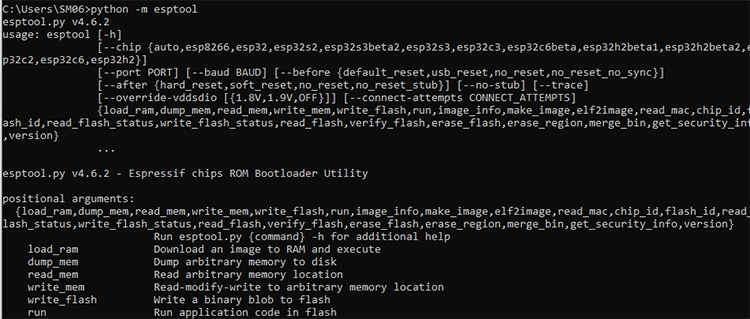
5. Verify the installation: To verify that esptool is installed correctly, you can run the following command in the Command Prompt or Terminal:
python -m esptool.
This should display the help information for esptool. If you see an error message, try reinstalling esptool using pip.
Erase firmware on esp32
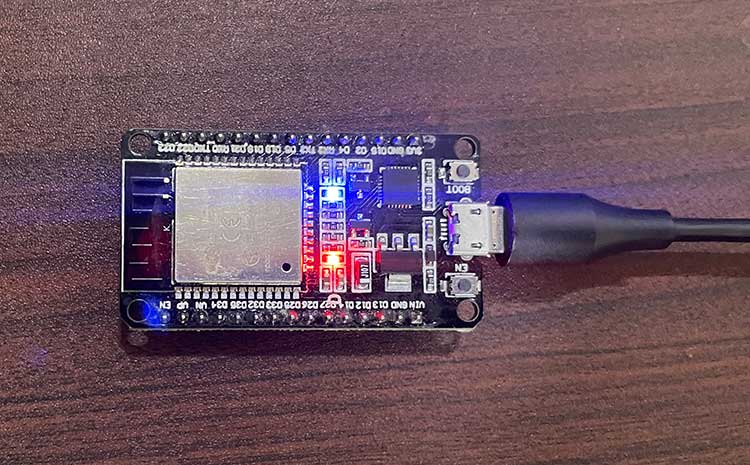
- Connect your ESP32 board to your computer using a USB cable.
- Find the port name and the file location of the firmware file.
- Press and hold the "BOOT/FLASH" button, then run the following command in your command prompt or terminal to erase the ESP32 flash memory:
python -m esptool --chip esp32 erase_flash
Release the "BOOT/FLASH" button when the "Erasing" process begins. Wait for a few seconds for the ESP32 flash memory to be erased.

Downloading and flashing the MicroPython firmware
To flash the MicroPython firmware on your ESP32 board, follow these steps:
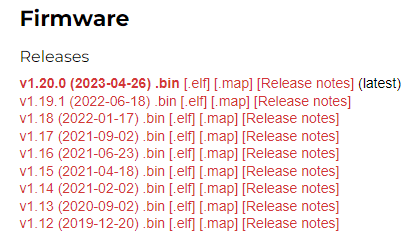
- Download the correct MicroPython firmware for your ESP32 board from the official website.(always download the latest version)
Once the flash memory is erased and you have downloaded the micropython firmware, you can flash the firmware using the following command, replacing <serial_port> and <esp32-X.bin> with your serial port name and ESP32 .bin file location:
python -m esptool --chip esp32 --port <serial_port> write_flash -z 0x1000 <esp32-X.bin>
Hold down the "BOOT/FLASH" button again before running the flash command. After a few seconds, you should see a message confirming that your ESP32 board has been successfully flashed with MicroPython firmware.
To program your ESP32 board with MicroPython, you can download the Arduino labs IDE for MicroPython and follow these steps:
- Go to the official website of Arduino and download Arduino labs for micropython
- Install the Arduino Labs IDE using default settings
- Connect your ESP32 board to your computer using a USB cable.
- Select your COM port
- Create a new file and select micro python as the storage.
- Copy/write the below code in the Arduino labs.
import machine
import time
led = machine.Pin(2, machine.Pin.OUT)
while True:
    led.on()
    time.sleep(1)
    led.off()
    time.sleep(1)
after that is completed. Save the code in your esp32 storage and press run. if the led blinks..it means that your project is successful. Here’s how it will look.
Projects using ESP32

If you're interested in creating your own DIY LED webserver using the ESP32 microcontroller, this step-by-step tutorial blog is a must-read. It provides a comprehensive guide, breaking down the process into simple and easy-to-follow steps. By following this tutorial, you'll learn how to leverage the power of the ESP32 to control LEDs and create a web-based interface to control them remotely. Whether you're a beginner looking to explore IoT projects or an experienced hobbyist seeking a fun and practical project, this blog will equip you with the knowledge and skills to successfully build your own LED webserver with the ESP32.

Dive into the world of DIY wearable technology with this blog, which provides a detailed guide on building your own ESP32 Smartwatch. From assembling components to programming multiple watch faces, integrating a heart rate sensor, compass, and adding games, this tutorial covers it all. Whether you're a tech enthusiast or a DIY hobbyist, this step-by-step guide will empower you to create a fully functional and customizable smartwatch. Unleash your creativity and embark on an exciting journey of innovation with the ESP32 microcontroller as your key tool.

Get ready for a blast from the past with this blog, guiding you through the process of building a DIY handheld retro gaming console using the powerful ESP32 microcontroller. Discover the joy of reliving classic games as you follow the step-by-step instructions, from gathering components to programming retro games and designing the portable console. Perfect for gaming enthusiasts and DIY hobbyists, this tutorial empowers you to create a fully functional and nostalgia-inducing gaming experience on the go. Unleash your creativity and embark on a journey of retro gaming fun with the ESP32 as your gaming companion.
Complete Project Code
import machine
import time
led = machine.Pin(2, machine.Pin.OUT)
while True:
    led.on()
    time.sleep(1)
    led.off()
    time.sleep(1)
