
We have seen numerous examples of Blinking an LED using different Microcontrollers and different programming languages. Today, we will use a very popular JavaScript framework Node.js to control the LED connected to Arduino Uno. We will also use Node.js to control the brightness of LED from a webpage using Arduino. By few tweaks and using ESP8266, this can be converted into an IoT project where the LED can be controlled from anywhere.
What is Node.js?
The Node.js is a widely used JavaScript-based framework built on Google Chrome’s JavaScript V8 Engine and applied in developing I/O intensive web applications such as single-page applications, video streaming sites etc.
We have done an informative tutorial previously on Getting started with Node.js and Raspberry Pi to control an LED. In this tutorial, we will follow the similar approach i.e. the LED will be controlled using two methods such as:
- Simple LED blink by writing a JavaScript code in the Node.js framework.
- LED Brightness Control Using Node.js framework and a web interface from any browser: The Arduino UNO will act as a webserver and HTML web page will be hosted on a PC or Laptop.
Components Required
Hardware:
- Arduino UNO Board
- Led
- Resistor
Software:
- Arduino IDE: For uploading sketch to Arduino UNO Board.
- Firmata: It is a protocol for communicating with different microcontrollers from software on a computer, smartphone, etc. The Firmata firmware can be loaded in any microcontroller board (like Arduino, Teensy) and is able to talk to any laptop, PC or smartphone. Firmata Library comes with Arduino IDE, so no need to download from anywhere. We have done a tutorial on controlling Arduino with Raspberry Pi using pyFirmata.
- Johnny-Five: Johnny-Five is the JavaScript Based Robotics and IoT platform used to write codes in JavaScript and Used to make a bridge between the Arduino Boards and Computer. Johnny-Five have been tested with a variety of Arduino-compatible Boards such as Arduino UNO, NANO, Promini, etc. In this tutorial, the Johnny-Five library has to be downloaded in order to use all its features. The installation guide will be explained later-on in this tutorial.
Circuit Diagram

Setting Up Node.js Framework
Before starting the coding and development, the Node.js has to be downloaded and set up. For downloading the Node.js environment just follow simple steps.
Step 1:- Download the .exe file of Node.js from its official website.
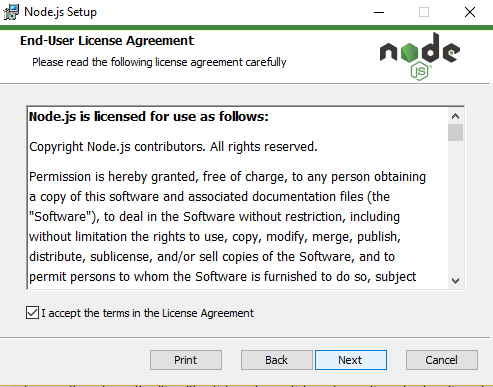
Step 2:- Run the .exe and follow the given instructions in the installer.
Step 3:- Restart your computer as it is recommended in the Node.js Document and also to use all the features of Node.js
Step 4:- To check if the node has been installed, open Command Prompt and type Node –v
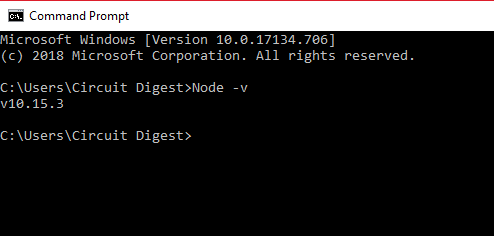
Step 5:- The Node.js version will be displayed indicating the Node.js is installed.
Installing Johnny-Five Library
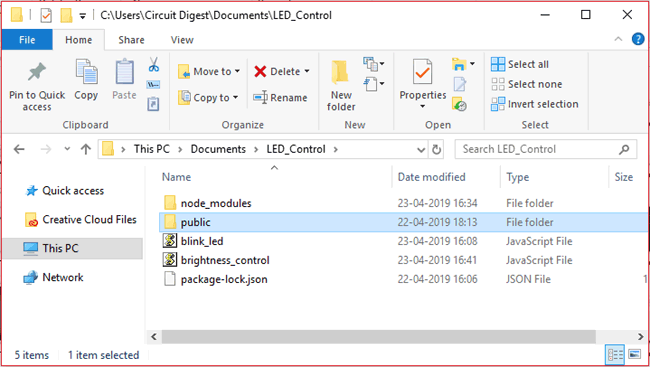
Now after downloading the Node.js, create a new Folder named “LED_Control” in Documents to keep all the project files in one place. Every project file will be kept in the “LED_Control” folder. Now download the Johnny-Five Library in the “LED_Control” folder. To download, follow steps below:
Step 1:- Open Command Prompt
Step 2:- Go to “LED_Control” Folder by following ‘cd’ command.
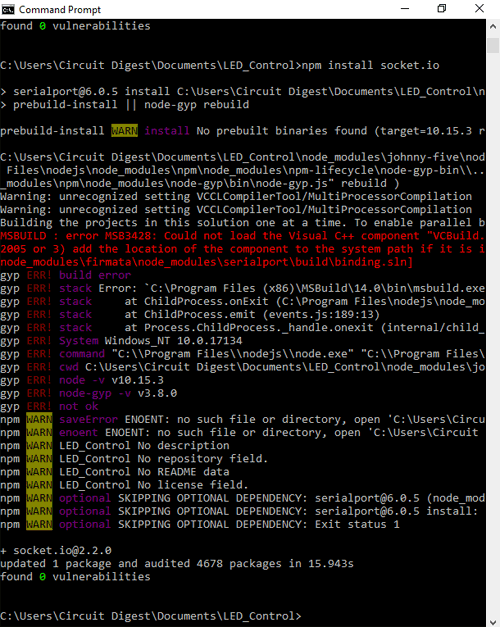
Step 3:- Run the Command ‘npm install johnny-five’
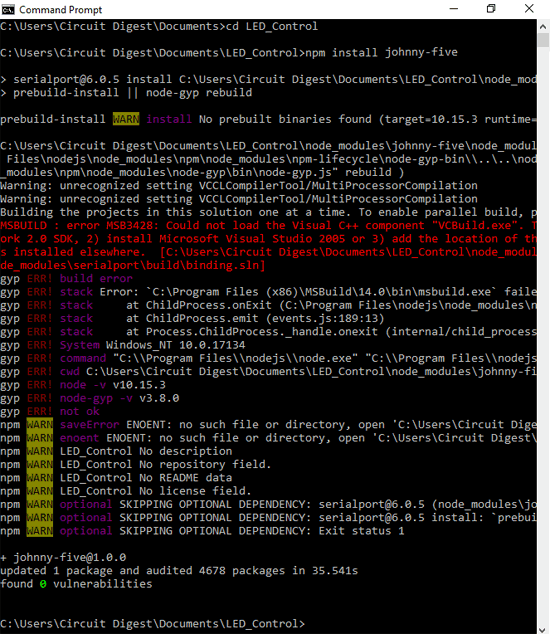
Step 4:- This will install all dependencies of Johnny-Five.
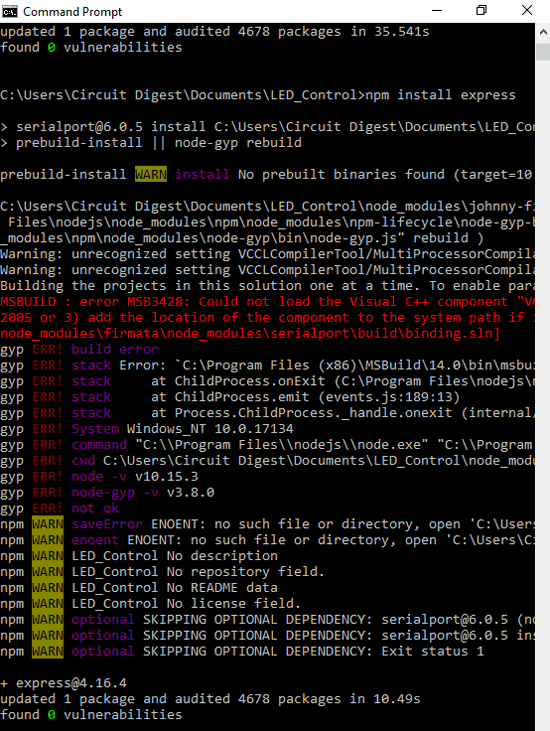
Step 5:- Also install necessary libraries used in this tutorial for controlling brightness of LED. There are three libraries used here:
- express: HTTP server wrapper
- socket.io: WebSockets library
- serialport: Serial port wrapper
Step 5:- Run the below commands one by one to install these three libraries.
npm install express
npm install socket.io
npm install serialport

As told earlier the project is divided in two parts:
- Firstly, Arduino Blinking LED with Node.js
- Secondly, Controlling LED Brightness from web interface using Arduino and Node.js.
Blinking LED with Arduino and Node.js
To blink LED, the Arduino has to be Set up to communicate with Computer.
Setting up Arduino UNO for Blinking LED:
In order to make Arduino UNO accept command from Laptop to Control LED, the Firmata firmware has to be loaded in to the Arduino UNO. To load the Firmata Firmware, just follow these simple steps:
- Connect the Arduino UNO using USB cable
- Open Arduino IDE and select Arduino UNO board (If using other board then select respective one) from Tools.
- Select the Respective COM port of connected Arduino UNO
- Now find the Firmata Sketch using Menu -> File -> Examples -> Firmata -> StandardFirmata.
- Upload the “StandardFirmata” sketch by going to File -> Upload.
This will load the Firmata Sketch onto Arduino UNO and now the Arduino UNO is ready to accept any command from computer.
Writing Node.js program for Blinking LED:
To write a Node.js program open any text editor (Notepad, Notepad++, etc.) and paste the ‘blink_led’ code attached at the end of this tutorial and save it with an extension of ‘.js’ i.e. (blink_led.js) in the “LED_Control” folder created before. We will discuss important steps in blink_led.js code file.
Initially define the Pin of microcontroller where led is connected. In this example, the LED is connected to Pin 5 of Arduino UNO. The ‘var’ in Node.js represents variable declaration.
var led_pin=5;
The johnny-five module needs to be included and the board needs to be selected. The modules in Node.js are libraries. The function ‘require()’ will access the module.
var johnny_five=require("johnny-five");
var arduino_board=new johnny_five.Board();
The console.log statement is similar to print statement and it will print message. And the LED pin is set to output mode and the defined delay is given to blink led.
console.log("LED has Started Blinking!");
var led = new johnny_five.Led(led_pin);
led.blink(100);
Now to run the program follow steps below:
- Open Command Prompt
- Locate “LED_Control” folder by following ‘cd’ command
- Run ‘Node led_blink.js’ command. If successfully executed it will show "LED has Started Blinking!" as shown in the image below.
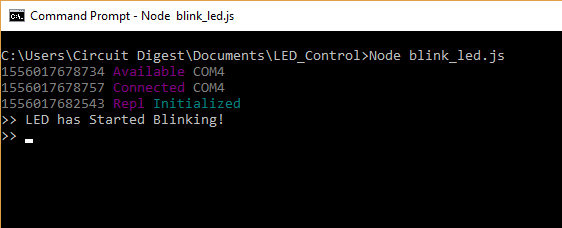
- The led will start blinking in the Arduino UNO Pin 5.
- And this finishes the first part of our tutorial i.e. Blinking LED with Node.js
Controlling LED Brightness using Arduino and Node.js Webserver
Similar to Blinking an LED with Node.js, this section will also have some parts i.e. Setting up Arduino UNO, Setting up Web Interface and Writing a Node.js program.
Setting up Arduino UNO to control Brightness of LED:
To set up the Arduino UNO, simply upload the sketch “arduino_control.ino” into Arduino UNO board and that’s it. This will set up the Arduino Board. You can download the complete code with HTML files from here. The “arduino_control.ino” code has following important steps involved.
Initially the baud rate is set at 9600.
Serial.begin(9600);
The serial port always looks for incoming byte and the byte is written to Pin 5 which is a PWM Pin.
while(!Serial.available());
analogWrite(5, Serial.read());
That’s it. This will set the Arduino to latch the byte to PWM pin and will change the brightness of LED.
Setting up Web Interface:
To control the brightness of led using web interface, one small piece of HTML code is written to have an interface in the Browser. To have interface follow simple steps below:
- Create a new folder named “public” inside the “LED_Control” folder created before.
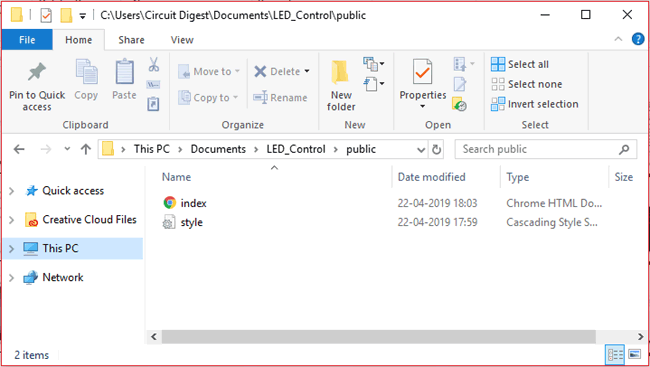
- Now download the “index.html” and “style.css” files and move both files inside the “public” folder created in first step above. Files can be downloaded from here.
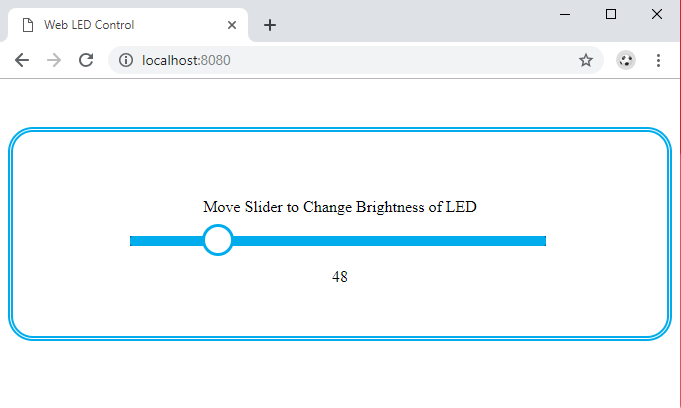
This will create a slider on webpage to control the brightness of LED using Node.js and Arduino.
Controlling an LED from webpage is interesting to learn and it can done with other microcontroller by creating a webserver and host the webpage on webserver. Check all the webserver related projects here.
Writing Node.js program to control Brightness of LED:
Next step would be writing the “brightness_control.js” sketch using Node.js and executing the code. The execution of the code will be bit similar to the Blinking an LED with Node.js.
To write a Node.js program open any text editor (Notepad, Notepad++, etc.) and paste the ‘brightness_control” code attached at the end of this tutorial and save it with an extension of ‘.js’ i.e. (brightness_control.js) in the “LED_Control” folder created before. You can also download the code from here.
Similar to Blink Led Node.js program, this section will also use modules (library). Include the ‘express’, ‘http’ and ‘serial port’ module.
var express = require('express');
app = express();
server = require('http').createServer(app);
io = require('socket.io').listen(server);
var SerialPort = require("serialport")//.SerialPort
Now set the COM port and baudrate. Note that in windows, it will always be COM with extension of number (COM6, COM4, COM24 etc.), so set below as required after ‘/’. Also set buadrate.
var serialPort = new SerialPort("/COM4", { baudRate: 9600 });
Start to listen the server at port 8080.
server.listen(8080);
Set the brightness at 0 initially. Then latch the brightness data to IO with sockets module, which is a websocket module. The data will receive by Web Interface using socket protocol.
io.sockets.on('connection', function (socket) {
socket.on('led', function (data) {
brightness = data.value;
var buf = new Buffer(1);
buf.writeUInt8(brightness, 0);
serialPort.write(buf);
Now emit the LED brightness value got from socket to LED pin.
io.sockets.emit('led', {value: brightness});
});
socket.emit('led', {value: brightness});
});
Now just to debug, add a print statement at the end. Console.log is a print statement in Node.js.
console.log("Web Server Started go to 'http://localhost:8080' in your Browser.");
Now to run the program by following the steps below:
- Open Command Prompt
- Locate “LED_Control” folder by following ‘cd’ command
- Run ‘Node brightness_control.js’ command. If successfully executed it will show "Web Server Started go to "http://localhost:8080" in your Browser." just below the command.

- Now go to your browser and type “localhost:8080” in the url.
- To change the brightness just move the slider from 0-255 values.
The complete code and working video of both section is attached below. Also if you have any doubt or suggestion then you can reach us through forum or comment below. All the code files can also be downloaded from here.
Complete Project Code
Download all the codes from here.
Part 1 - Node.js Code for LED Blinking:
var led_pin=5;
var johnny_five=require("johnny-five");
var arduino_board=new johnny_five.Board();
arduino_board.on("ready", function() {
   console.log("LED has Started Blinking!");
   var led = new johnny_five.Led(led_pin);
   led.blink(100);
});

Part 2 -a- Arduino code for controlling Brightness of LED:
void setup()
{
  Serial.begin(9600);
}
void loop()
{
  while(!Serial.available());  //wait until a byte was received
  analogWrite(5, Serial.read());//output received byte
}


Part 2 -b - Node.js Code for Controlling Brightness of LED:
var express = require('express');
app = express();
server = require('http').createServer(app);
io = require('socket.io').listen(server);

var SerialPort = require("serialport")//.SerialPort
var serialPort = new SerialPort("/COM4", { baudRate: 9600 });

server.listen(8080);
app.use(express.static('public'));

var brightness = 0;

io.sockets.on('connection', function (socket) {
        socket.on('led', function (data) {
                brightness = data.value;

                var buf = new Buffer(1);
                buf.writeUInt8(brightness, 0);
                serialPort.write(buf);

                io.sockets.emit('led', {value: brightness});
        });

        socket.emit('led', {value: brightness});
});

console.log("Web Server Started go to 'http://localhost:8080' in your Browser.");
