

Introduction
Calibration is essential for correcting sensor offsets caused by the installation or soldering of the MPU6050 motion sensor. If the sensor is not perfectly level during soldering or has slight factory variations, it may introduce roll and pitch drift during flight. If the LiteWing drone drifts in any direction during hover, follow this calibration guide to adjust the roll and pitch trim settings in the mobile app.
Understanding Roll and Pitch Trim
If the drone is not holding position correctly when hovering, trim adjustments can help compensate for minor imbalances.
Calibration Procedure
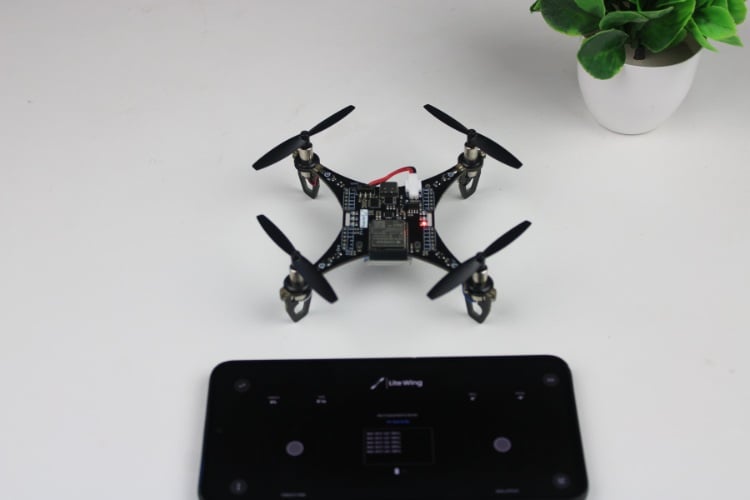
1. Initial Setup
2. Accessing Trim Settings

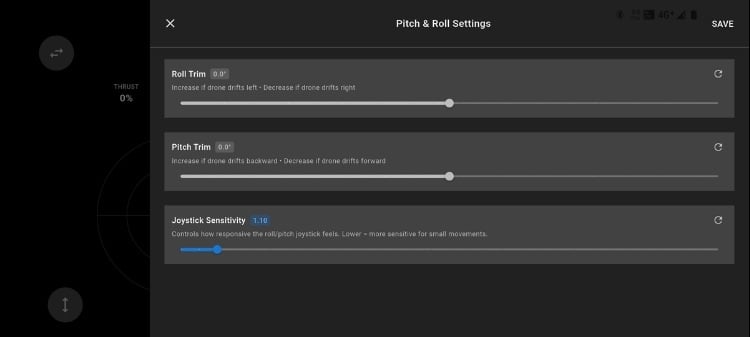
3. Trim Adjustment Guide
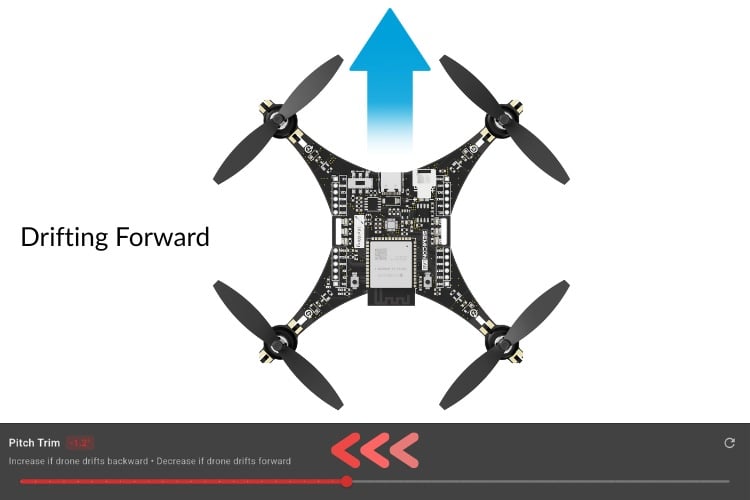
Before adjusting trim values, fly the LiteWing Drone and observe its drift direction. Adjust the trim values in slight increments until the LiteWing Drone is stable.
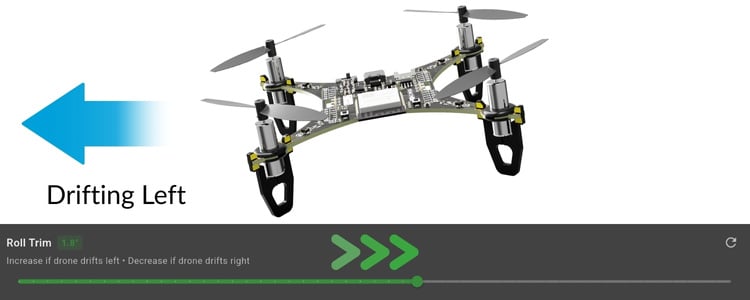
Roll Trim Adjustments
Drifts Left: If the drone drifts left, increase the roll trim value to a positive value (eg, 0.2).
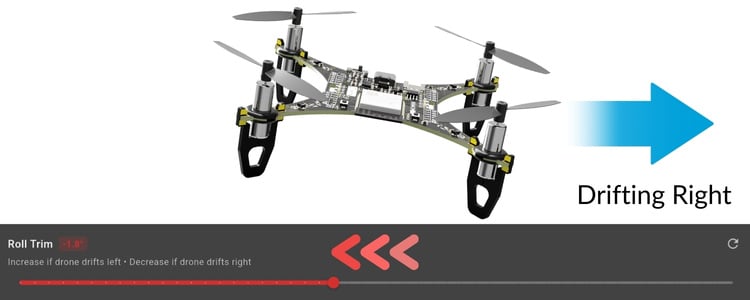
Drifts Right: If the drone drifts right, decrease the roll trim to a negative value(eg, 0.14).
Pitch Trim Adjustments
Drifts Forward: If the drone drifts forward, increase the backward pitch trim to a negative value(eg, 0.10).
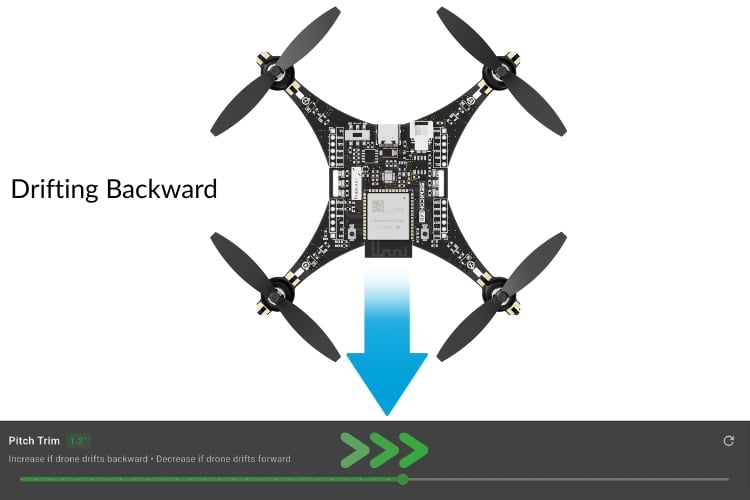
Drifts Backwards: If the drone drifts backwards, increase the pitch trim value to a positive value (eg, 0.2).
4. Testing and Fine-Tuning
Calibration Best Practices
Troubleshooting Calibration Issues
Once stable, your LiteWing drone is ready for a stable flight!
Document Index
Last Updated: December 8, 2025 | Build Status: Tested & Verified
The firmware does the auto calibration during each powered on, that is why it is necessary to place the LiteWing on a flat surface, during power up.
The firmware performs calibration upon each startup, but it likely does not calibrate the zero bias of the acceleration sensor. The litewing app compensates for the zero bias of acceleration through Roll & Pitch Trim, but the minimum adjustment range is 0.6 degrees, corresponding to an acceleration zero bias of 10 mg. Is there a need to reduce the minimum adjustment range in the litewing app, for example, to 0.1 degrees?

MPU6050_Accels_Gyros Bias_Calibration
# Problem Description
1. After successfully replicating the litewing, controlling the drone via a mobile APP revealed a severe horizontal flight offset.
2. Testing the MPU6050 output using the cfclient tool indicated significant biases in both the accelerometer and gyroscope readings.(acc.x-0mg/acc.y-20mg/acc.z-14mg , gyro.x-0.28dps/gyro.y-0.23dps/gyro.z-0.33dps)
#Methods Tried
1. Attempting to calibrate the accelerometer and gyroscope biases via the parameters in cfclient failed, as no options for calibrating these biases were found there.
2. Trying to calibrate the accelerometer and gyroscope biases using commands in the cfclient console was unsuccessful, as the commands did not execute properly.
3. Using the Roll Trim and Pitch Trim in the mobile app to calibrate the horizontal offset revealed that the minimum adjustment step of 0.6 degrees is too coarse. This calibration method cannot achieve a stable, level flight state for the drone.
#Question
1. Does the drone's firmware perform self-calibration of the MPU6050 biases during the startup self-test?
2. How can the MPU6050 biases be calibrated using cfclient?