

Raspberry pi is a compact credit card sized computer, which is very popular nowadays for IoT applications and high computational applications like data science, python, machine learning, etc. Many applications need external displays to be connected with Raspberry Pi. In that case, raspberry pi has its own HDMI interface to connect external displays like TV or monitors. But in some applications, compact displays are suitable and touch screen input is preferred through GUI applications. For those applications, HDMI Touchscreen displays can be used. We previously learned to connect 3.5 inch TFT LCD display with Raspberry Pi, today we will interface 5 inch HDMI touchscreen display with Raspberry Pi and will also learn to calibrate the touch screen to increase its accuracy.
Materials Used
- Raspberry Pi 3 B (In my case)
- 5 inch 800x480 TFT Display with Touchscreen
- 16 GB Micro SD Card
- HDMI connector
- Touch Pen
- 5V, 2.4 AMP Power supply
- USB Keyboard
- USB Mouse
5 inch 800x480 TFT Touchscreen Display
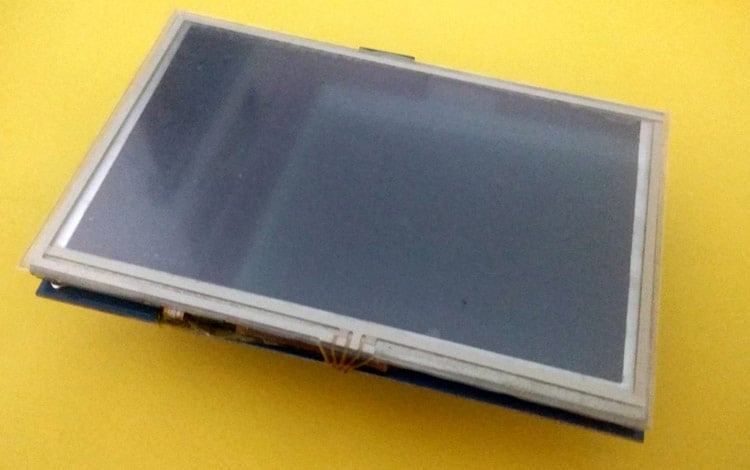
5 Inch Touch Screen Raspberry Pi Display is a TFT HDMI display, which is very compact and can be used on Raspberry Pi A, B, Pi B+/2B, and 3B models. It has an inbuilt resistive touch screen having support for the controlling of backlight and saves the power Support for HDMI input. It acts as a monitor of the computer having a resolution of 800x480 pixels.
Features:
- 5 inch HDMI display
- 800x480 pixels High-resolution picture and large viewing screen.
- Inbuilt Resistive Touch screen with backlight control to lower power consumption.
- Large viewing angle
- Fast response time, full-color display.
Technical Specifications:
- Size: 5 inch
- Resolution: 800 * 480
- Display Controller: XPT2046
- LCD Interface: SPI
- Touch Type: Resistive
- LCD type: TFT
Connecting 5 inch TFT LCD with Raspberry Pi
1. Place LCD on the top of Raspberry Pi:
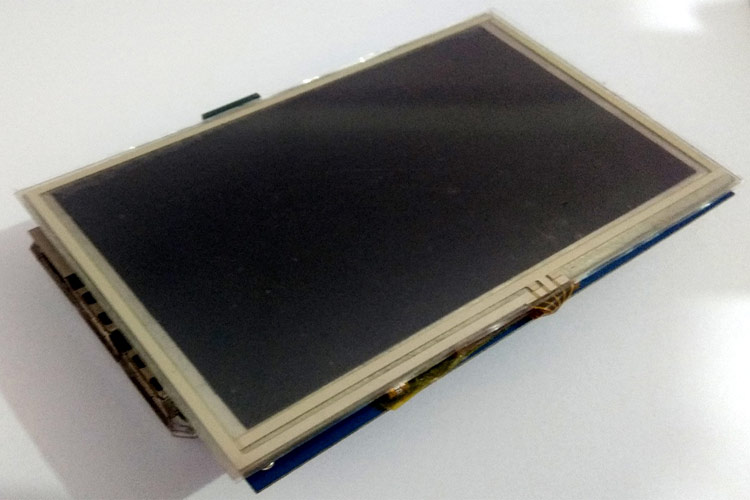
First step for interfacing the LCD with Raspberry Pi is to connect LCD with pi using the GPIO connectors. The display comes with four corner standoffs for mounting. Then, the LCD is placed on top of Raspberry Pi in such a way that it slides in GPIO slots and the HDMI ports would line up perfectly on the other side. Be careful while connecting LCD to Pi, as LCD is using only 26 pins for connections with Pi.
2. Connect the HDMI Connector:
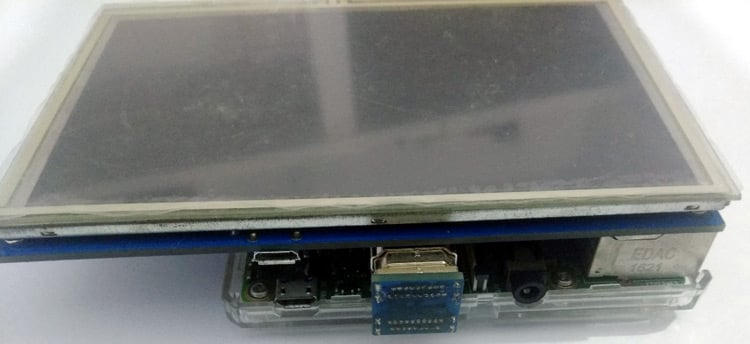
After placing LCD on the top of Raspberry Pi, connect the HDMI connector which is included in the LCD box, between Pi and LCD as shown in the figure below:
3. Connect the Power Supply:
After all the previous steps, we need to give power supply to Raspberry Pi and LCD. There is also a USB plug on the LCD for giving a separate power source, but as long as you have a good 2.4 Amp power supply for your Pi, it doesn’t need a separate power supply to the LCD.
4. Turn on Backlight Switch of LCD:
After giving the power supply, switch on the backlight power switch which is located on the backside of LCD.
Installing Drivers in Raspberry Pi for the 5 inch LCD
1. Edit some Parameters in Configuration File:
Before downloading the LCD driver, make some changes in the configuration file as shown below. The configuration file can be found by using the command below:
sudo nano /boot/config.txt

Next, just append the following lines into the configuration file.
max_usb_current=1
hdmi_group=2
hdmi_mode=87
hdmi_cvt 800 480 60 6 0 0 0
hdmi_drive=1
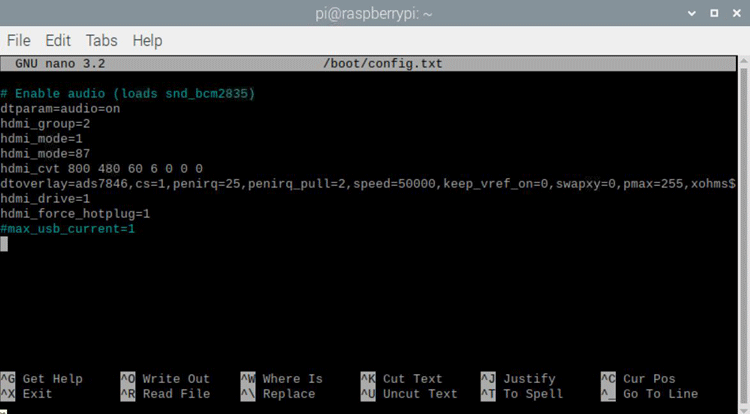
Note: In some cases, you have to just uncomment the above statements in the config. file, if the file already has the above statements in comment lines.
2. Download the Driver:
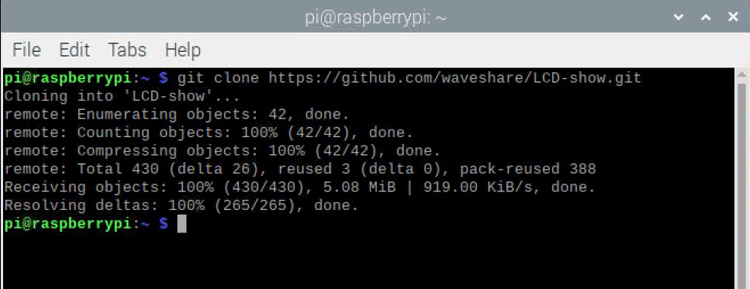
First of all download the driver from github. It can be done by entering the following command in the Raspberry pi terminal.
git clone https://github.com/waveshare/LCD-show.git
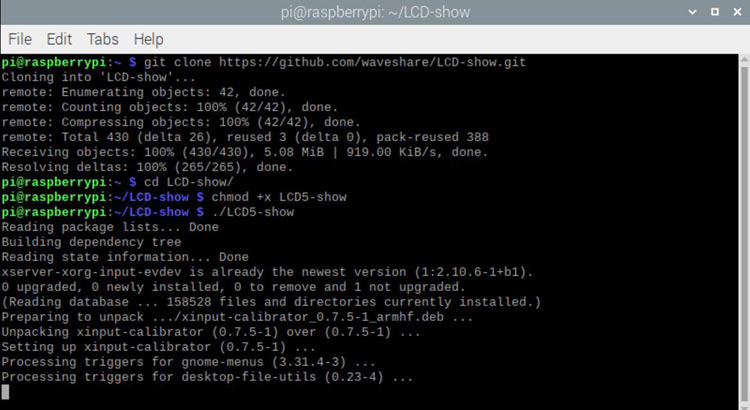
3. Enable the Display:
After successful installation of the driver, we can enable the display by using the below command:
cd LCD-show/
chmod +x LCD5-show
./LCD5-show
<>4.Rebooting Raspberry Pi
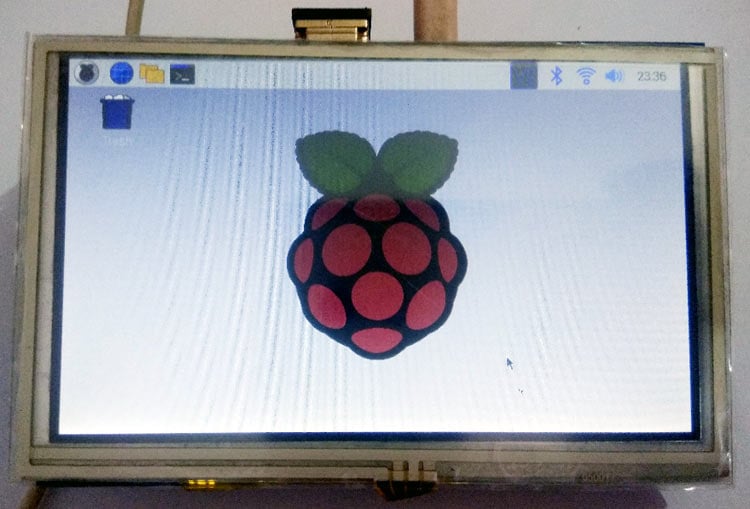
After running the above commands, the pi will be automatically restarted, and the screen should be working now. This can be shown in the figure below:
Touch Screen Calibration for Raspberry Pi
The final part of the process is to calibrate the touch screen for optimal working. For this, we should install an application in pi called “xinput-calibrator”.
For installing the program, we have to run the command below:
sudo apt-get install -y xinput-calibrator
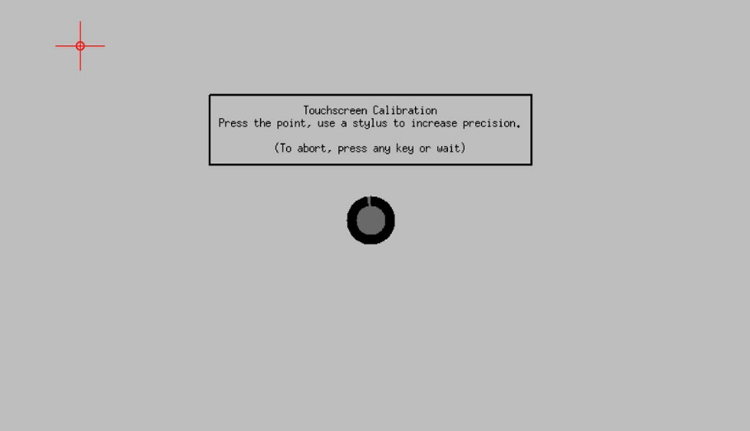
After the successful installation of the above program, Click on the Menu button on the taskbar of Raspberry Pi, and then select Preference -> Calibrate Touchscreen. Then complete the touch screen calibration following the steps prompted. The touch screen calibration window should look like below:
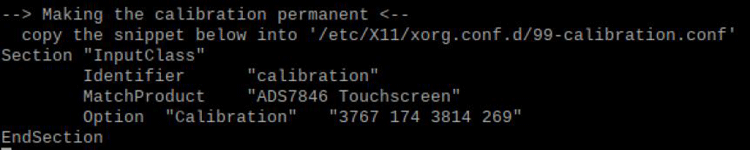
Just touch the red marked spots using the touch pen, then likewise touch all 4 successive red spots in the screen, then a calibration parameter should prompt on the screen which looks like below:
Just save the above parameters and Reboot the Raspberry Pi. Now, our display setup is complete and we can use our 5 inch Touch screen with LCD without any problem.
This is how a TFT LCD can be attached with Raspberry Pi and can be used to build applications like games, alarm clock, tablet, etc.
