
Most of us are familiar with the Python programming language. Python is a very powerful programming language and used to build many applications from the Internet of Things to Artificial Intelligence (AI). By seeing the popularity of python, this community developed the reimplementation of Python which is called MicroPython.
So in this tutorial, we will get to know about MicroPython, how it is different from Python and how to get started with MicroPython on ESP32/ESP8266. Also, we will see an example project of LED blinking to demonstrate the use of MicroPython.
Components Required
- ESP32 Dev board
- LED
- Jumper Wires
What is MicroPython and it’s uses?
MicroPython is very similar to Python and it is specially designed for the embedded systems and microcontrollers. It is a reimplementation of Python 3, so someone who has knowledge of python can easily work with MicroPython.
The main difference between Python and MicroPython is that MicroPython does not come with the full library support as Python so MicroPython works in constraint conditions only. There are standard libraries to access and interact with the low-level hardware like GPIOs, Wi-Fi, etc.
MicroPython is a good starting point if you want to program ESP boards because it is very simple and easy to understand. MicroPython also comes with the interactive REPL (Read-Evaluate-Print Loop) functionality which allows the user to connect the board and execute code quickly without compiling or uploading the code. We previously worked with MicroPython using Thonny IDE.
Steps for Getting Started with ESP32 MicroPython:
- Installing Python 3.7.x
- Installing uPyCraft IDE to program ESP32
- Flashing the MicroPython Firmware on ESP32
- Programming and uploading the code on ESP32 using uPyCraft
1. Installing Python 3.7.x on Windows
As MicroPython is an implementation of Python so we first need to install Python 3.7 or above.
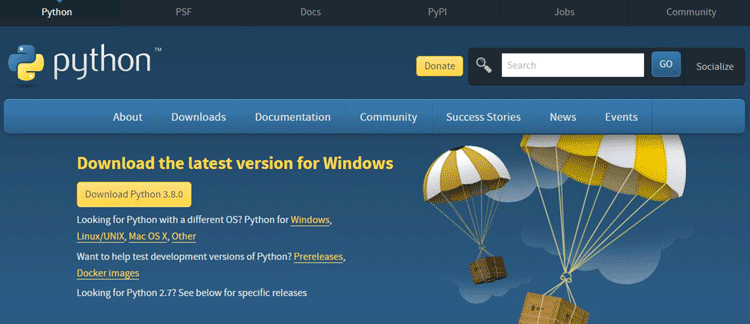
Step 1. Go to this link and download the latest setup of Python installer according to the OS. Here we are installing the windows version.
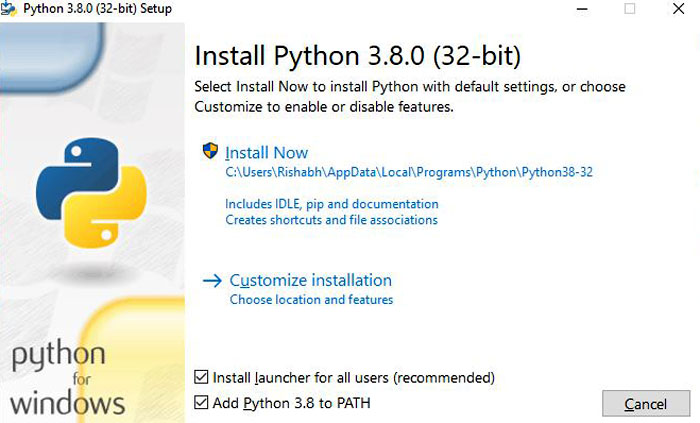
Step 2. After downloading the installer, run the installer by double-clicking on it. When the dialog box appears, tick marks the Add Python to the PATH option as shown below. Then click on Install Now and wait until the installation process completes.
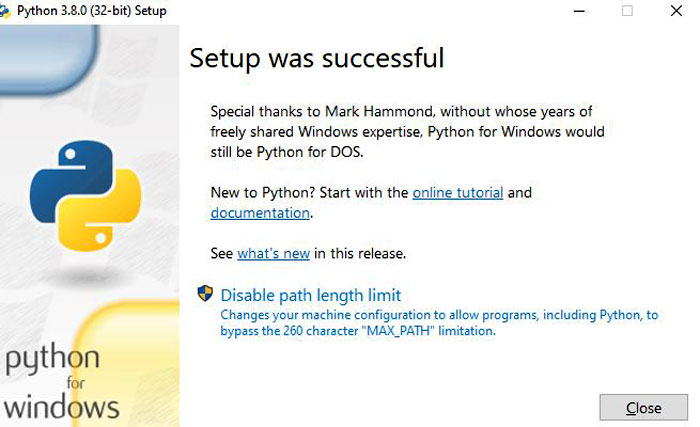
Step 3. After the successful installation, click on Close and we are done with installing the Python in our system.
2. Installing uPyCraft IDE on Windows to Program ESP32
There are only a few IDEs that support MicroPython. Some popular IDEs are Thonny IDE and uPyCraft IDE. Thonny IDE does not have an option to flash MicroPython firmware on ESP32 so it needs esptool to flash the firmware which is explained in the previous tutorial of ESP32 with Thonny IDE. But uPyCraft IDE is specially designed for ESP32/ESP8266 supported boards. It has inbuilt functionality to flash firmware, programming and uploading the code in ESP boards.
uPyCraft IDE is developed by DFRobot. It is simple to use and recommended for beginners. The below steps show how to flash ESP32 using uPyCraft.
Step 1. Go to this link and download the .exe file of uPyCraft for windows.

Step 2. Double click on the file that you have downloaded and uPyCraft IDE will be opened as shown below.
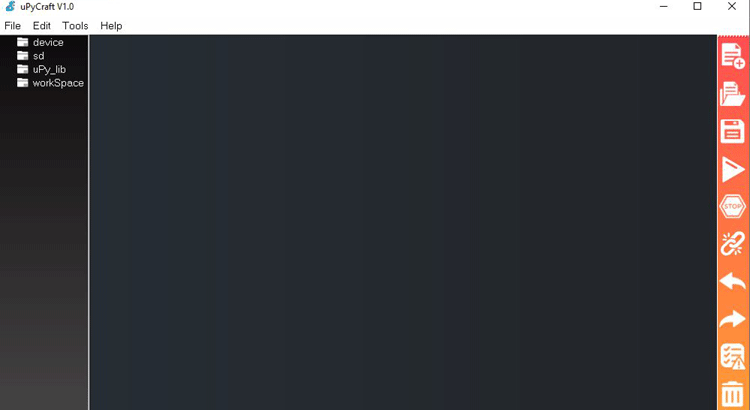
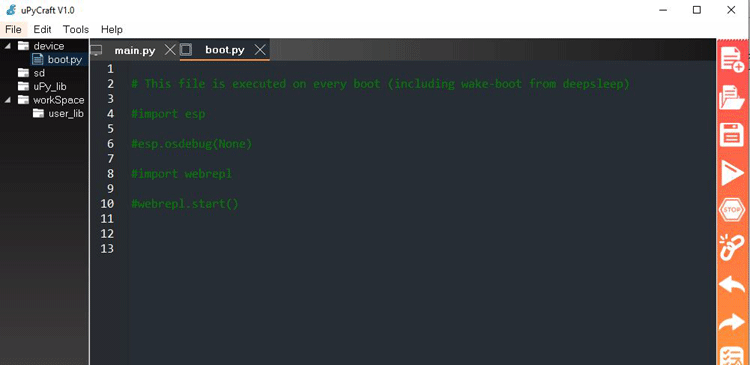
Step 3. Let's have a closer look at the uPyCraft IDE and get to know about each section of the IDE.
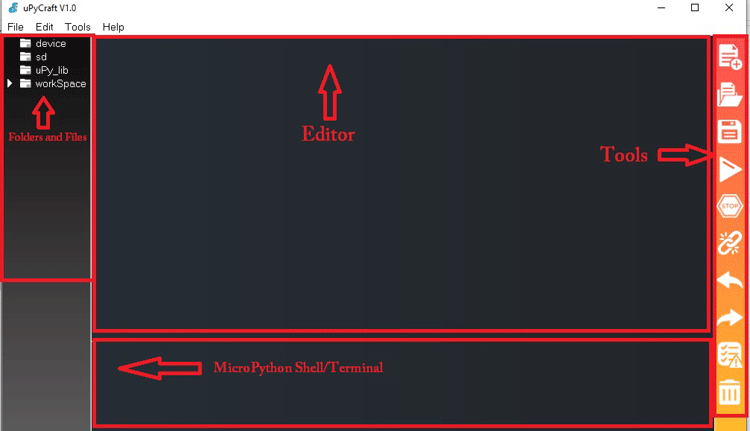
uPyCraft IDE has 4 sections:
1. Folders and files: This section contains files and folders.
- Device folder contains the files stored in the ESP board. This folder also contains boot.py by default and you have to make another file with main.py to write your program.
- SD folder contains the files stored in the SD card. There are various boards which support SD card like pyBoard.
- uPy_lib contains in-built MicroPython IDE libraries.
- Workspace contains the files which you will save on your PC.
2. Editor: This section is for writing and editing the python code. Multiple python files can be opened in Editor.
3. Shell/Terminal: This section is for writing and executing the shell commands on the ESP board. This section also shows the status of the program, errors, print messages, etc.
4. Tools: This section contains options for creating a new file, saving the file, uploading the file, connecting/disconnecting the board, etc.
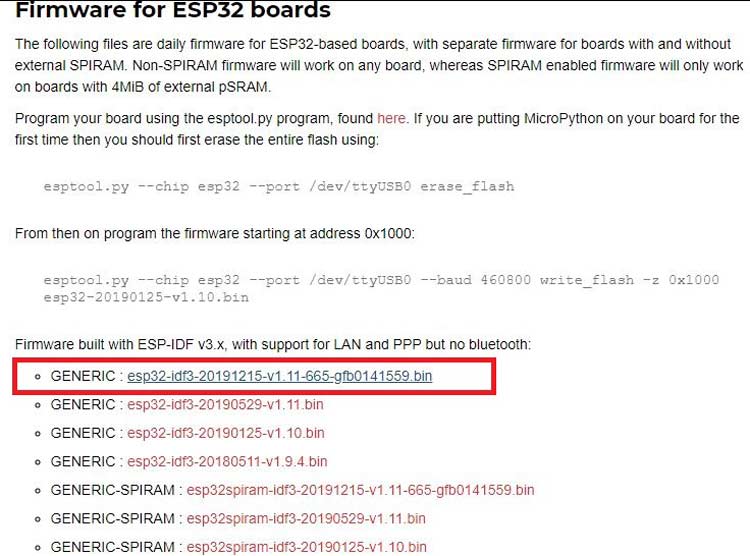
3. Flashing the MicroPython Firmware on ESP32 Board
The firmware for the ESP32 board is a .bin file which can be downloaded from this link. Download the latest .bin file for your respective board.
Step 1. Open uPyCraft IDE and connect the ESP board. Go to Tools-> Serial and choose the COM port for your board.
If you are unable to find the COM port for your board then either USB cable is faulty or you need to install the drivers for ESP32/ESP8266.
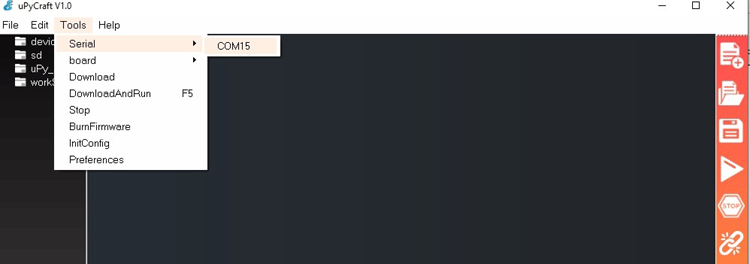
Step 2. Now, choose the board from Tools->board. In our case board is ESP32.
Click on BurnFirmware and you will see a window as shown below.
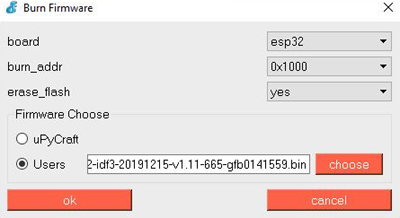
Choose burn_addr as 0x1000, erase_flash as yes. Then click on Users and choose .bin file that is downloaded earlier.
Step 3. Hold down the BOOT/FLASH button on ESP32 and click on OK. When the Erase Flash process begins, you can release the button.
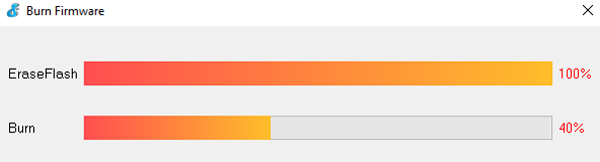
After a few seconds firmware will be flashed on ESP32.
Now we are done with the firmware uploading part and will start writing the program for Blinking LED using ESP32 MicroPython using uPyCraft IDE.
4. Programming and uploading the code into ESP32 using uPyCraft IDE
After having the firmware flashed and board connected to the PC follow the below steps to program ESP32.
Step 1. Open uPyCraft IDE and go to Tools->boards. Choose your board.
Step 2. Go to tools-> Serial and choose your COM port.
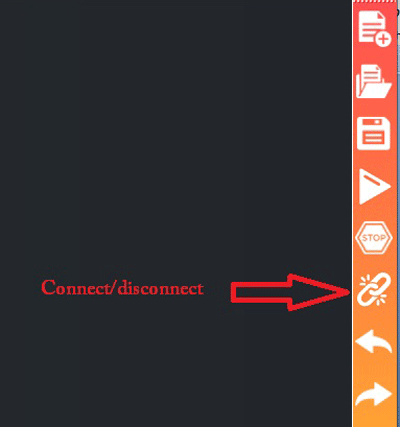
Step 3. Now, click on the connect icon in the Tools section to make the connection between IDE and ESP board.
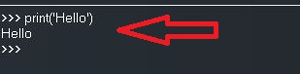
Step 4. If the connection is successful, there will be a >>> sign in the terminal like shown below. Here you can give any python command to test. We have given the print(‘Hello’) command and as a result, Hello is printed in the next line. This means MicroPython firmware is installed correctly and working as expected.
Step 5. Now, click on the New file icon in the tool section. An untitled file will appear in the file tab. Save this file by clicking the Save icon in the tool section. Name this file as main.py
After this, you will see your IDE as shown below.
Step 6. As we have to write python code for blinking the onboard led. So click on the main.py tab and copy-paste the below code for blinking the onboard LED.
from time import sleep
from machine import Pin
led = Pin(2, Pin.OUT)
while True:
led.value(not led.value())
Sleep(1)
The above Python code is simple and easy to understand. For more information regarding syntax, please have a look at MicroPython documentation.
Step 7. Now, click on the Download and run button in the tool section.
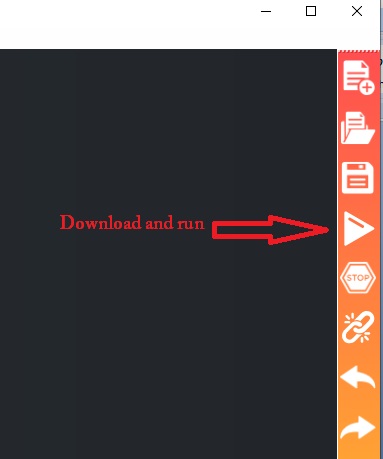
It will show download ok in the terminal window as shown below.
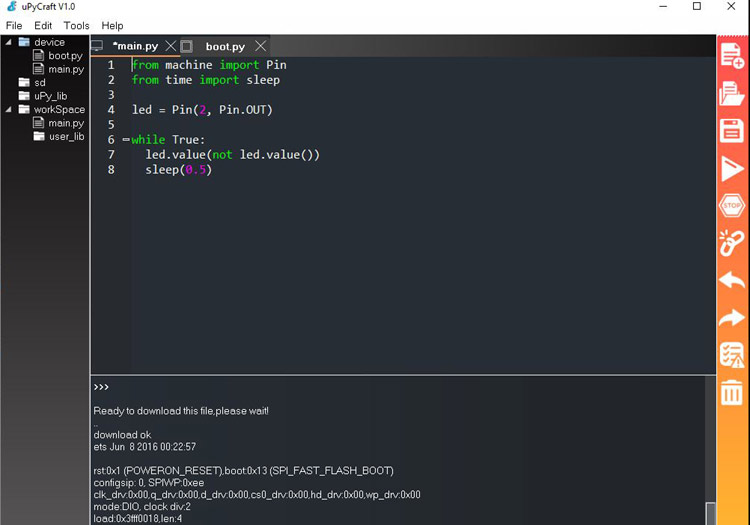
Now main.py will appear in Device folder which shows that the code is successfully uploaded in the ESP32 memory.
Step 8. To test the script, click on the STOP icon in the tool section and press the En/Reset button on ESP32. You will see some messages in the terminal as shown below.

That’s it. Now ESP32 on-board led should blink after every 1 second.
Similarly, you can write a python program for any application which works with ESP32. Learn more about ESP32 and its working by going through various ESP32 based projects
