
Minecraft is one of the most popular game in the world and people are getting additive for this interesting game. You can setup your own Minecraft server and can create your own worlds in the game. For this, you don’t need to spend money on a dedicated PC, it can be easily done with a small, credit card-sized Linux computer Raspberry Pi. If you want to play it on small LAN network with your family and friends then Raspberry is the perfect choice for you. Graphics of this game is not good but still it looks so fascinating to play this game on network with other people.
Within an hour, you can start playing Minecraft on your dedicated Raspberry Pi powered Minecraft server. However, Raspberry Pi is not powerful enough to handle high complex automated farms and more than 5 players but still is it one the best low cost option to play this interesting game on network.
So, in this tutorial we will learn about managing Minecraft servers using Raspberry Pi.
Requirements
1. Raspberry pi 2 or above with Raspbian installed in it
2. LAN cable
3. Power adaptor
In this tutorial I am using External Monitor using HDMI cable to connect with Raspberry Pi. If you don’t have monitor, you can use SSH client (Putty) or VNC server to connect to Raspberry pi using Laptop or computer. If you find any difficulty then follow our Getting stared with Raspberry Pi Guide.
To connect with this Minecraft server you need another Raspberry Pi to join the game. Check the working Video in the end of the project. Here the complete process to setup minecraft on Rasbperry pi is explained in the below steps:
1. Update the Raspberry Pi
First update and upgrade your raspberry pi system using this command:
sudo apt-get update && sudo apt-get -y upgrade
2. Setup Your Environment
Minecraft works on Java so, check whether Java and java compiler is installed in your Raspberry Pi using the following commands:
java  -version
javac –version

Your version can be different. If versions are not showing then you have to install java SDK.
3. Install Minecraft
We are going to install Spigot Minecraft Server, It is a most optimize plugin for small Minecraft servers. Following are steps to do that:
Step 1: Create the Minecraft folder
cd /home/pi
    mkdir minecraft
    cd minecraft
Step 2: Download the buildtools
sudo wget https://hub.spigotmc.org/jenkins/job/BuildTools/lastSuccessfulBuild/artifact/target/BuildTools.jar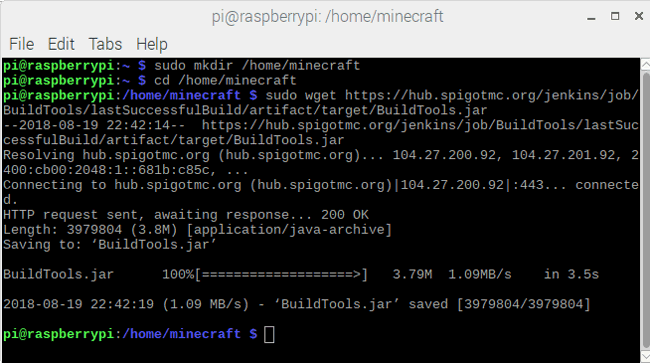
Step 3: Build the server package that you have downloaded using below command:
sudo java -jar BuildTools.jar
Building of the files takes time. It will take about one hour to two hours depending on your internet speed. So, this would be a good time to get yourself a drink or snacks.
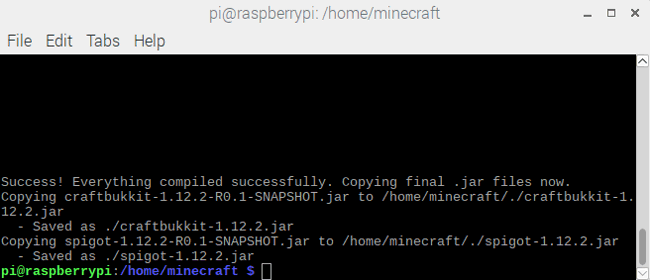
Have patience and come back after an hour. If all things go well you will have a file in your Minecraft folder called spigot-1.12.2.jar (or whatever the latest version is at the time).
4. Launching the Minecraft Server
It’s time to launch the server. Use ls command to find the spigot.jar file and it’s version.
There is should be file with a filename similar to spigot-[version].jar. At the time of writing, this was spigot-1.12.2.jar.
Step1:- Launch the server with the following command, make sure you enter the correct version number.
sudo java -Xms512M -Xmx1008M -jar /home/minecraft/spigot- [version].jar nogui
After launching, the server will stop automatically (first time only) to confirm the license agreement.

Step2:- Open the end-user license agreement(EULA) file using this command:
sudo nano eula.txt
Accept the EULA by changing False to True, then press Ctrl > X to exit and save.
Step3:- Next, launch the server again using the same command:
sudo java -Xms512M -Xmx1008M -jar /home/minecraft/spigot-[version].jar nogui
It will take time, as map is building. It will take about half an hour, so be patient


5. Connect to the Raspberry Pi Minecraft Server
Now, your Minecraft server is online on your local network. All you need to do is launch Minecraft on your computer, then click Play > Servers -> Add server fill the new server details, give it a name, and add the IP address.
You can find the IP address of your server by typing following commands in the terminal:
sudo hostname -I
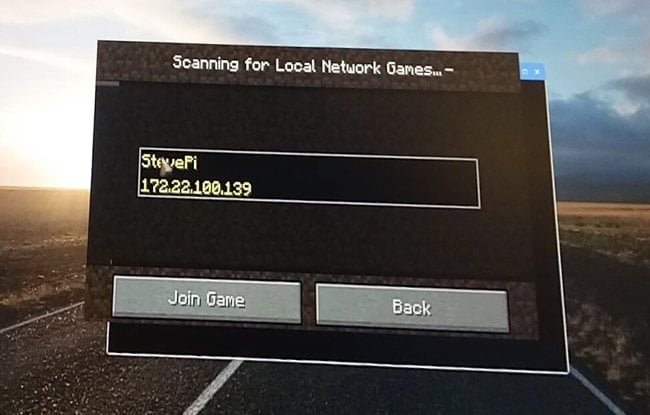
Now, select the server to start playing.
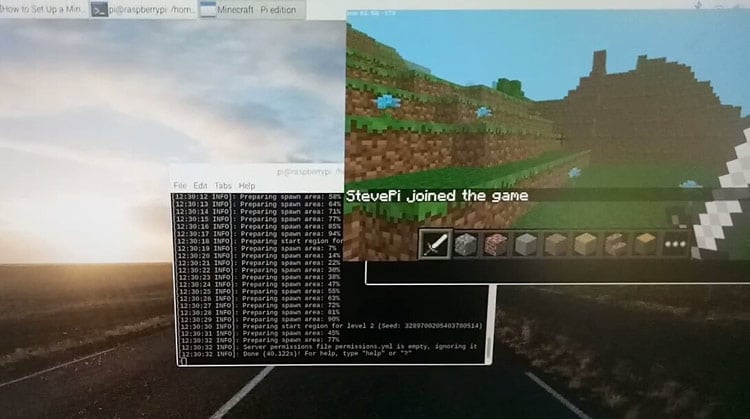
If you have another Raspberry Pi, then you can play in that also. Raspberry Pi has inbuilt Minecraft game. So, you can connect this local minecraft with our newly created Minecraft server:
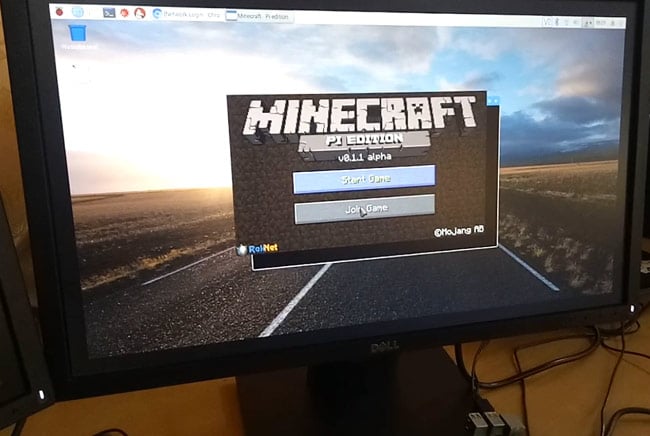
1. Open the Minecraft pi in the Game option.
2. Start the game on the server Raspberry Pi.
3. Click on Join game in another raspberry pi and then your server IP will be displayed, click on it. Now, you can enjoy your game on your own terms.
Check the Video at the end for full demonstration.
6. Configure Your Minecraft Server
If you have tested the server and it is working correctly on your Rasbperry pi computer, then now it’s time to configure it. You have to edit server properties. Use the below command to set the properties, it is a text file.
sudo nano /home/minecraft/server.properties
Anything you are changing here, keep in mind that Raspberry pi is not a high speed processor so, set the properties which requires less processing. A list of server properties can be found on this link Minecraft wiki .
Finally after all the setup and configuration, you can optionally install a plugin to prevent using too much RAM of Raspberry pi by Minecraft game. You have to install the NoSpawnChunks plugin to prevent high RAM usage by the Minecraft server.
First, open the plugins subdirectory by using this command:
cd /home/minecraft/plugins
Download the NoSpawnChunks.jar file:
sudo wget -O NoSpawnChunks.jar http://ci.dmulloy2.net/job/NoSpawnChunks/
Now you have your own Minecraft server which you can customize according to you. So now enjoy the game with your friends and family.

I lost my connection to my pi via putty, so how can I see if the server is still running and how can I get back to view the info log?
I am running Raspbian 10 on a pi 3 model B.