
Have you ever thought about a speaker which can be controlled by your voice!!! What if we can control our home appliances this way and make these appliances smarter? Voice assistants becoming more popular as we are heading towards an era of AI and IoT based systems. You have heard about Google Assistant, Apple Siri and Amazon Alexa. These all are Voice based AI systems, what makes these different from each other is their ecosystems, and this is where Amazon Alexa standout the most. Google, Apple and Amazon, all these companies already launched their smart speakers but Amazon was first to introduce them. Amazon echo, Echo Dot Spot, etc. are the smart speakers which are available in market.
Amazon provides the API for using its much popular voice service, Alexa. It is open source and available on Github. Further you can install or integrate Alexa on custom devices like Raspberry Pi and get the full Amazon Echo functionality in that device.
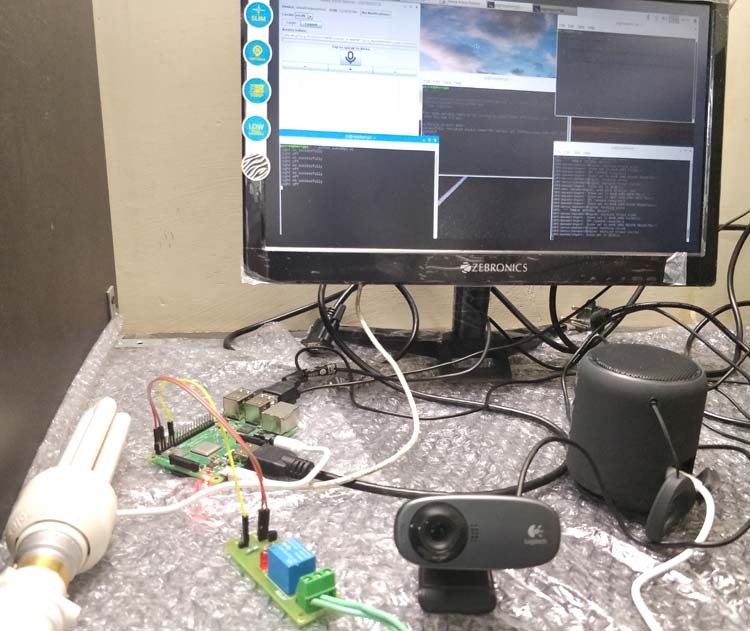
Using Alexa voice service, we can play music, get information about weather, book tickets and many more. All you have to do is ask. In previous tutorial we have controlled Raspberry Pi GPIO using Amazon Alexa. In this tutorial, let’s see how to build a voice controlled home automation system using Amazon Alexa and Raspberry Pi. We will see how we can use Raspberry Pi to run the Alexa Voice Service and control a Light Bulb.
Perquisite Material:
Hardware Requirements:
- Raspberry Pi 3 [Recommended] or Raspberry Pi 2 Model B [Supported] and SD Card (8GB or more)
- External Speaker with 3.5mm AUX cable
- Any Webcam or USB 2.0 Microphone
- Relay module
- LED/ AC Bulb
Note: Webcam has inbuilt microphone so, we will use this in place of USB 2.0 microphone.

Software Apps and Web Requirements:
- Register an account with Alexa Voice Services
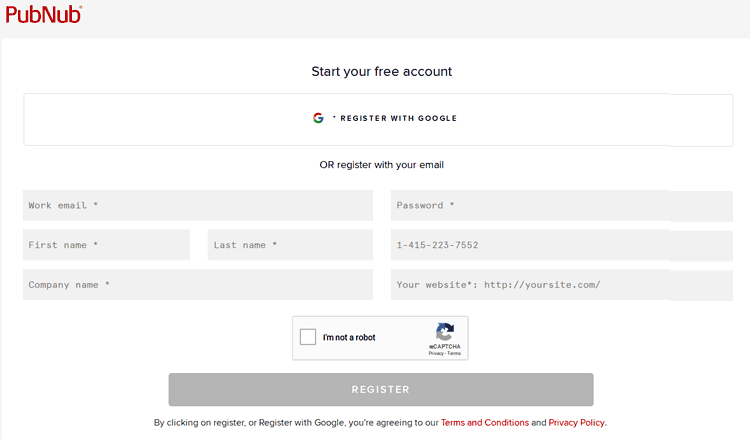
- Register an account with PubNub
- Register an account with IFTTT
We also assume that your Raspberry pi is already set up with an Raspbian OS and is connected to the internet. With these in place let’s proceed with the tutorial. If you are new to Raspberry Pi then go through Getting started with Raspberry pi first.
The whole tutorial is mainly divided into 5 parts, which are as follows:
- If you don’t have monitor then we have to setup the Raspberry Pi with SSH and VNC, also check the USB Microphone connectivity.
- Set up Your Amazon Developer and installing Alexa on Raspberry Pi
- Setting up PubNub and IFTTT for Alexa Home Automation
- Hardware connection
- Python code for Alexa Pi Home Automation
So lets get started!!
Part 1: Setting up the Raspberry Pi with SSH and VNC
First, we will connect Raspberry Pi with SSH and VNC. For this follow tutorials on official Raspberry Pi’s website, links are given below.
For SSH: SSh link
For VNC : VNC link
If you have Monitor then you can leave this step and go directly to step 2 which is Setting Up The Alexa Voice Service(Avs). Before that we have to check mic connectivity.
Checking Webcam Mic with Raspberry Pi:
1. Open Raspberry Pi terminal and type arecord -l command. This will display the hardware devices which are connected to Raspberry Pi as shown below:
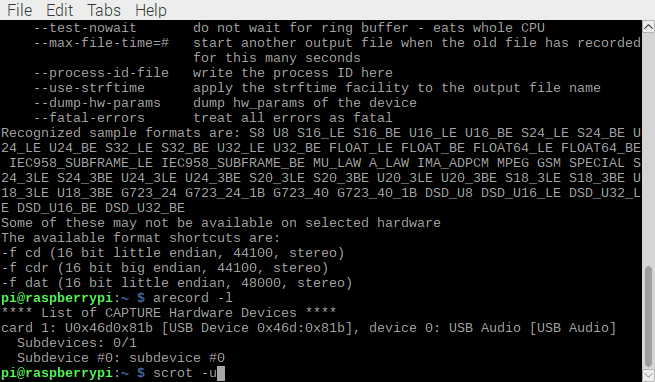
Card 1 is your webcam’s mic that we are going to use. If it is not displayed, your webcam may be defective.
2. Now, check if mic is working by running the record audio command as :
arecord /home/pi/Desktop/test.wav -D sysdefault:CARD=1
3. To play the recorded audio type this command :
omxplayer -p -o local /home/pi/Desktop/test.wav
If you have connected Raspberry Pi with monitor using HDMI cable then by default audio output is through your monitor’s speaker (if there is inbuilt speaker in it). So, to change it to 3.5mm you have to type the following command:
sudo raspi-config and go to Advance option.
Select Audio from the list -> select Force 3.5mm -> select Ok and Restart you Raspberry Pi.
Now, you should hear the sound from 3.5mm jack.
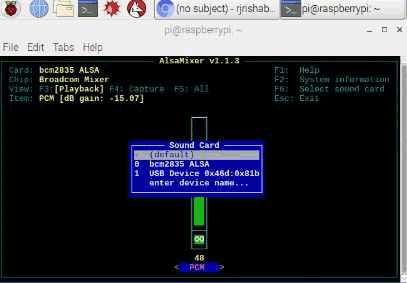
NOTE: If you want to increase or decrease the input voice loudness for microphone the type alsamixer in the terminal. Select sound card from the terminal by pressing F6.
Press F4 to change the Mic dB gain and set it as you want.
If you have USB 2.0 microphone then steps followed are same to check the microphone. Here we have used Webcam for USB microcphone.
Part 2: Set up Your Amazon Developer Account and Configure Alexa Voice Services on Raspberry Pi:
We have already explained this in detail in our previous tutorial where we have built a Amazon Echo smart speaker. Here are we are focusing on controlling Home Appliances with Alexa so we are not explaining the whole process again, so read the previous article and get your Speaker ready with Alexa voice services installed on your Raspberry pi.
To test Alexa, just wake her up by saying her name! Check the Demo Video Given at the end of the tutorial.
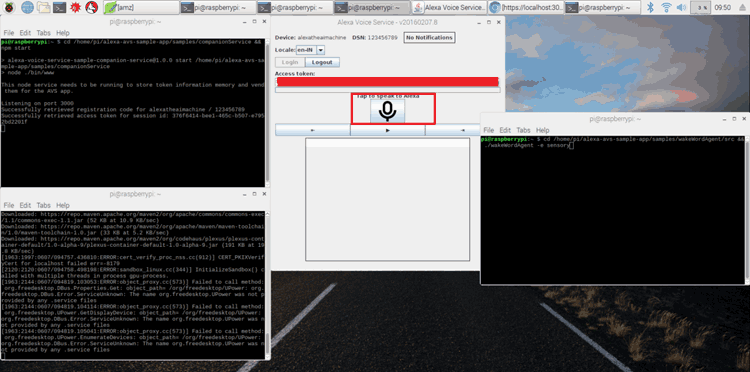
You can ask her about temperature of your city to check it is working or not.
Part 3: Setting up PubNub and IFTTT for Alexa Pi Home Automation:
For building home automation system using this Alexa Pi, we need the help of PubNub python SDK and IFTTT. We will give commands to IFTTT through Alexa, and PubNub gives signal to RPi to On/Off the light. So we will first install the PubNub on Raspberry Pi.
Part 3-1: Installing PubNub Python SDK:
PubNub provides a messaging API to publish/subscribe any message on their Global network. Here we are using IFTTT and Alexa to publish the message on PubNub, for turning On/Off the Relay. This message is received by Raspberry Pi and Pi will turn On or OFF the Light accordingly. Follow below steps to setup PubNub on Raspberry Pi:
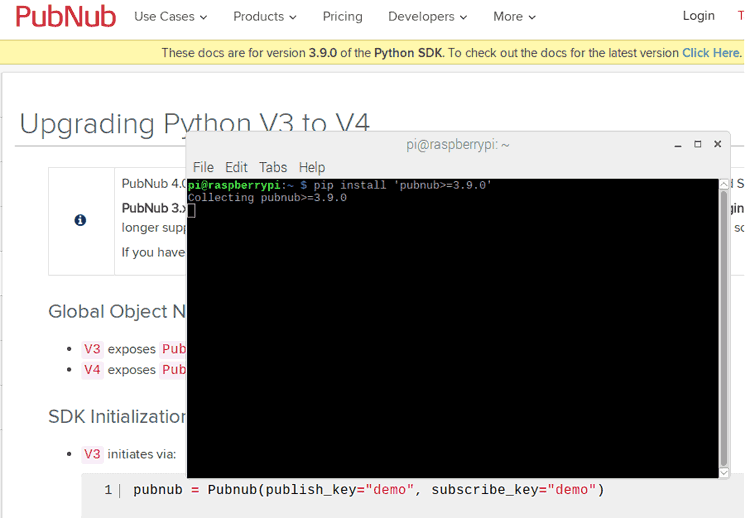
1.Open terminal on your RPi and run the following command to install SDK:
sudo pip install pubnub==3.9.0
Install 3.9.0 version only, other version will not work with the python script which we will going to run in the last.
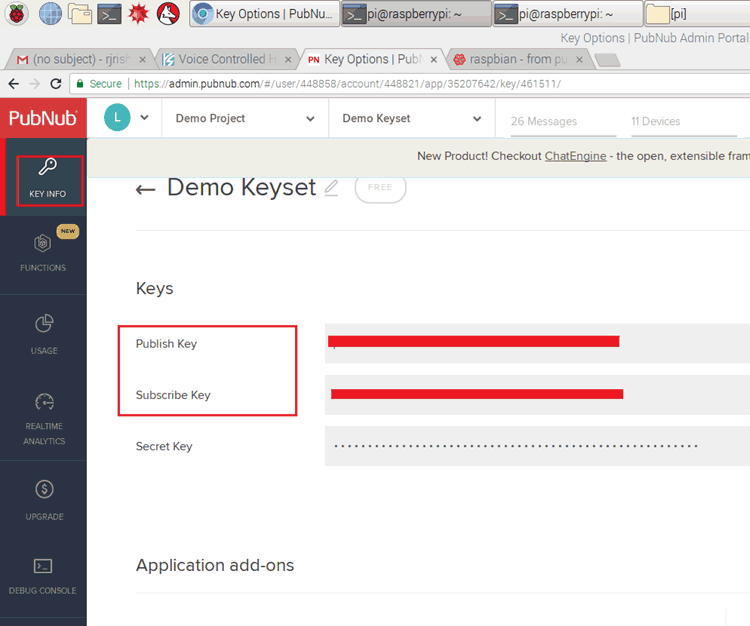
2. Now, go to PubNub and sign in with your credentials.
3. Obtain the Publish and Subscribe Keys we will be using later on.
Part 3-2: Setting up IFTTT for Amazon Alexa Service:
IFTTT is a free web-based service that allows users to create chains of simple conditional statements, called “recipes”, which are triggered based on changes to other web services such as Gmail, Facebook, Instagram, and Pinterest. IFTTT is an abbreviation of “If This Then That”.
For this project, IFTTT is used to trigger the light switch on/off commands based on the speech command received by Alexa service running on RPi.
Follow these steps to make an Applet:
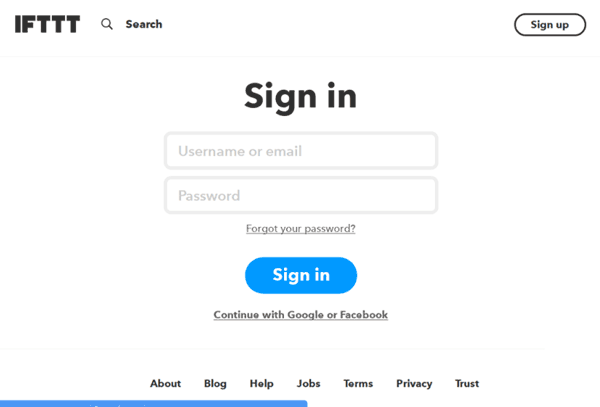
Step 1:- Login to IFTTT with your credentials or Sign Up if you don’t have an account on it.
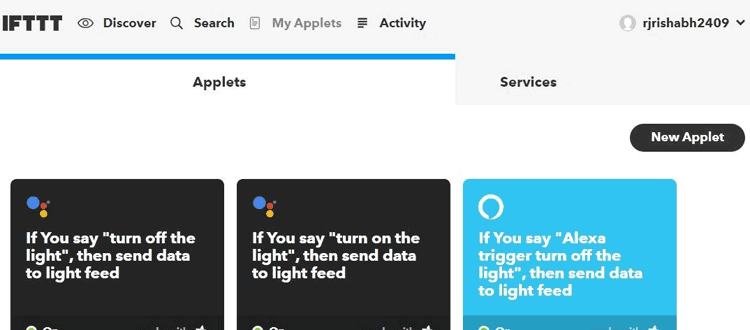
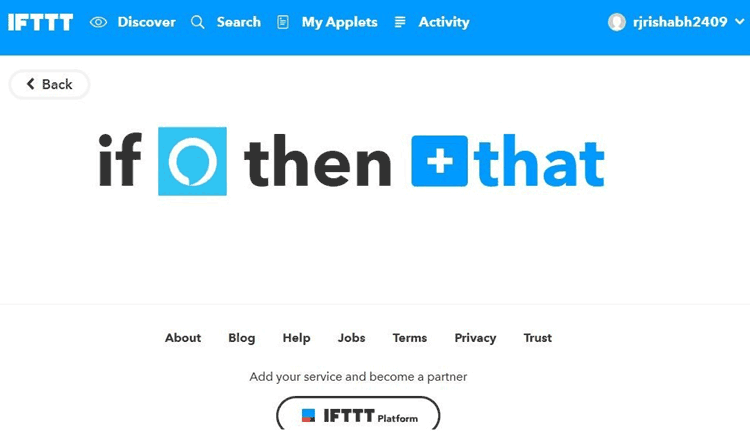
Step 2:- On My Applets, Click on New Applet
Step 3:- Click on +this
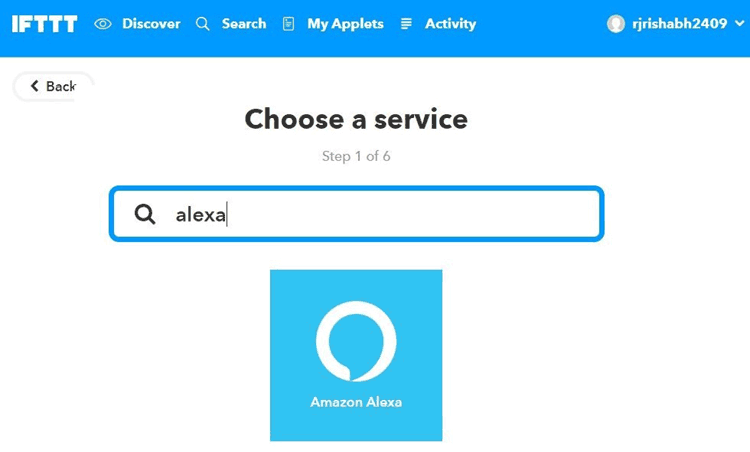
Step 4:- Search Amazon Alexa and click on it, sign in with your amazon developer account details.
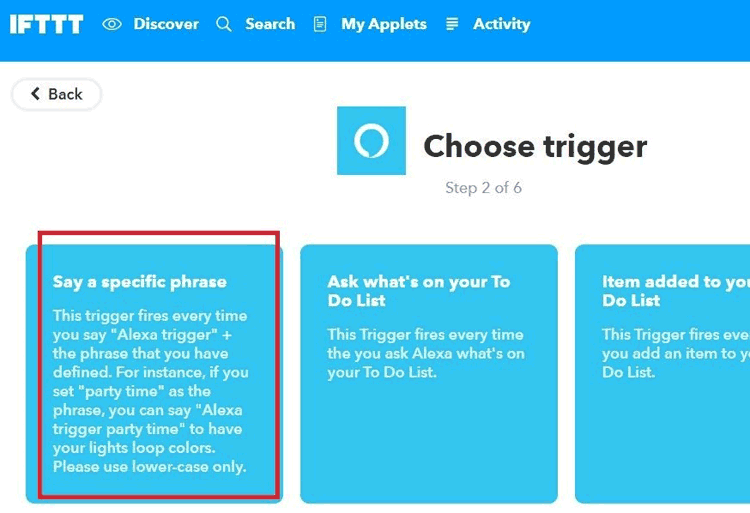
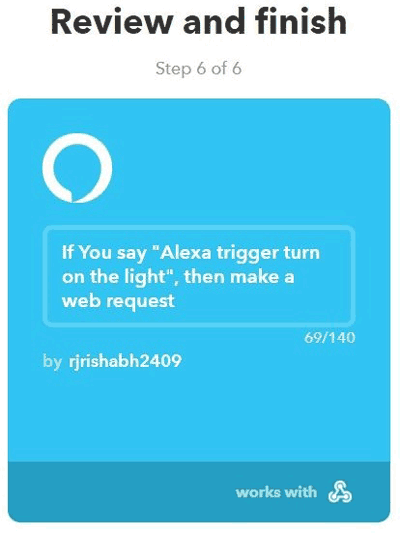
Step 5:- Choose the trigger, Say a specific phrase
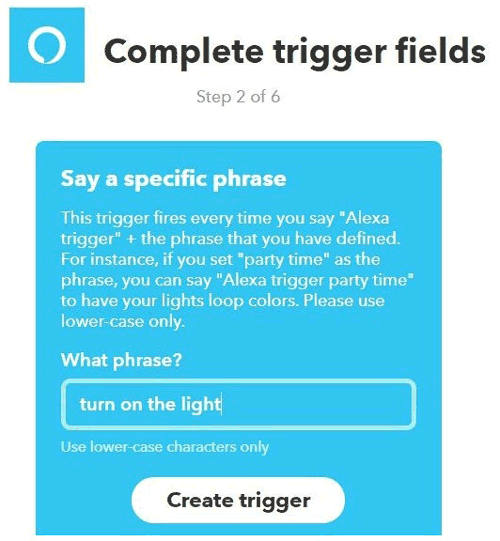
Step 6:- Provide “turn on the light” as the phrase, click on Create Trigger.
Step 7:- Click on +that
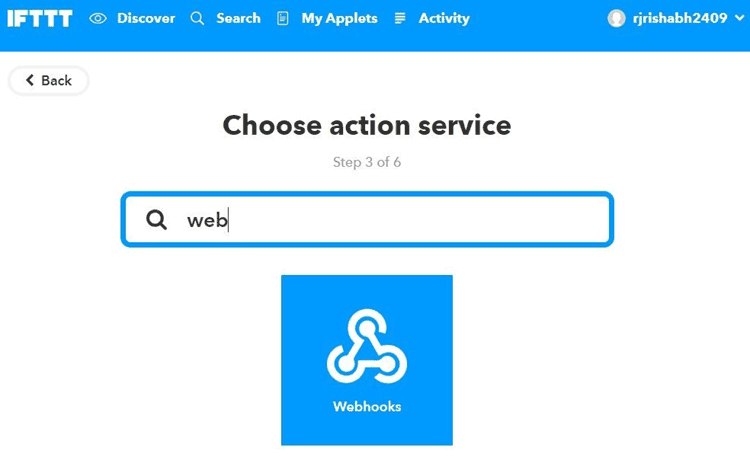
Step 8:- Search for Webhooks, click on it and Select Make a Web Request
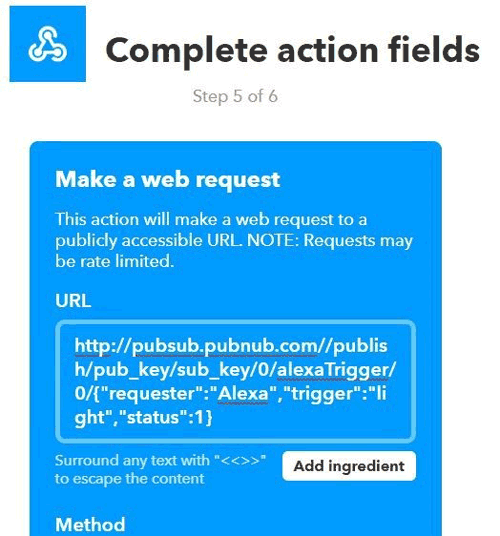
Step 9:- Webhooks provides the REST WEB Request, Use the Publish and Subscribe keys obtained from the PubNub and modify the following URL.
Step 10:- Paste the modified URL to the URL text box.
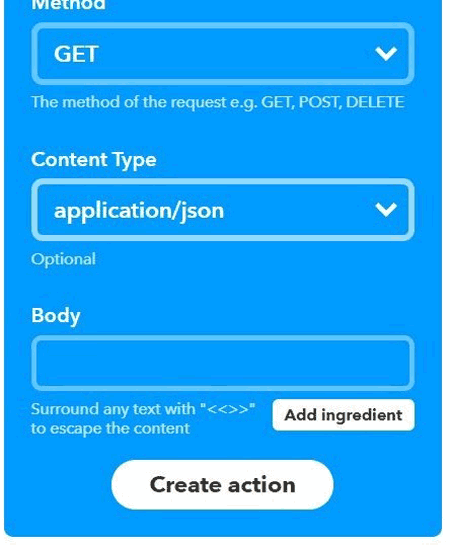
Step 11:- Set the Method as GET, Content as application/json and click on save.
Step 12:- Follow the same steps to create the trigger for “turn off the light” and modify the URL to the following.
Step 13:- We are now ready with all the web components for the demo.

Part 4: Hardware connections and Circuit Diagram:
For this project, we need a Relay Module and AC bulb or any other AC component or you can use simple LED for testing purpose. Below is the circuit diagram and Hardware connections to control the AC Appliance with Amazon Alexa.
We will using GPIO18 in our python script so, connect relay to GPIO 18. You can change this in python script.

Part 5: Python Code for Controlling the Light:
Find the complete Python Script at the end of this tutorial.
You need to edit Pub and Sub key with your pubnub keys in the python code.
# Initialize the Pubnub Keys
pub_key = "***************************"
sub_key = "************************"
Now run the Script
python alexaRpi.py
Now we are all set for the demo, Make sure you are running all the three services from the Part 1 (the three terminals) before continuing.

To give any command you need to wake up Alexa service by calling “Alexa” each time you want to send a command. You will hear a beep sound. Once you hear the beep, say “Alexa Trigger Turn on the Light.” You can see the light turns ON within a moment. And then if you say “Alexa Trigger Turn off the Light”, the light should turn OFF.
That’s it…. You can add more AC appliances in the python script by adding them with other GPIO pins of RPi and can control many appliances with your smart home automation system.
Check the complete code and Demonstration Video below. Also check our all the Home Automation Projects here.
Complete Project Code
#Import all the libraries
import RPi.GPIO as GPIO
import time
from pubnub import Pubnub

# Initialize the Pubnub Keys
pub_key = "***************************"
sub_key = "************************"

LIGHT = 18           #define pin of RPi on which you want to take output

def init():          #initalize the pubnub keys and start subscribing

 global pubnub    #Pubnub Initialization
 GPIO.setmode(GPIO.BCM)
 GPIO.setwarnings(False)
 GPIO.setup(LIGHT,GPIO.OUT)
 GPIO.output(LIGHT, False)
 pubnub = Pubnub(publish_key=pub_key,subscribe_key=sub_key)
 pubnub.subscribe(channels='alexaTrigger', callback=callback, error=callback, reconnect=reconnect, disconnect=disconnect)


def control_alexa(controlCommand):          #this function control Aalexa, commands received and action performed
 if(controlCommand.has_key("trigger")):
  if(controlCommand["trigger"] == "light" and controlCommand["status"] == 1):
   GPIO.output(LIGHT, True)
   print "light is on"
  else:
   GPIO.output(LIGHT, False)
   print "light is off"
 else:
  pass


def callback(message, channel):        #this function waits for the message from the aleatrigger channel
 if(message.has_key("requester")):
  control_alexa(message)
 else:
  pass


def error(message):                    #if there is error in the channel,print the  error
 print("ERROR : " + str(message))


def reconnect(message):                #responds if server connects with pubnub
 print("RECONNECTED")


def disconnect(message):               #responds if server disconnects with pubnub
 print("DISCONNECTED")


if __name__ == '__main__':
 init()                    #Initialize the Script
Comments
It means the python librarey pubnub is not installed properly. Follow the tutorial from top to know how to install it. basically you should run this command in your python directory
sudo pip install pubnub==3.9.0
you should be updating sys.path.append('Path_of_punub_Library') so that python can find it. This has solved my problem.
Hello, can I transfer snapshot with raspberry pi gsm module? How do I make a camera on Pi and want to remotely view the camera and record the image?
hi have a problem with the code if i say alexa trigger turn on light the command was correct but if i say alexa trigger turn off the light it affer Light is on not Light is of... the terminal always who Light is on...how to edit the code you give? thank you...

python error it shows" ImportError: No module named 'pubnub' "