
As you know, IFTTT recently announced their “Pro” subscription and restrictions on free accounts. Under IFTTT’s new subscription policy, you can only have 3 “custom” applets created/enabled at any time – which is quite a downgrade from their unlimited free plan.
Ever wondered if there was a way to make Google Assistant-controlled projects without having to spend days writing codes, just like IFFTT? Yes, that's possible with the Node-RED Platform. Developed by IBM, Node-RED is an open-source programming tool for wiring together hardware devices, APIs, and online services in a new and interesting way. It provides a browser-based editor that makes it easy to wire together ‘flows’ using the wide range of nodes in the palette that can be deployed to its runtime in a single click. In this project, we are going to control Raspberry Pi GPIO using Google Assistant with Node-RED. For that, we will be using the Smart NORA integration plugin for Node-RED.
Components Required for Integrating Google Assistant with Node-RED
- Raspberry Pi
- LED
- Breadboard
- Jumper Wires
Installing Node-RED on Raspberry Pi
Node-Red comes pre-installed on the Raspbian Stretch OS. In case you don’t have Node-RED installed on your Pi, you can use the below command to install Node.js, npm, and Node-RED onto a Raspberry Pi. This command can also be used to upgrade an existing install.
bash <(curl -sL https://raw.githubusercontent.com/node-red/linux-installers/master/deb/update-nodejs-and-nodered)
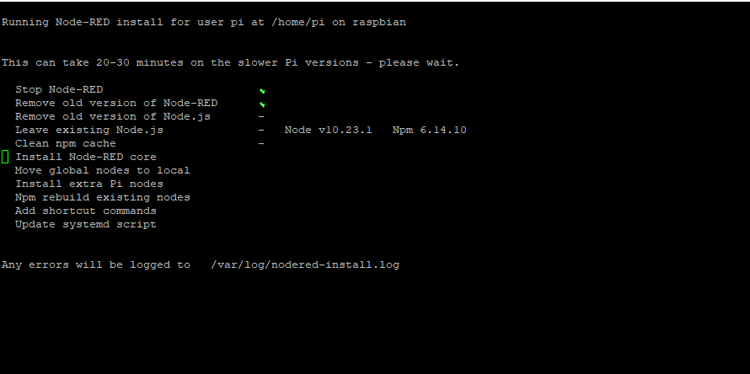
The command will do the following things:
- Remove the old version of Node-RED and Node.js if they are present.
- Install the latest Node.js LTS version. If it detects Node.js is already installed, it will ensure that it is at least Node version 8.
- Clean out npm cache
- Install the latest version of Node-RED using npm
- Ask if you want to install a collection of useful Raspberry Pi nodes
- Will set up Node-RED to run as a service and provide a set of commands to work with the service
When the installation completes, you should see the Node-Red icon under the programming apps list.
Starting Node-Red on the Raspberry Pi
Node-Red can be either launched via Pi’s Desktop Interface or via Raspberry Pi terminal window.
From the Pi’s Desktop Interface: Select Menu -> Programming -> Node-RED.
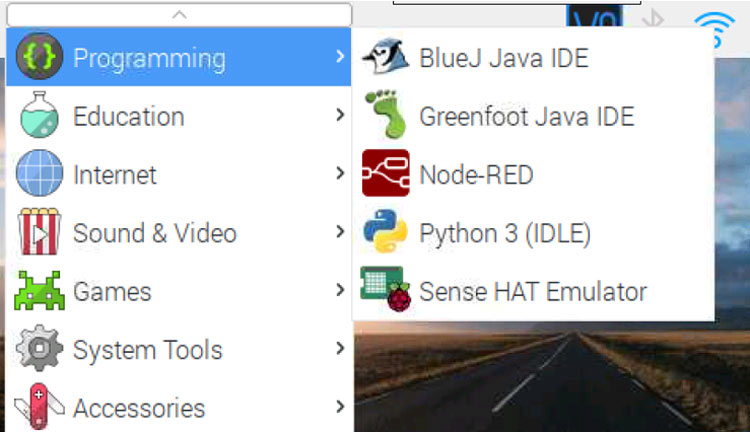
Remotely from your Computer’s Terminal: Run node-red-start in a new Raspberry Pi terminal window. To launch from the Pi’s Desktop Interface, click on Menu > Programming > Node-RED.
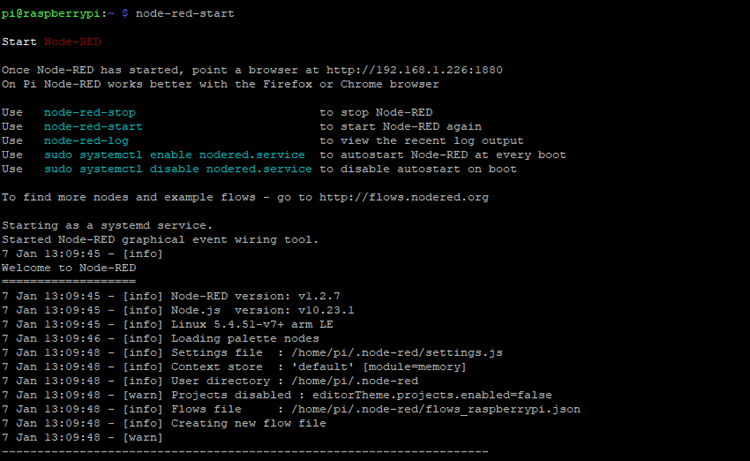
To launch it from the Raspberry Pi Terminal window, navigate to Terminal and enter the command given below:
node-red-start
Opening the Node-RED Interface
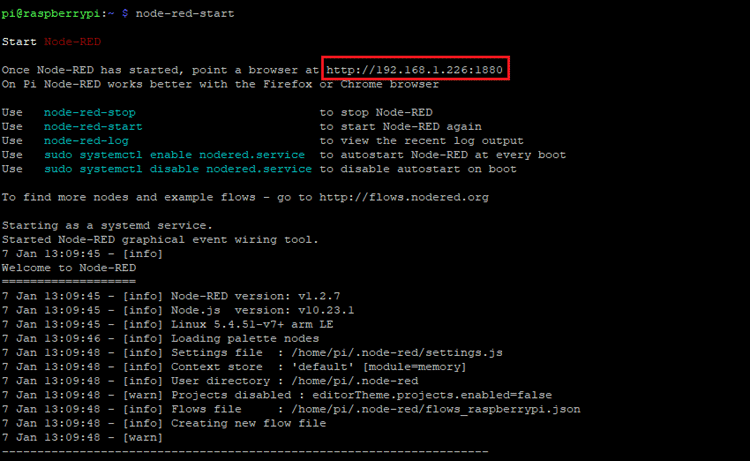
With Node-RED now installed and started up on Raspberry Pi, we can proceed to access its web interface. For that navigate to browser and http ://your_pi_ip-address:1880 in the address bar. Raspberry Pi IP address is shown in the first mainline of the Node-RED terminal as shown below.
The following screen appears after this.
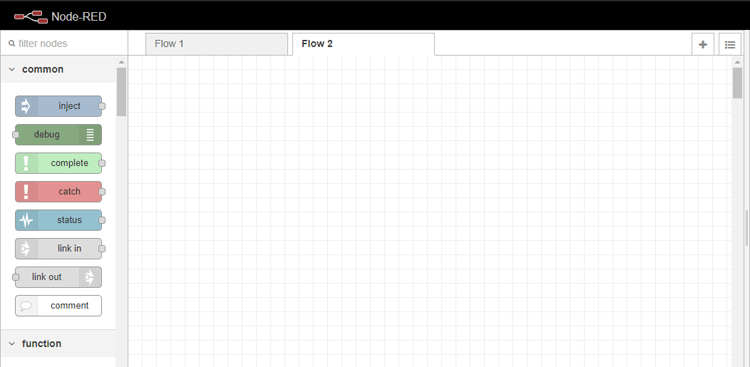
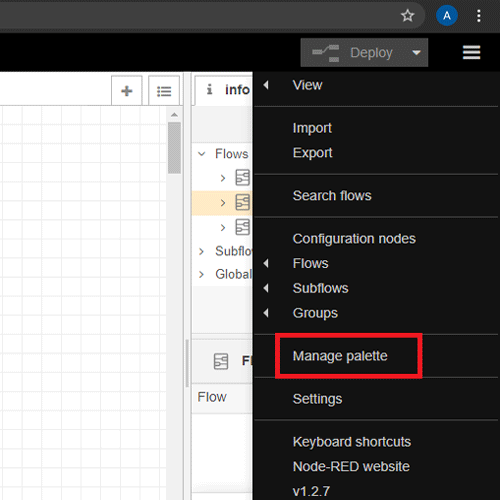
Before we start building the flows, we need to install the palette for the Google Assistant (NORA) in node-red. For that click the menu icon on the top right corner and then click on “Manage Palette”.
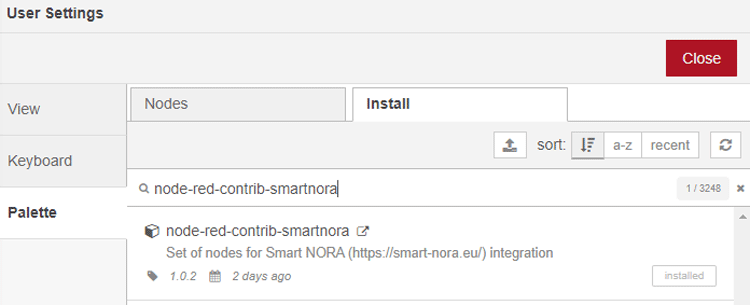
Go to the Install tab and then search and install ‘node-red-contrib-smartnora’ node.
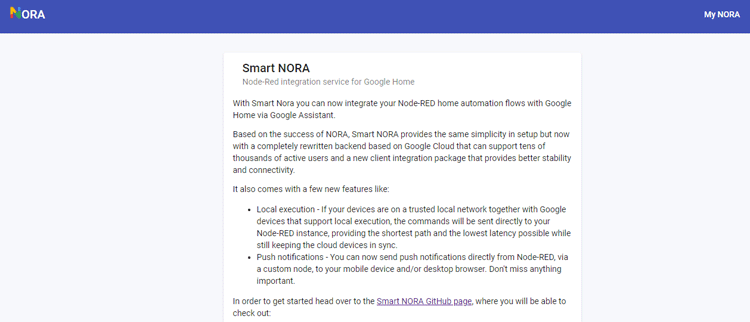
Create a Smart NORA Account
To get started with NORA you have to register an account on the NORA website. So, go ahead and click on ‘Sign in with Google'. Make sure you select the same Google account as your Google Assistant.
On the next screen, it will ask you to verify the email. Verify your email address by clicking the link in the email.
Creating a Flow in Node-RED
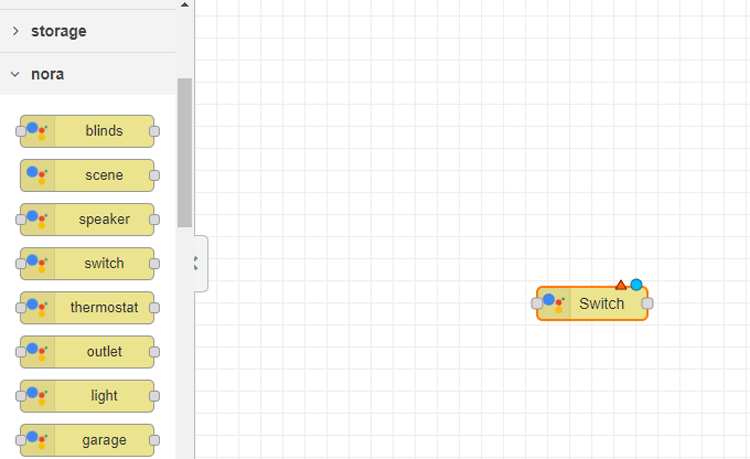
With all the required nodes installed, we can proceed with creating a flow to control an LED using Google Assistant. For that go to the ‘nora’ palette and drag the Switch node into the flow section.
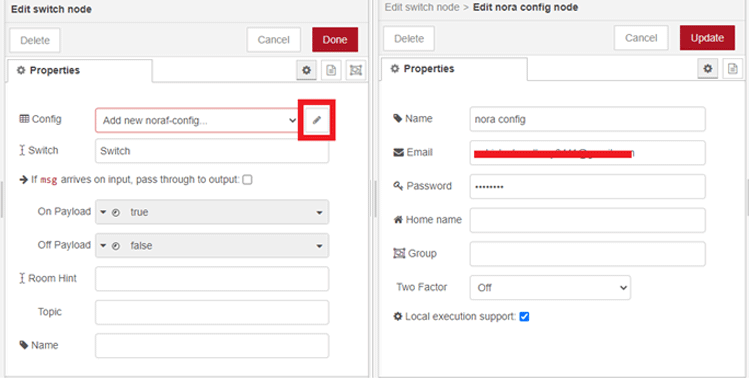
Now, double click on the Switch node to edit it. Then click on the pencil icon to configure it. On the next screen, enter your credentials (email/password) used when you created your Smart NORA account.
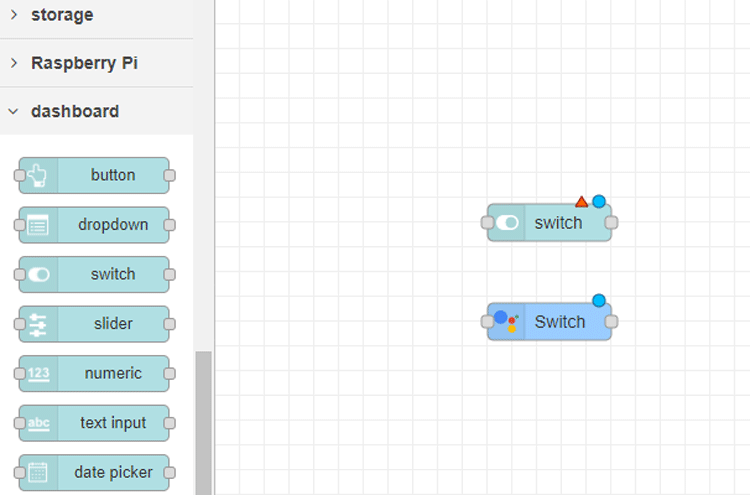
Now, go to the Dashboard palette and drag the Switch node into the flow section.
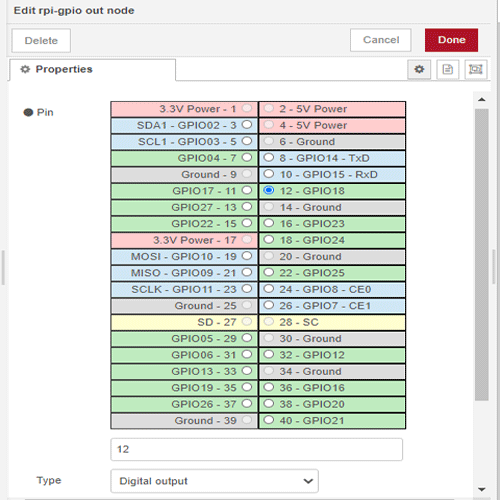
Then go to the Raspberry Pi palette and drag the ‘rpi gpio out’ node into the flow section. Double click on the node, select the GPIO18 pin, and then select ‘Digital Output’ as the output type.
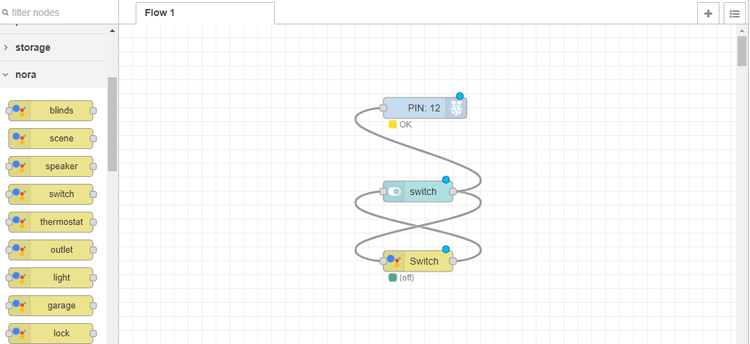
The final flow will look like this:
Adding NORA to Google Assistant
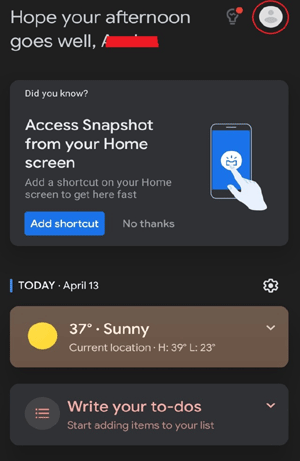
In the final step, we have to add NORA to Google Assistant or Google Home devices. For that open the Google Assistant and click on the account icon in the top right corner.
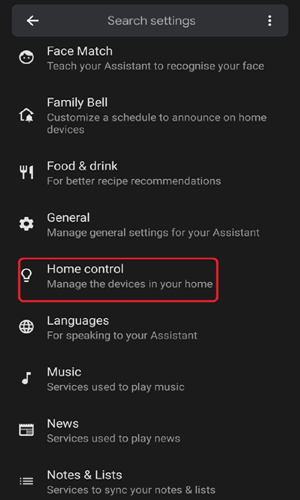
Now, scroll down and click on ‘Home Control'.
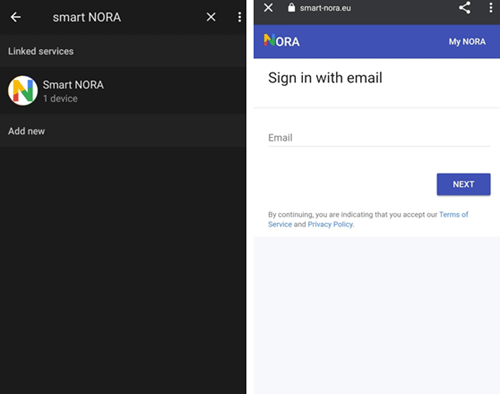
You will see a number of options, so search for Smart NORA, it will redirect you to the login page. Login with the same account as your Google Assistant.
Controlling LED with Google Assistant and Node-RED
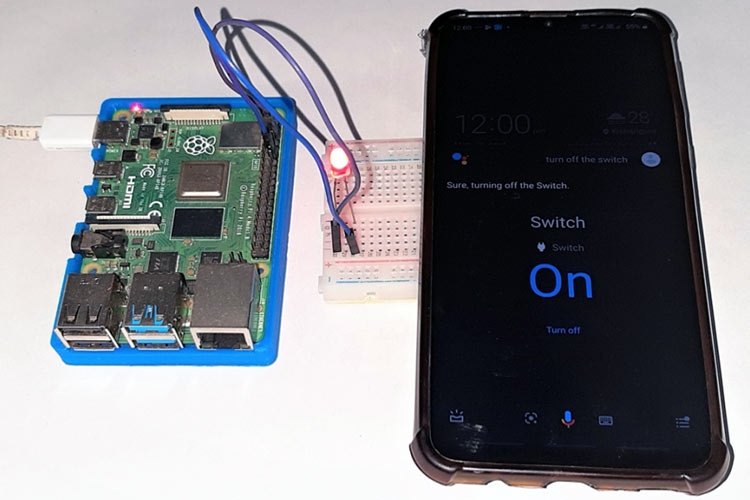
Now, everything is ready and you can connect a led to GPIO18 and GND pins of Raspberry Pi as shown below:

Then open Google Assistant and say "Okay Google, turn on the switch" or “turn off the switch” to turn on/off the LED.
IFTTT vs. NODE-RED
IFTTT is an awesome and uniquely easy-to-use service. It fantastically supports a long list of services. It can be easily used with Arduino, ESP, or any other microcontroller. If I needed to throw together quick spreadsheet-recording automation or trigger my devices using Google Assistant, IFTTT is a great starting place.
On the other hand, Node-RED is a flow-based programming tool that runs on a machine in your own environment. That means if you want to automate your devices using Node-RED, you should have a device running 24×7 with Node-RED hosted on it. Node-RED is designed to provide more sophisticated logic for workflows than IFTTT.
In IFTTT, there is one cause and one effect, for example: “if this, then that”. On the other hand, Node-RED can be used to design more advance flows like “if X then Y else Z”, or “if X and Z then Y”, etc. Using Node-RED, you can make customized raw HTTP requests and write your own plugins in Javascript, allowing for much more complex automation.
To sum up, we can say that IFTTT is great for home use or personal productivity and it is an easy-to-use IFTTT for putting together simple automation. While Node-RED can be used to building more complex flows and automation and requires some amount of knowledge.
Comments
No comments
Great post, easy configuration and seamlessly integrates with Google home app.
With a very little knowledge or googling you get a result better than IFTTT, thanks so much

No comments