

Cloud storage has become a need in today's world. The disadvantage is that your data is held on remote servers by an anonymous organization that you must entrust with the privacy and security of your important documents and photographs. However, you can host your data on your own cloud server, which you can run on a computer in your home or business. Nextcloud is one of the most popular services for accomplishing this. In this tutorial, we are going to install Nextcloud on a Raspberry Pi and connecting external storage to this server. You can also follow our other Raspberry Pi Zero Series projects for more interesting projects with Raspberry Pi Zero.
Introduction to NextCloud Server
Next Cloud is a client-server application that allows you to create and use file hosting services. It is enterprise-ready and comes with a variety of support options. Anyone can install and run it on their own private server devices because it is free and open-source software. When it is used with its integrated office suite options Collabora Online or OnlyOffice, Nextcloud functions similarly to Dropbox, Office 365, or Google Drive. It can be hosted on-premises or in the cloud. It can scale from home office solutions based on the low-cost Raspberry Pi to full-scale data Centre solutions supporting millions of users.
Installing NextCloudPi OS on Raspberry Pi Zero
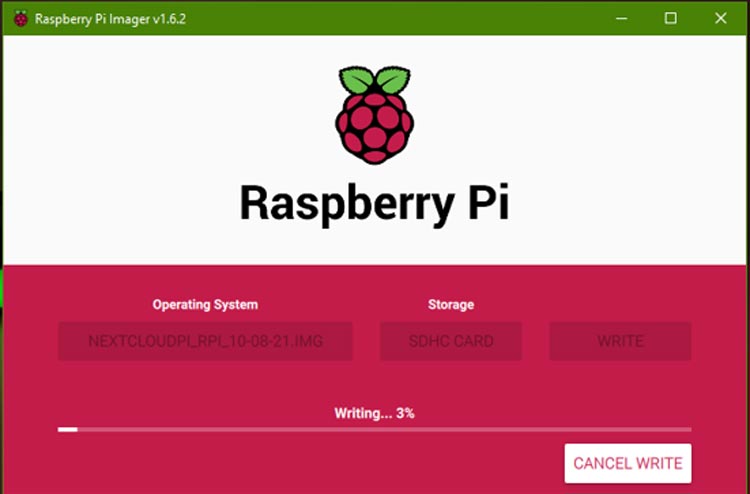
We are going to install NextCloudPi OS on microSD card, it is a customized version of Nextcloud that runs on a Raspberry Pi 3 or 4 computer. Go to the OwnYourBits website and download the most recent file NextCloudPi OS image file. Open the RPi folder (not RPi BerryBoot) and download the bz2 file. Use an archiving application on your computer to extract the file; you'll now have a folder with an IMG file (e.g. WinRAR or 7-Zip for Windows). Follow the below steps to flash OS image file to an inserted micro-SD card, using the Raspberry Pi Imager application.
1- Click on Choose OS and select the Use Custom option (at the bottom) to browse the NextCloudPi image file.
2- Click on the Storage option and select your MicroSD card.
3- Click on the Write option and wait for a minute.
Boot UP Next Cloud on Your Raspberry Pi
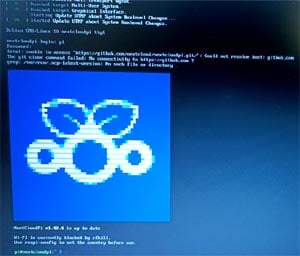
Turn on your Raspberry Pi Zero after inserting the microSD card. NextcloudPi OS starts booting on raspberry pi. You'll be requested to log in after a few seconds of presenting the boot up texts.
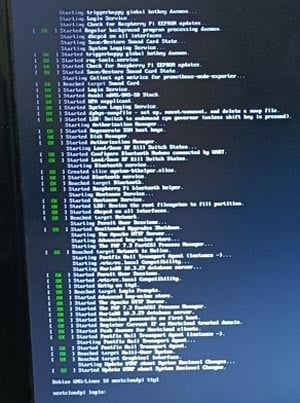
Enter the user name as Pi and password as a raspberry. Now, NextCloudPi OS has been installed properly and is ready to use.
Connecting Raspberry Pi Zero to Wi-Fi
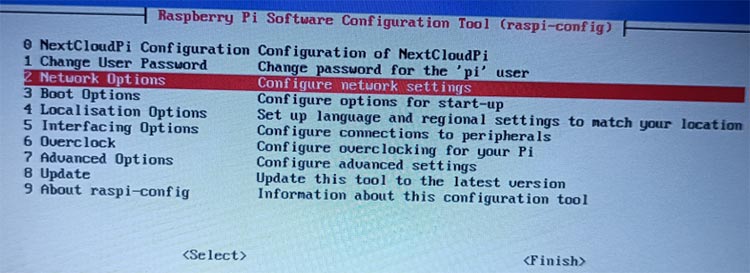
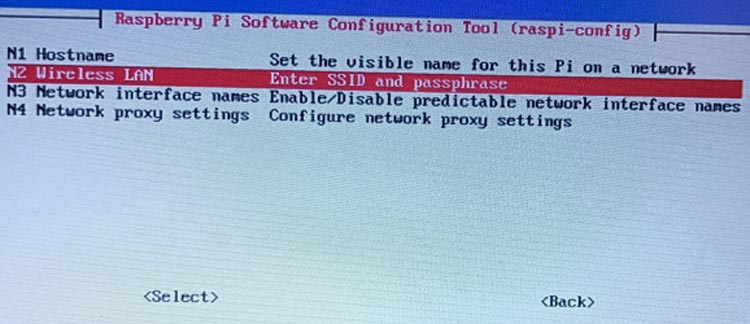
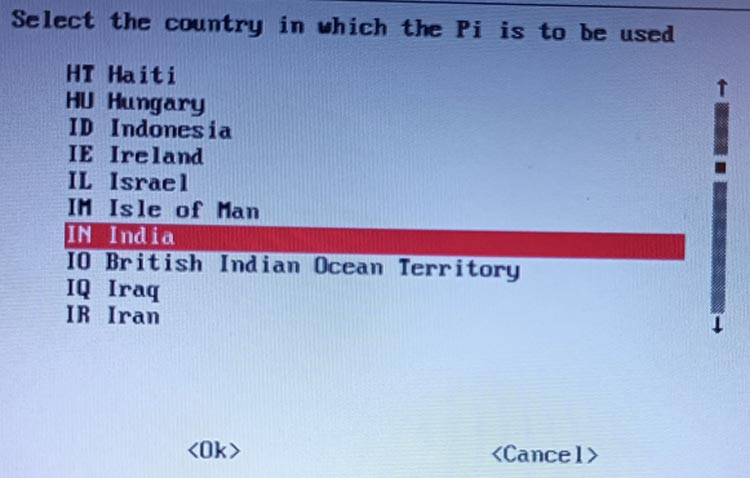
1- Enter command sudo raspi-config on the terminal window and select network option, then wireless WAN. Choose your country name then write your Wi-Fi name and password and select finish.
2- Then enter command ip addr in the terminal window to discover your IP address. Note down the inet address, that is the IP address of your raspberry Pi.
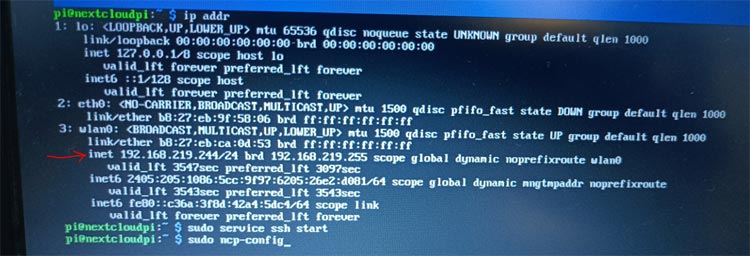
3- If you don't want to have your Raspberry Pi connected to a monitor while completing the setup, you may also enable SSH for remote access from another computer by using the following commands.
sudo service ssh start
Enabling Next Cloud Web Interface on PC
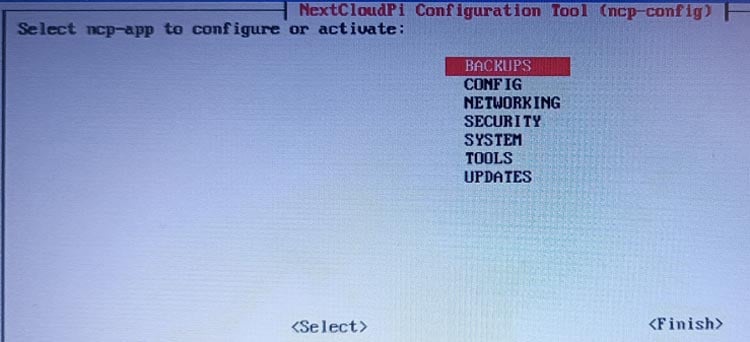
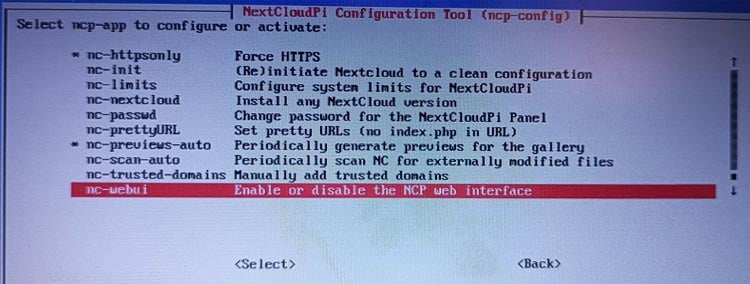
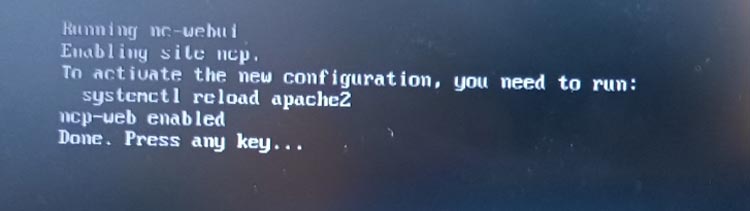
Enter command sudo ncp-config in the terminal window and select CONFIG to configure the ncp-app then select nc-webui option at the bottom. Erase no and type yes then press Enter and any other key to quit the configuration tool. Select back to finish.


Activate and Configure Next Cloud on your PC
Enter address http:// IPaddressofRPi:4443 (example- http:// 192.168.218.45:4443) in the web browser of another computer, this computer should also be connected through the same Wi-Fi network. If you see a warning that your connection is not private or source then click on the advanced option and proceed to the site. Now, you will see the login option. Enter the user name as ncp and password as ownyourbits. You will see the below screen on your PC.
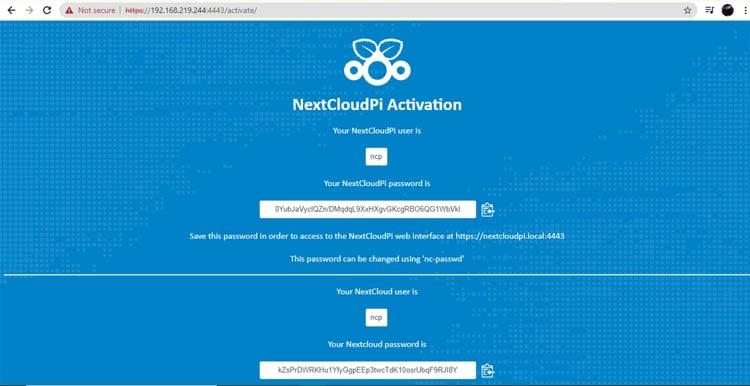
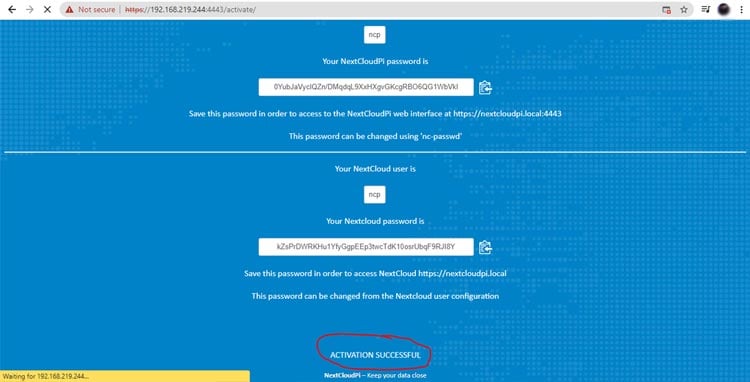
Two passwords are displayed on the NextCloudPi activation screen, which you should copy and paste into a document for safekeeping. The first is the NextCloudPi web panel password, which allows you to configure server parameters. The second is for the web interface of Nextcloud itself. If you choose, you may change these passwords later.
Select Activate when you've written down those passwords. You'll be requested to log into the NextCloudPi web panel in a few seconds. But, for the time being, let's just log into the Nextcloud online interface.
Accessing Web Cloud Interface on PC
Enter address http:// IPaddressofRPi (example- http:// 192.168.218) in web browser. To login use ncp as username and second password (you have noted down in previous from nextcloudPi activation window) as password. After entering the user name and password you will see the below window in the web browser.
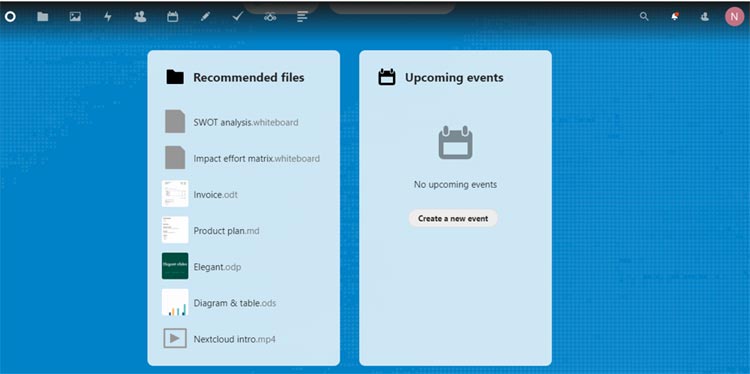
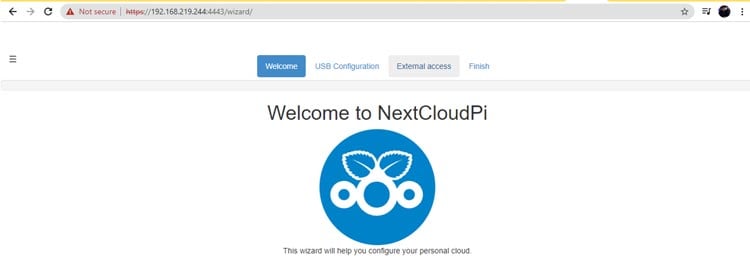
To get a drop-down menu with options for Settings (many-personal and admin), Users (you can add and manage users), and Apps to install, click the N in the top right (such as the Collabora Online office suite and ARM64 server). Icons for areas such as Files, Photos, Contacts, Calendars, and Tasks can be found on the top toolbar. The web panel can also be accessed via a NextCloudPi icon. When you click it, you'll be asked to log in using the username ncp and the initial password you saved. A wizard will open, giving you the choice to establish USB storage and internet connectivity.
Use USB as External Storage for Cloud Server
Because the capacity of your microSD card is restricted, it's better to use USB storage for your Nextcloud server. Connect your storage device to a USB port on the Raspberry Pi.
Before you proceed any further, you'll need to create a directory for it in the Raspberry Pi's command line (or via SSH). Type the following command in the terminal window
sudo mkdir /media/USBdrive
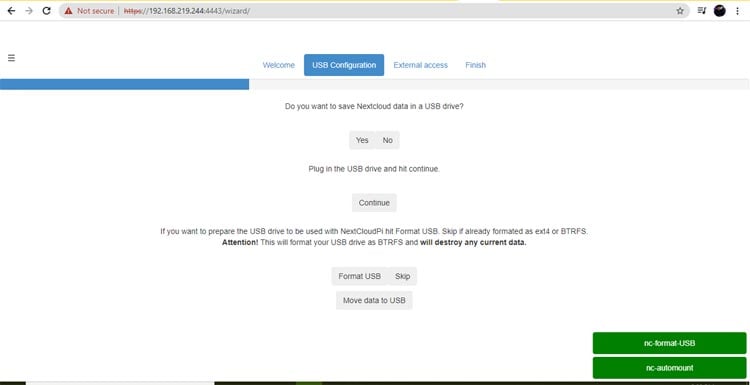
In the web browser on your other computer, go to the NextCloudPi web panel. Select USB Configuration from the wizard (you can access it by clicking the wand symbol in the top toolbar). Enter yes and click continue. Select the Format USB option (make sure you don’t have any important files in the USB storage device) then select the Move data to USB option.
Adding External Excess of Your Cloud Server over the Internet
We want to make our Nextcloud server accessible through the internet from any location once we've put it up on your Raspberry Pi using NextCloudPi. This entails configuring port forwarding on your router and creating a Dynamic DNS URL that will always point to your network's public IP address, even if it changes.
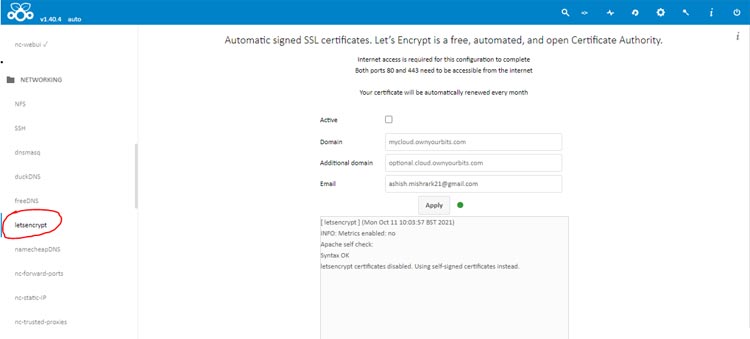
Enter address http:// IPaddressofRPi:4443 (example- http:// 192.168.218.45:4443) in web browser and already noted password. Now, select letsencrypt on the left side of the page and enter the valid E-mail address.
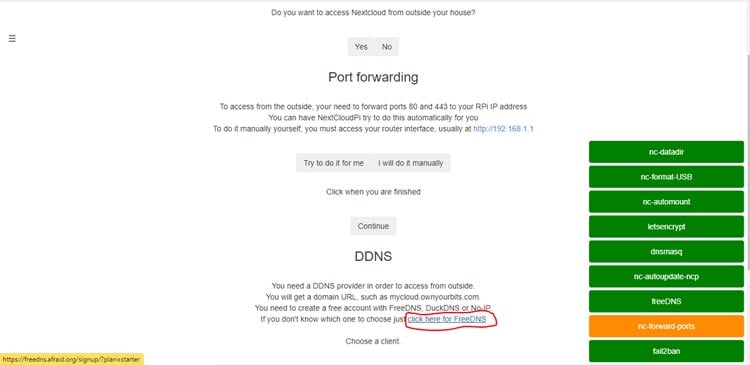
Select the External access tab in the setup wizard (click the wand symbol in the top toolbar) then select yes. Click on I will do it manually and then continue. To reach the server from outside your network, you'll need a Dynamic DNS provider. Click the link to sign up for FreeDNS in the DDNS part of the process and fill in your information.
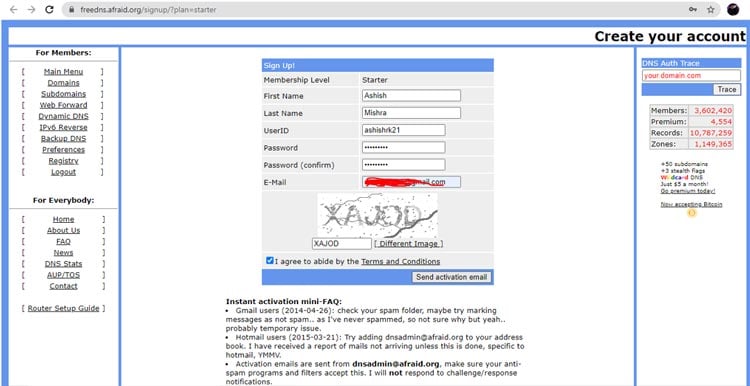
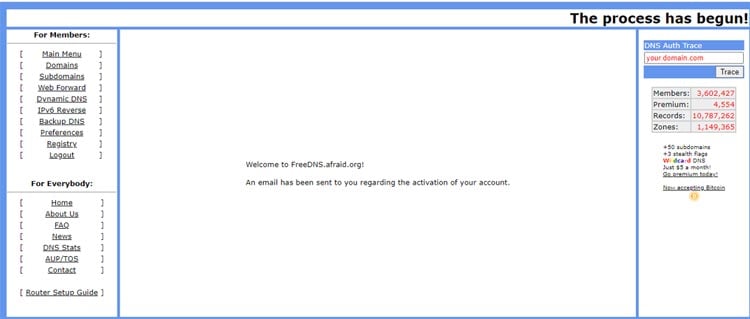
Enter name, user ID, password, and email then click on send activation mail and you will get verify link in your E-mail. Verify your account using that link.
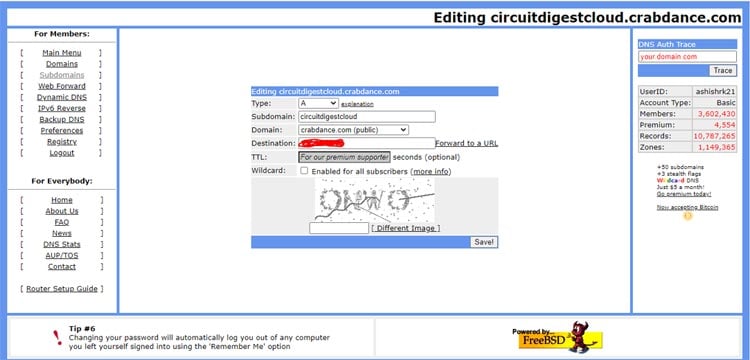
After logged in, select subdomain and choose to add one. Choose one of the free domain available and type suitable subdomain. You'll need your home network's public IP address, which you can discover by searching for 'What is my IP' on Google. After you've filled in all of the information, click Save.
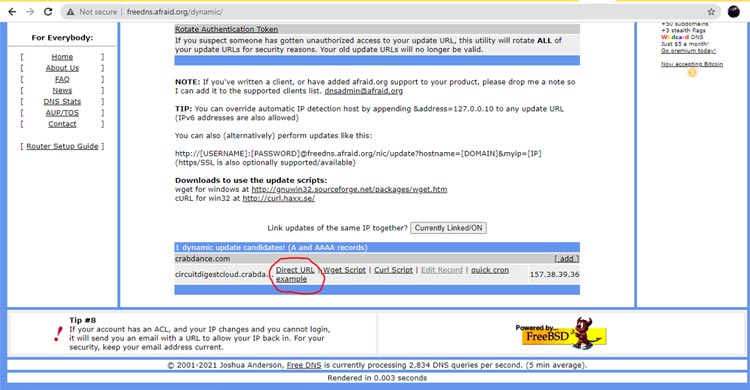
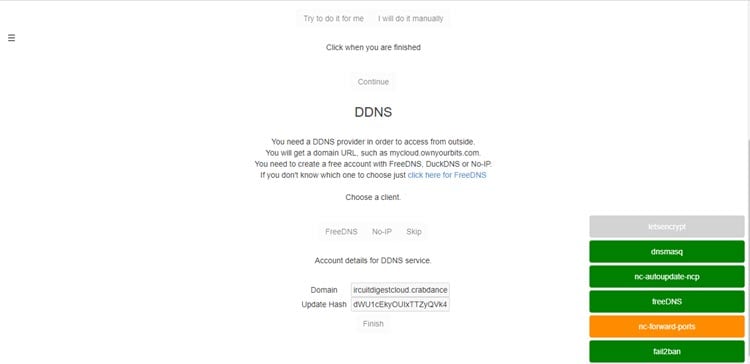
Select the Dynamic DNS option in the left panel and Copy the link address from the Direct URL link for your subdomain by right-clicking it then After the '?', copy the hash: the long string of letters and digits. Select FreeDNS in the NextCloudPi wizard. In the Domain area, type your subdomain, and in the Update Hash field, type your hash. Finish by clicking the Finish button.

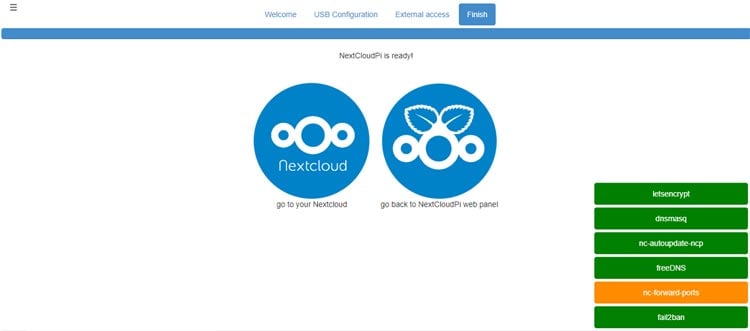
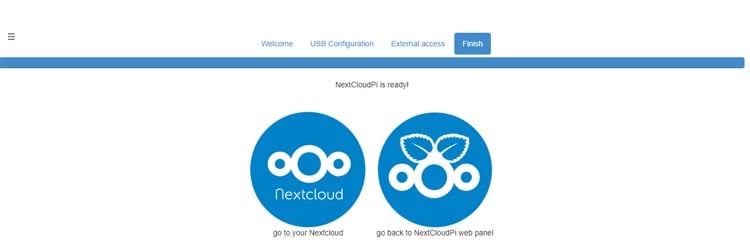
Now, the NextCloud server is ready for external excess. You can operate your NextCloud server on your Raspberry Pi by accessing the subdomain you created in a web browser. You can use it even if you're not on your local network. With NextCloudPi, you've now created a cloud server on your Raspberry Pi. You can use a web browser on another device to see its dashboard. You may even utilize the Next cloud app on your iOS or Android device.
So, this is how you can install NextCloud server on Raspberry Pi. Hope you enjoyed the project and learned something useful, if you have any questions, please leave them in the comment section below or use our forum to start a discussion on this.
