

While online advertising is a major source of money for many of your favorite websites, some people want to avoid it for a variety of reasons, including performance and privacy concerns. You can either install ad-blocking software on each of your devices or you can use other more efficient methods such as Pi-hole. Pi-hole is a general-purpose network-wide ad-blocker, that can be installed on a Linux-based device to establish a server that filters all of your web traffic at the local network level and block ads on any device connected to your home network. It protects your network from ads and trackers without the need of individual device settings. Pi-hole can block advertisements on any network device (such as smart appliances), and unlike browser add-ons, it can block adverts on any software. In this tutorial of Raspberry Pi Zero Series, we will walk you through setting up a Pi-hole on a Raspberry Pi Zero W. But before we proceed, let’s understand what is Pi-hole and how it blocks ads?
What is Pi-hole, and What does it do?
Pi-hole is a Raspberry Pi-based network-wide ad filter. It can be easily installed on Raspberry Pi Zero by executing some installation commands on a Raspberry Pi running Raspberry Pi OS. Once installed, you can point your devices to use its IP address such that all traffic on these devices is routed through Pi-Hole. That way, when a website (that serves ads) requests its ad servers’ domain to retrieve an ad, Pi-hole checks their domain name with its record of blacklisted ad-services.
And then redirect machines to the Raspberry Pi's IP address to begin blocking advertisements right away. We can also put sites you visit frequently, to a whitelist, which we strongly encourage you to do to help them keep the lights on.
Pi-hole is a network-level advertisement and Internet tracker filtering program for Linux that also functions as a DNS sinkhole and DHCP server for use on a private network. It's designed for low-power embedded devices with network capabilities, such as the Raspberry Pi, but it can also run on any Linux machine. Pi-hole offers the capacity to prevent both typical website ads and advertisements found in unusual places such as smart TVs and mobile operating systems.
Component Required for Pi-Hole Ads Blocker
1- Personal Computer
2- Raspberry Pi zero W
If you want to connect your router directly with Raspberry Pi zero W then you need RJ-45 to USB converter and Ethernet cable. In this tutorial we have used Wi-Fi connection.
Prerequisite
It's expected that your Raspberry Pi already has an operating system installed and can connect to the internet. If it is not, then you can follow our previous tutorial on Getting Started with the RASPBERRY PI ZERO W – Headless Setup without Monitor. It is also assumed that you have access to your Raspberry Pi terminal window. In this tutorial, we are going to use MobXterm in SSH mode to connect it with Raspberry Pi Zero W.
Assigning static IP address to Raspberry Pi zero W
Before installing Pi-hole on Raspberry pi zero W, you must make your raspberry pi zero W IP address static. You should follow below steps to make your raspberry pi zero W IP address static.
1- Enter below command in terminal window and then you need to edit dhcpcd.conf file. If you have connected your raspberry pi zero W and router/mobile with Ethernet cable then comment interface wlan 0 lines and if you have connected your raspberry pi zero W and router/mobile with Wi-Fi connection then comment interface eth0 lines.
sudo nano /etc/dhcpcd.conf
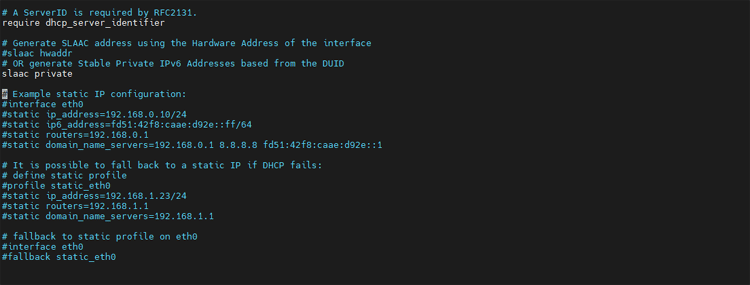
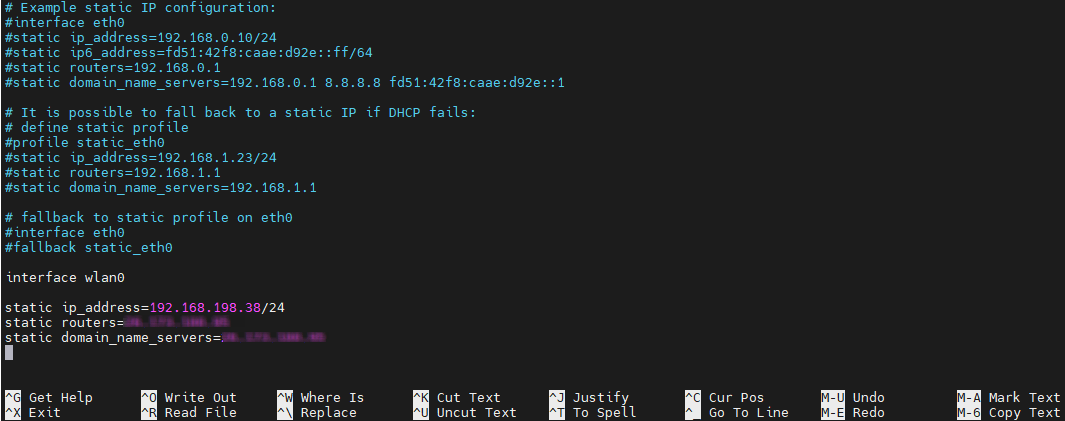
2- We are using mobile hotspot as a router so we will use interface wlan0 lines. We will add some set of lines here and then save file using ctrl+X and then press Y to exit.
Static IP address – This is IP address that you want to give your device. (You must leave the /24 at the end)
Static Routers – It is IP address of your gateway (router IP address)
Static domain_name_server - It is the IP address of your DNS (router IP address). You can write multiple IP addresses here separated with a space.
3- Reboot your raspberry pi zero by sudo reboot command and then use command ifconfig to check IP address of raspberry pi zero W.
Sudo reboot
Ifconfig
Now, raspberry pi zero W IP static has become static
Installing Pi-hole on Raspberry Pi zero W
Now, we are going to install pi hole on raspberry pi zero W. We will follow below given steps to install pi hole on raspberry pi zero.
1- Enter below given commands to update and upgrade your raspberry pi zero W. it will take around 30 minutes, it totally depends on your internet speed.
sudo apt update
sudo apt upgrade –y
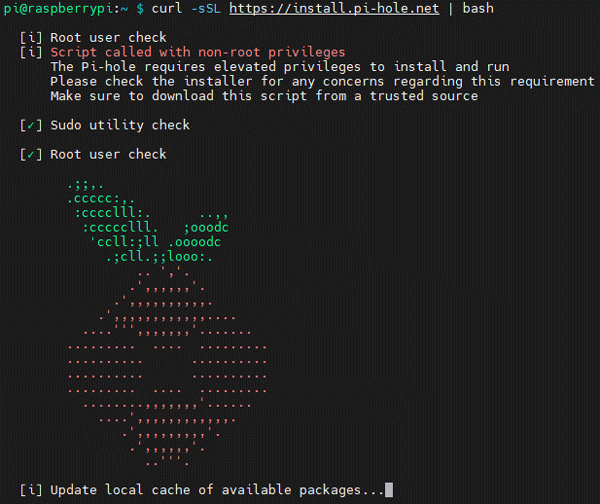
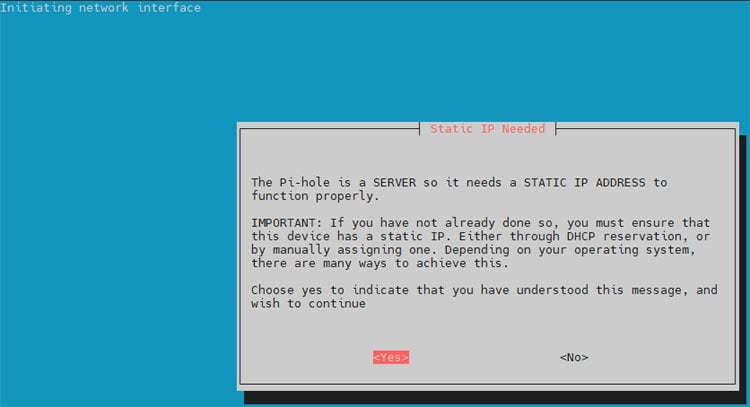
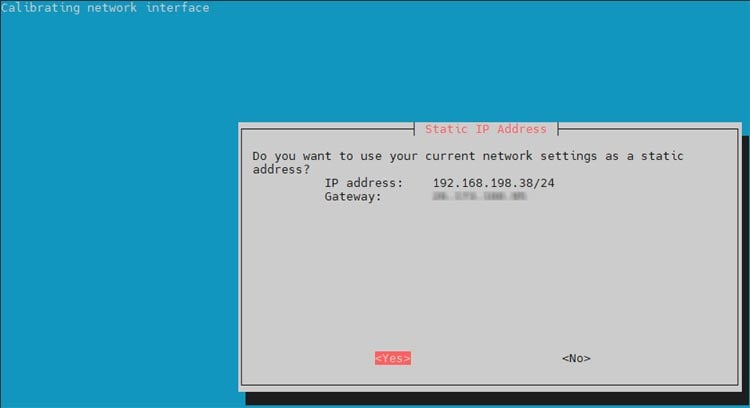
2- Install pi hole by using below given command. This command will download the Pi hole and install it in terminal. After installing the Pi hole, one window will open then press Ok in that window. After this static IP needed window will open, select Yes option in this window because we have already made IP address static for our raspberry pi zero W.
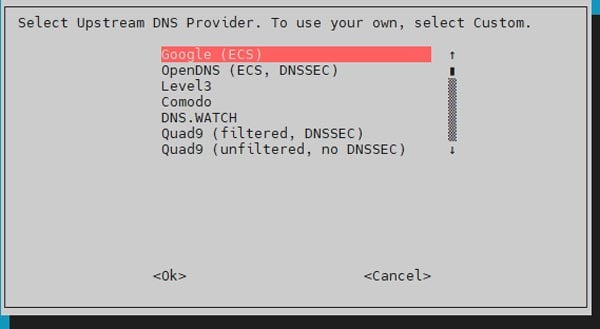
3- Choose your upstream DNS service provider. We will select Google, then press Tab, then Enter.
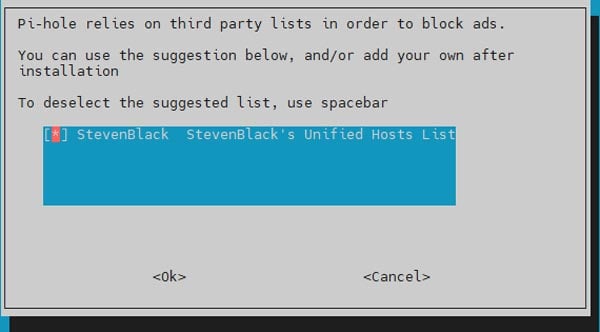
4- Press Tab and enter button to accept the default list of prohibited sites.
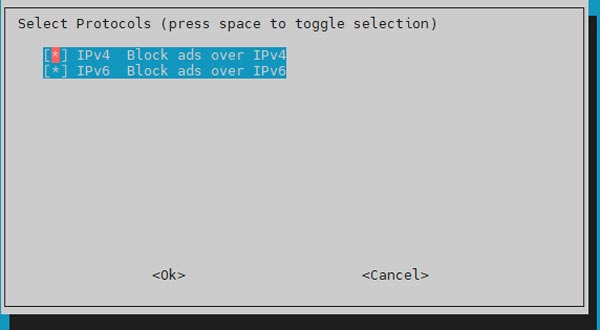
5- By pressing Tab and Enter, you accept the default IPv4 and IPv6 protocols.
6- Accept the present network configuration and make it static and note your IP address and Gateway here, we will use it later.
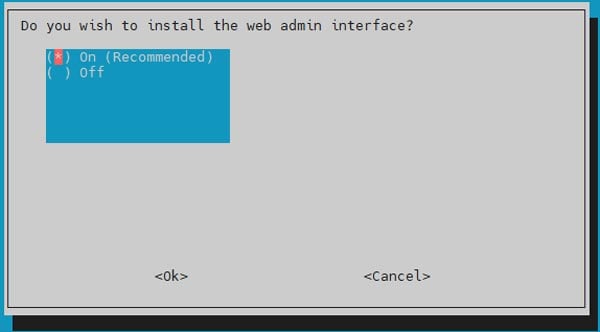
7- By pressing Tab and Enter, you can install the web admin interface.
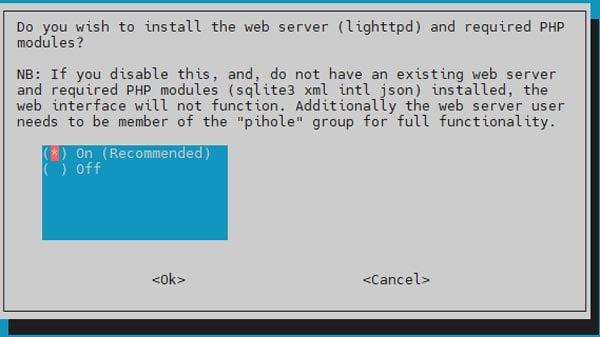
8- By clicking tab and enter, you can install the lightppd web server, which will provide the web admin pages.
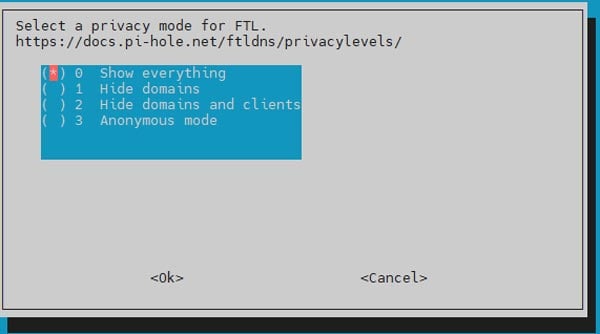
9- By pushing tab and entering, you accept the default privacy mode.
Now, installation will start and after this installation window will open.
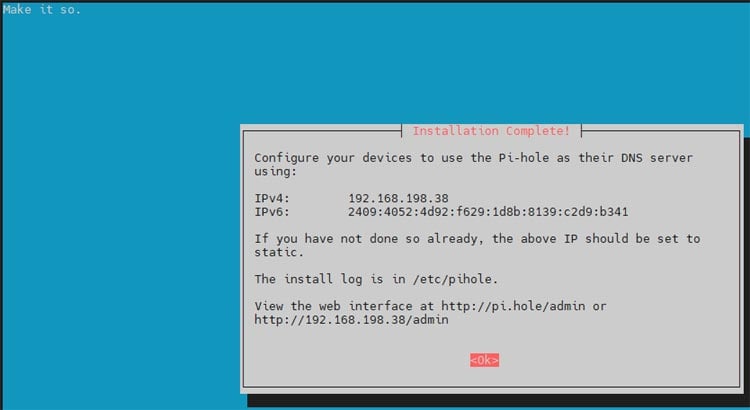
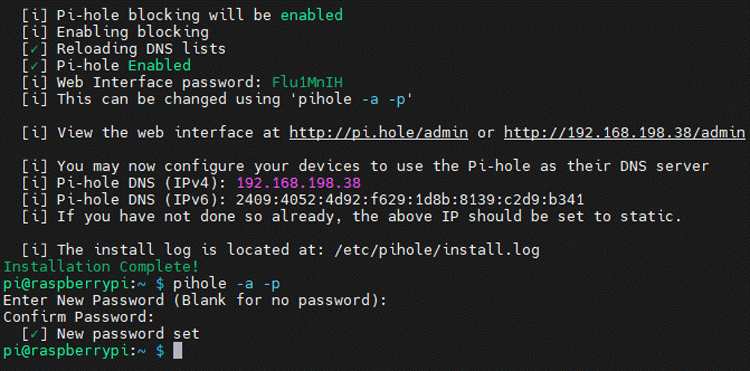
10- Installation has been completed, we will change password for pi hole by using below command.
pihole -a –p
Setting Network Connections for Pi-hole
We have installed Pi-hole on our Raspberry Pi zero W. Now, we need to point our devices to it so that Pi-DNS hole's servers can block annoying adverts. With Windows 10, we're manually configuring a wired network connection. For Wi-Fi, the steps will be same.
1- Open network connection in your PC.
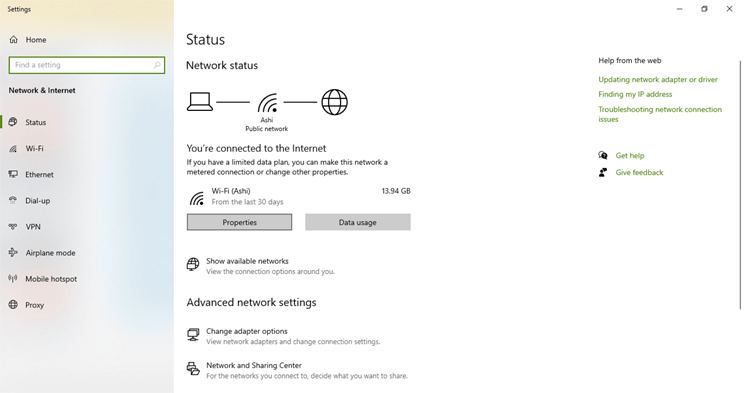
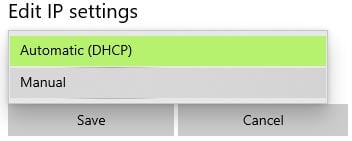
2- To update the network configuration, select edit button then select manual and save it.
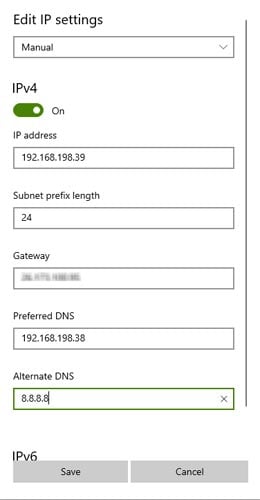
3- Given any address in IP address section, it should not same as raspberry pi and router IP address. You can change last digit of IP address of raspberry pi and write here. Write 24 in subnet prefix length and write your router IP address in gateway option then write raspberry pi zero IP address in preferred DNS and 8.8.8.8 in alternate DNS.
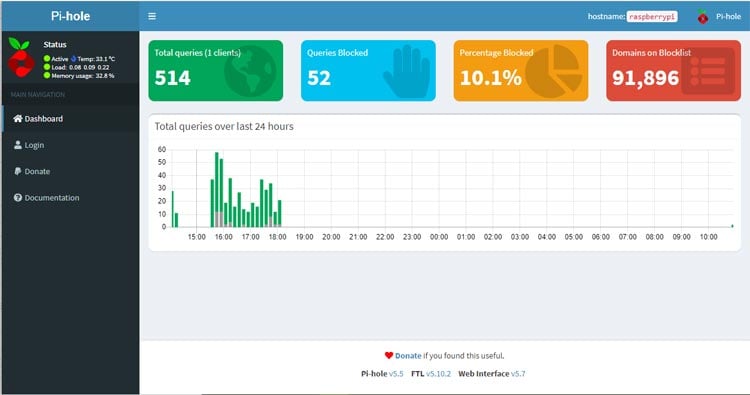
4- Now, open web browser and in your PC then write IP address of your raspberry pi with \admin ending like http:// 192.168.198.38/admin/. Pi-hole web page will open in your browser.
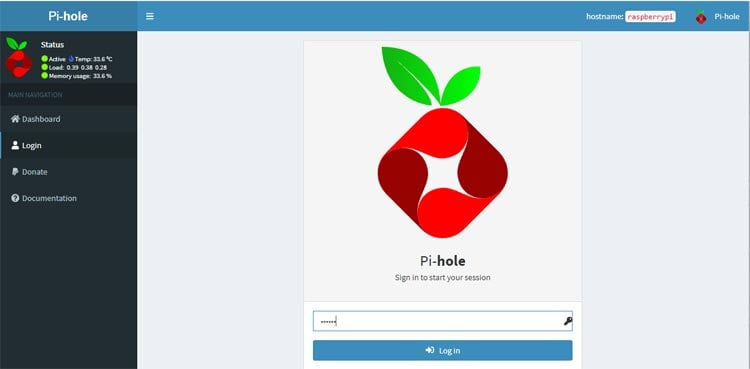
5- Go to login option and enter your password.
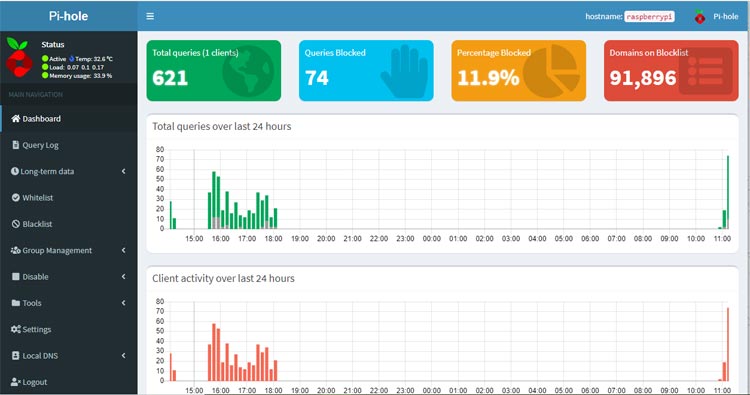
6- Your dashboard will be open and here you can see all information here. In below images you can see UI of dashboard and all info about blocking and graphs.

With this, the Raspberry Pi Zero Pi-Hole setup is finished. If you want to support some site so they can serve you adds then you can do this by using whitelist option. Here, you can add URL of that site, then adds coming from that site will not be blocked.
So, this is how you can install Pi-hole on Raspberry Pi zero W. Hope you enjoyed the project and learned something useful, if you have any questions, please leave them in the comment section below or use our forum to start a discussion on this.
