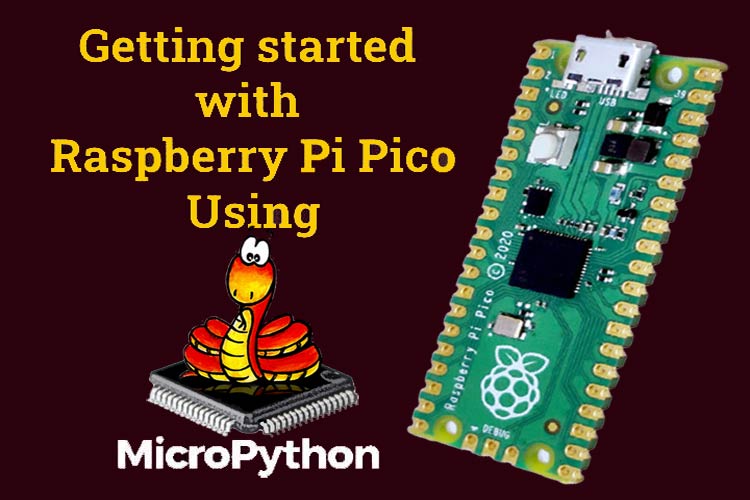
In 2012, the Raspberry Pi Foundation introduced us to a single board computer, the Raspberry Pi, which was mainly promoted for teaching the basics of computer science to kids. But 9 long years later, in the year 2021, the Raspberry Pi Foundation introduced us to a microcontroller board, the Raspberry Pi Pico which comes with the Raspberry Pi Foundation's own silicon chip RP2040. The Raspberry Pi Pico is a low-cost microcontroller and its price is $4. Because it has a Dual-Core ARM processor along with GPIO & Digital/Analog peripherals, we can easily create micro to small-scale embedded applications. In this tutorial, we will learn, How to Program a Raspberry Pi Pico using MicroPython and understand the basics of the board.
Specifications of the Raspberry Pi Pico
Raspberry Pi Pico comes with Dual-Core ARM Cortex M0+ processor, which can run up to 133MHz. It has 264KB of SRAM and 2MB of on-board flash storage, but we can extend up to 16MB of off-chip Flash memory via a dedicated Quad-SPI bus. We get a total 26 multi-functional GPIOs that support 3.3v digital I/O with 3 of them also being analog inputs. Raspberry Pi Pico also supports highly flexible power supply architecture, like micro-USB, external supplies, or batteries. The most important thing is that we don't need any programmer to program a Raspberry Pi Pico because it works on “Drag-and-Drop” programming using mass storage over USB.
As we see in the upper image, Raspberry Pi Pico has 40 pinouts and 26 of them are multi-functional GPIOs. Also, has an on-board LED which one connected with the GPIO25. The most disappointing thing is that Raspberry Pi Pico has no hardware reset button on board, but the board has a RUN pin which acts as a reset pin when we short the pin with the Ground. The pinout of Raspberry Pi Pico board is shown below.
Setup the MicroPython for Raspberry Pi Pico on Linux Based System
Once we understand the hardware, we need a MicroPython software development environment to develop the applications. I’m using Ubuntu 20.04 LTS, to set up the MicroPython environment.
MicroPython is a version of Python, which is written in C and optimized for smaller microcontrollers like Raspberry Pi Pico. To install and write the code on MicroPython, we need to install Python on the Development system. In my case, I'm using Python3 on my Ubuntu development system.

After installing Python, we need to install the Python IDE “Thonny” to develop code flawlessly. Thonny IDE also supports Windows/MacOS. We just need to download and install the IDE according to our development system.
pip3 install thonny

How to upload Program on Raspberry Pi Pico
After downloading and installing the Thonny IDE, now it’s time to connect the Raspberry Pi Pico with the development system to the bootloader. As we already know, we don't need any programmer to program the Raspberry Pi Pico. The Raspberry Pi Pico program with the drag-and-drop process. For this drag & drop process, we need to plug the USB with Pico while the on-board BOOTSEL button is pressed and held until the Pico gets plugged by the system and then release the BOOTSEL button.

An onboard BOOTSEL button is used to select the Raspberry Pi Pico to enter into the Bootloader Mass-storage system mode, for uploading the new program firmware or directly writing code in MicroPython. After the Raspberry Pi Pico enters into the bootloader mode, a Mass-storage is mounted with the name of RPI-RP2. Now click on the mounted drive RPI-RP2, and open it.

Now open the terminal, using the command Ctrl+Alt+T and the type python3 -m thonny to open the Thonny Python IDE and make sure the Raspberry Pi Pico is plugged into the system.

Now click on ‘Python’ followed by a version number at the bottom-right of the Thonny window to select the Python interpreter "MicroPython (Raspberry Pi Pico)", which one we are using to develop the code for Pico on Thonny IDE.

After selecting the "MicroPython (Raspberry Pi Pico)" interpreter, an Installation window will pop up on the screen. On this installation window, we need to click on the install button to update/install the latest MicroPython firmware into the Raspberry Pi Pico.


After installing the Micropython into the Raspberry Pi Pico, the RPI-RP2 drive automatically unmounts itself from the system, and a Micropython REPL interactive shell’s prompt shows into the Shell panel.

In the Raspberry Pi Pico’s MicroPython REPL interactive shell, we can write python code and execute it directly just like command/terminal prompt.

>>> print ('Hello Pico!')
Hello Pico!
>>>

Compile and Upload the First Project [Blink-Led]
Now that everything is ready, let’s try compiling our first project [blink the on-board led] to check if the IDE, and MicroPython Library are all working the way they should. You can also check the video at the bottom of the page for detailed instructions.

Now write the Blink-Led python code into the main panel of the Thonny IDE and then click on the RUN [Green Button] at top in the control bar.
from machine import Pin
import time
led = Pin(25, Pin.OUT)
while True:
    led.high()
    time.sleep(.25)
    led.low()
    time.sleep(.25)

![]()
After clicking on the RUN button, a pop-up window will come up to select the Saving location. We need to select “Raspberry Pi Pico” and save the file with the name “main.py”. After saving the file the on-board led will start blinking and even when we power up the Raspberry Pi Pico with the power bank the led will start blinking.


Note: We need to save the file with the name “main.py” because when the Raspberry Pi Pico bootup, the pre-flashed MicroPython Firmware is looking for main.py to start up the system. Just like C/C++ main function.

Complete Project Code
from machine import Pin

import time

led = Pin(25, Pin.OUT)

while True:

    led.high()

    time.sleep(.25)

    led.low()

    time.sleep(.25)


