

Raspberry Pi zero W is an affordable and compact derivative of Raspberry Pi but if you attach Raspberry Pi zero W with monitor, keyboard, and mouse, it takes up a lot more space. There's no need to connect Reaspberry Pi to a display or input devices if you're only trying to program it or using it to operate electronics like lights, motors, and sensors because you can control the system remotely using a VNC or SSH client on your primary computer. This screenless Raspberry Pi zero W system is referred to as a headless setup. In our previous tutorials, we covered many projects with Raspberry Pi 3 & Raspberry Pi 4 and in this tutorial, we are going learn how to set up the Raspberry Pi Zero W heedlessly SSH access over Wi-Fi using Windows.
Introduction to Raspberry Pi Zero W
Before we get started, let us get acquainted with Raspberry Pi Zero W. It is the newest member of the Pi Zero family and comes with added wireless LAN and Bluetooth connectivity. This board is specifically designed to get more benefits at affordable price. It provides great connectivity with 2 Micro USB Ports (1 port for Power and other for USB Connectivity), 1 mini–HDMI Port and 1 Micro SD Card Slot and has 512MB of RAM.

Features & Specifications of Raspberry Pi W Zero
- 802.11 b/g/n wireless LAN
- Bluetooth 4.1
- Bluetooth Low Energy (BLE)
- 1GHz, single-core CPU
- 512MB RAM
- Mini HDMI and USB On-The-Go ports
- Micro USB power
- HAT-compatible 40-pin header
- Composite video and reset headers
- CSI camera connector
Hardware Required for Headless Raspberry pi zero W setup
You need only these components for Raspberry Pi Zero W headless setup.
- Raspberry pi zero W
- MicroSD card
- Micro USB cable
Installing the Raspberry Pi OS on micro SD card
Firstly, you need to insert a micro SD card into your computer. Here, I am going to use 16GB micro SD card. Memory size of micro SD card depends on the operating system that you are going to use. Here, I am using Raspberry Pi OS (32 bit). If you are going to use lite OS then you can use 8Gb memory card. You should not use SD card of memory less than 8GB. Now, open the link to download the raspberry pi imager software.

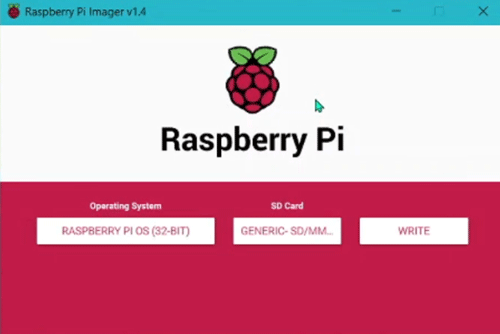
Now, install and open Raspberry Pi imager software. Once done, you will see below window on your desktop.
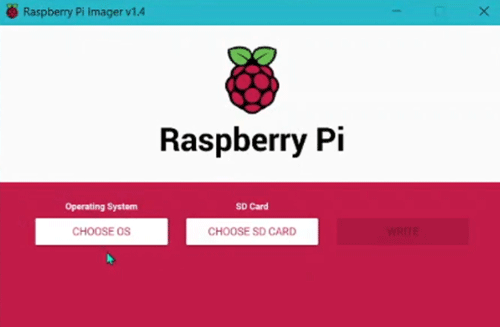
Select your operating system by using the Choose OS option. The menu will display.
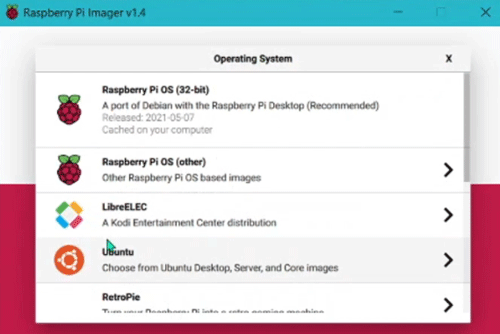
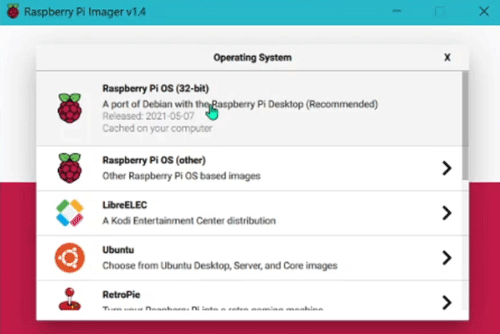
From the OS menu, select Raspberry Pi OS (32-bit).
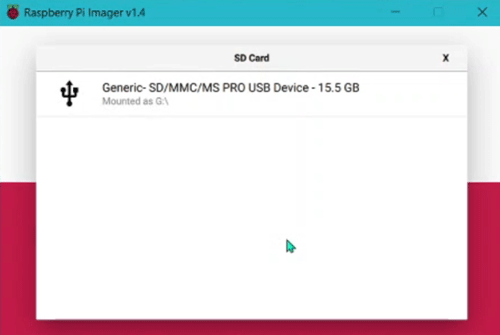
Click on Choose storage option and select your micro SD card from the menu.
Now, click on the write option.
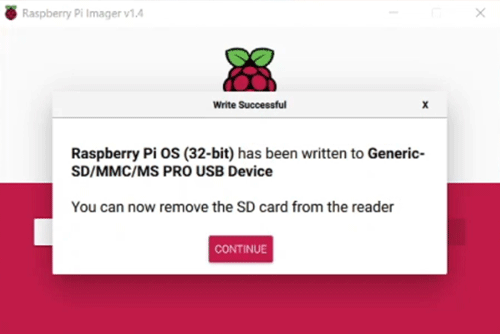
As Raspberry Pi Imager downloads and burns Raspberry Pi OS to your micro SD card, this operation will take few minutes.

If you're not using a headless Raspberry Pi, simply insert the card, connect it to the monitor, keyboard, power source, and pointing device, and run it.
Now, open the SD card.
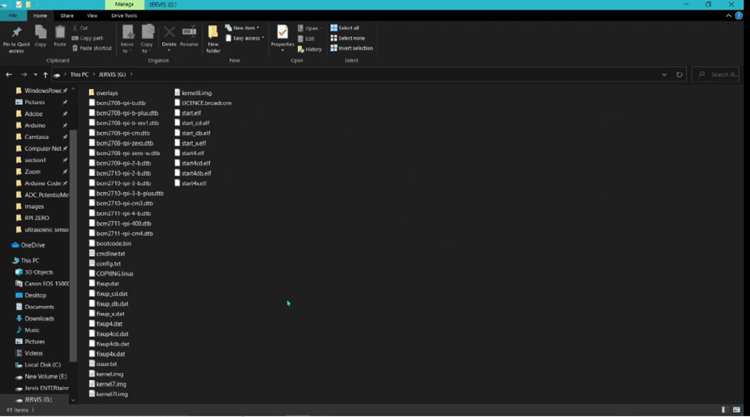
To the root of the card's directory, create an empty text file named "ssh" (no file extension). Raspberry Pi OS will automatically enable SSH (Secure Socket Shell) when it sees "ssh" on its initial boot-up. This will allow you to remotely access the Pi command line from your PC.
Even if you've enabled SSH, which allows you to log in and run terminal commands, you'll still need a way to connect to your Pi. You have the option of connecting by Wi-Fi/Ethernet, direct Ethernet, or direct USB (Pi Zero only). Each one has its own set of instructions.
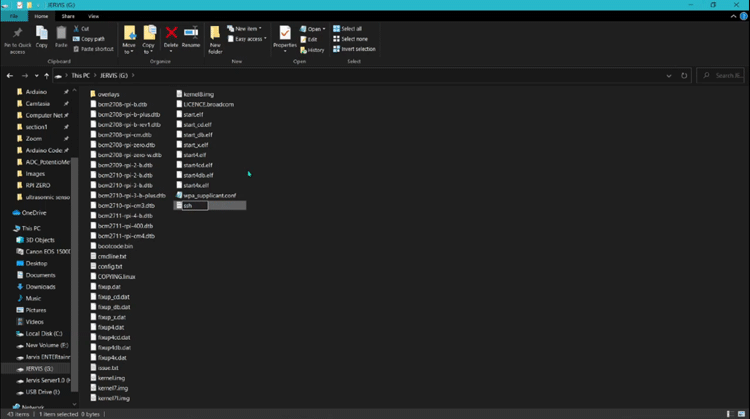
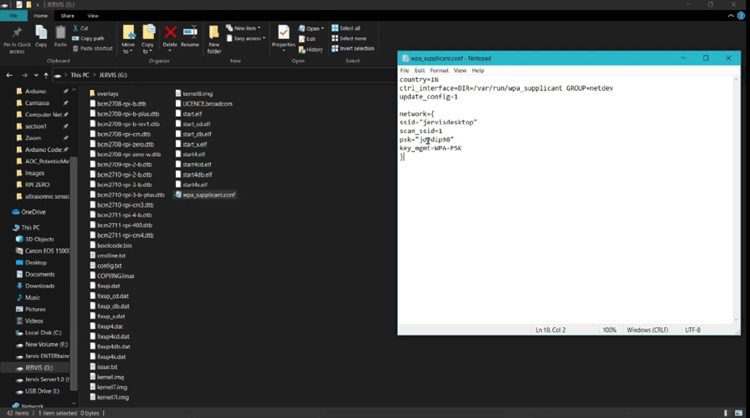
Now, for headless Wi-Fi connection, create a text file named wpa_supplicant.conf in the root directory of the micro SD card. This file will help you setup a Wi-Fi connection on your headless Raspberry Pi zero W. Paste the below lines of code in the config file
country=IN
ctrl_interface=DIR=/var/run/wpa_supplicant GROUP=netdev
update_config=1
network={
scan_ssid=1
ssid=" Wifi Name "
psk=" Wifi Password"
}
I have written IN country code here. You can enter your country code. For example, if you are from the United States of America, then use country code US instead of IN. Use your actual WiFi name and password in ssid and psk.
Power up your Raspberry Pi Zero using micro-USB cable and wait for 2-3 minutes because it will take some time for booting. With this done the Flashing process gets completed and now in the next step, we will establish SSH connection.
Connecting Raspberry Pi Zero W via SSH
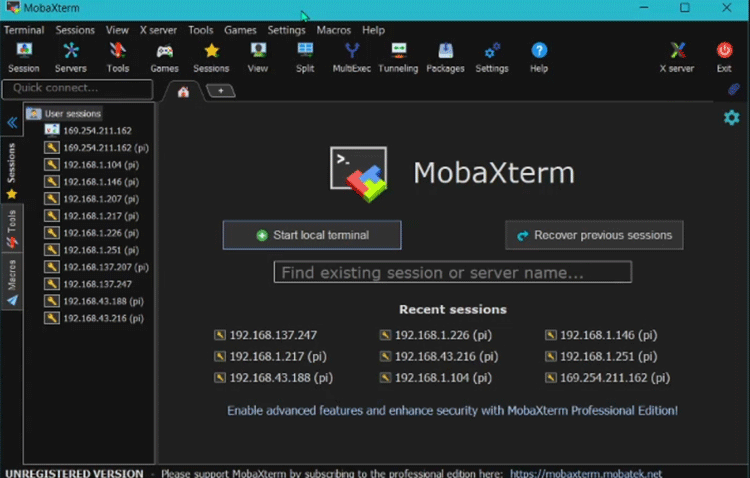
Now to access Raspberry Pi through Zero, we are going to use mobaXterm application. It is one of the leading SSH client for Windows. This application can be installed by clicking on the link given below.
Download and install mobaXterm
After installing the application, open it. Make sure that your PC is connected to same Wi-Fi network as Raspberry Pi.
Click on Session and select SSH option.
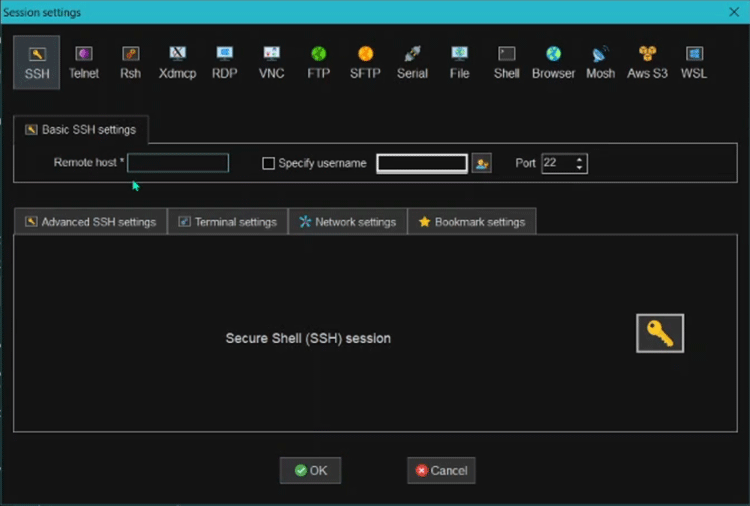
Now, enter your Raspberry Pi Zero W IP address in remote host section and click OK.

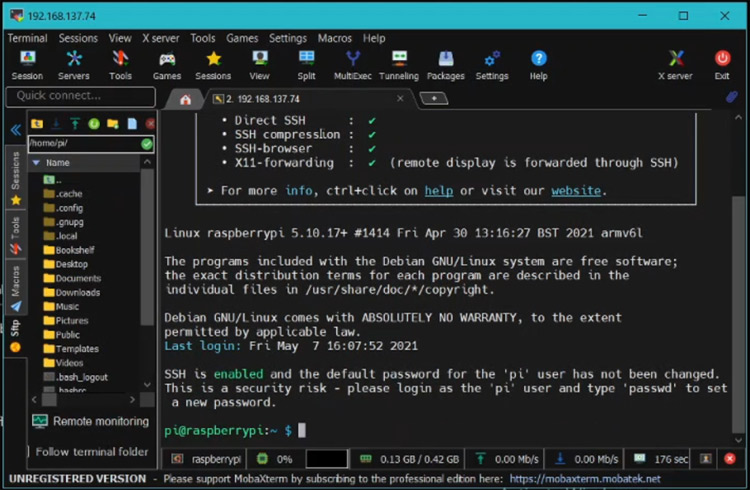
Enter the user name “Pi” and password “raspberry”. You can change your user name and password later.
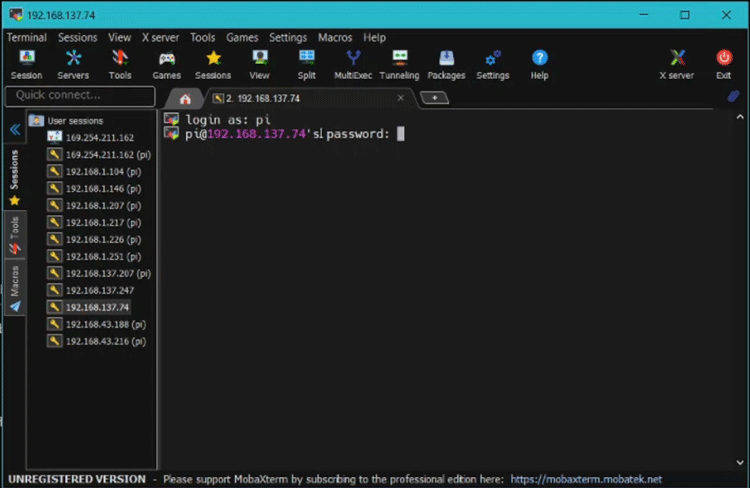
You're now connected at the command prompt, but you'll need to enable VNC to use the GUI, which includes a desktop and floating window.
Enabling and Connecting over VNC
Now, connect your Pi zero and PC with VNC server. For this, first you have to enable VNC for your Raspberry Pi Zero.
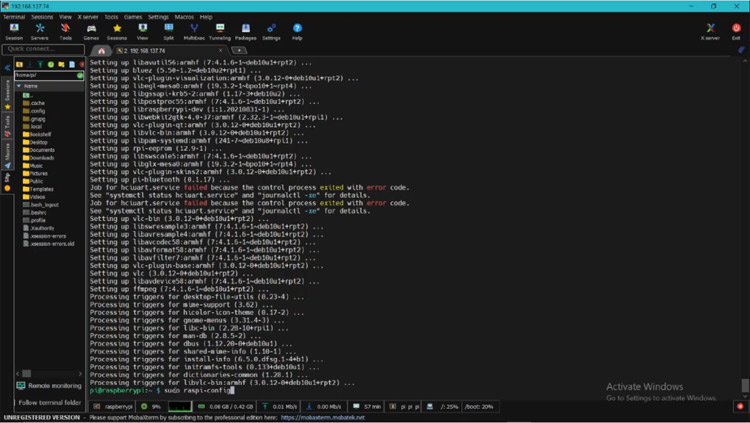
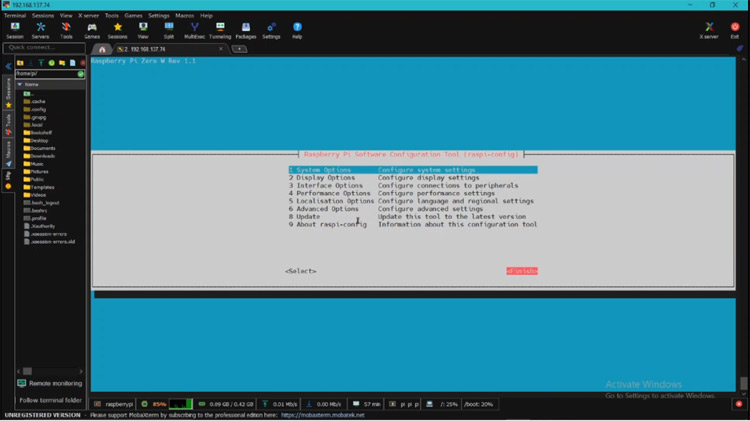
Type a command “sudo raspi-config” at the command prompt and press Enter.
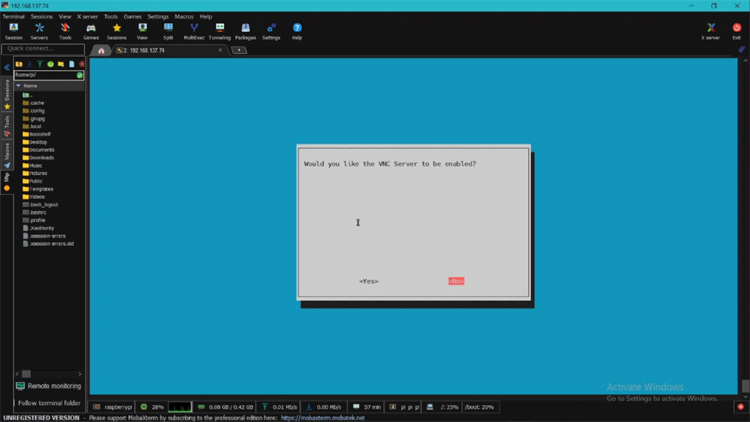
Now, the configuration app appears on the screen.
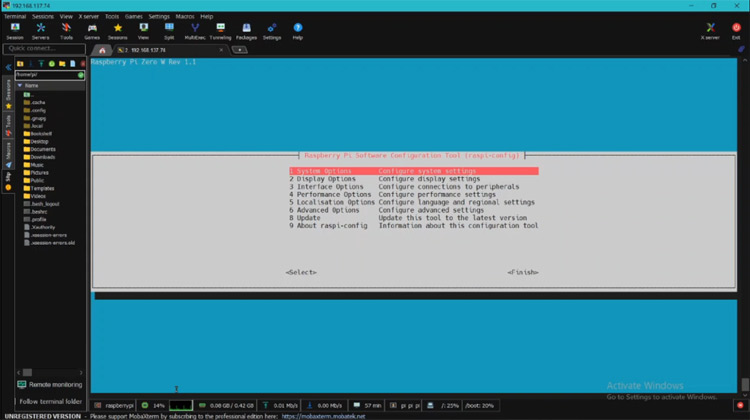
Click on option 3 interfacing option.
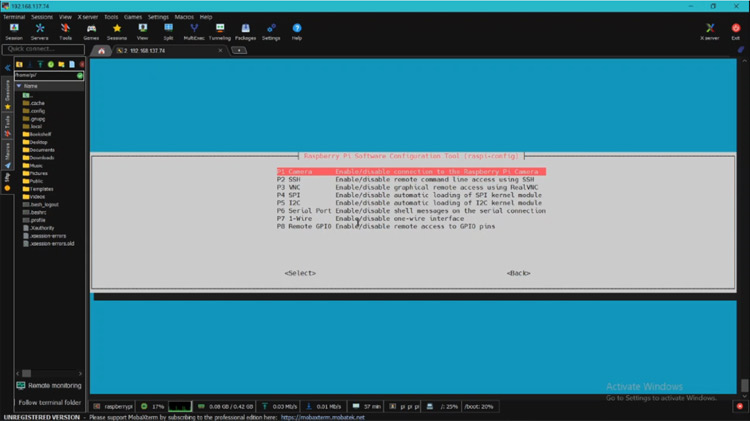
Click on VNC option and enable the VNC server. Now VNS server is enabled.
Now, click on “Finish” option.
Download the VNC viewer software using and Install the VNC viewer software and open VNC viewer application.
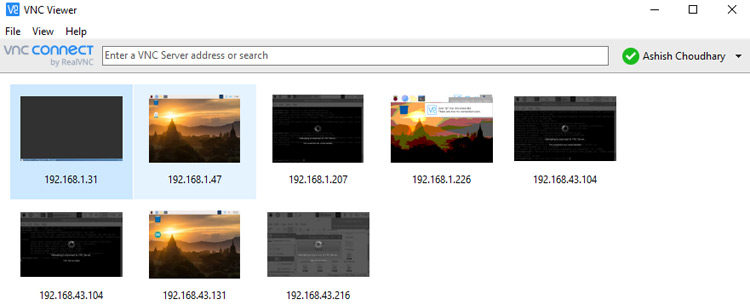
Choose new connection option form the file menu and you will see something like what is shown in the below image.
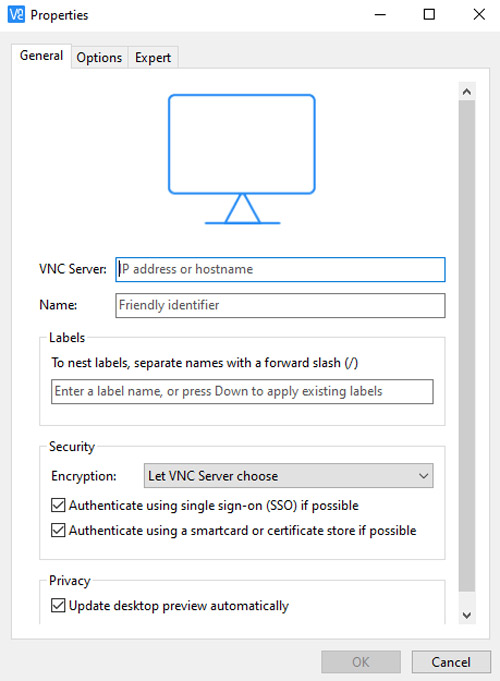
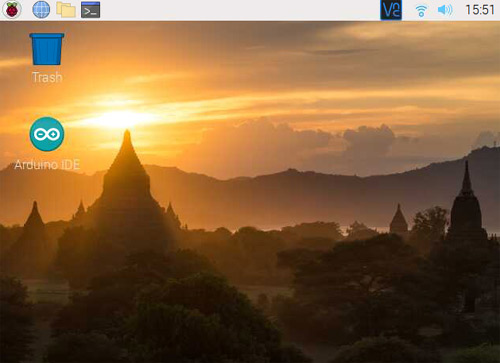
Put IP address of your Raspberry Pi Zero in VNC server section and click on OK button. You will be able to see desktop screen in VNC viewer application. Now, your Raspberry Pi Zero W is ready to use.
This is how you can setup Raspberry Pi Zero W heedlessly. This was a basic getting started guide for Raspberry Pi Zero. In our next tutorials, we are going to interface different sensors with Raspberry Pi zero. Hope you enjoyed the project and learned something useful, if you have any questions, please leave them in the comment section below or use our forum to start a discussion on this.
