
There are lots of Android based Tablets are available in the market and they are pretty good and handy. But can we use power of Raspberry Pi in a Tablet? It’s a ‘yes’ of course. Michael Castor built a Raspberry Pi Powered Tablet: PiPad, which is a very creative use of Raspberry and the ‘PiPad’ is looking very cool.
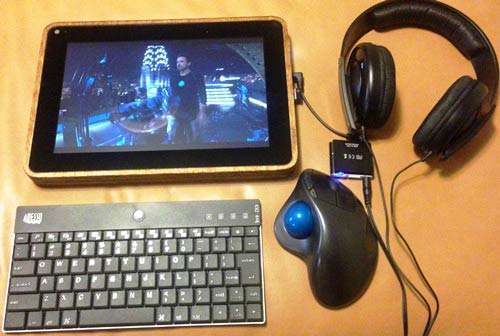
Raspberry Pi can be used in infinite no of ways, all you need is creativity and interest. As we know Raspberry Pi is a mini computer and we can install many different OSes on it, so this Raspberry Pi tablet is far more useful than any other Tablet and with comparatively lesser cost. It also has a slot for its GPIO Pins, so that you can interface any component with this PiPad as you interface with normal Raspberry Pi.
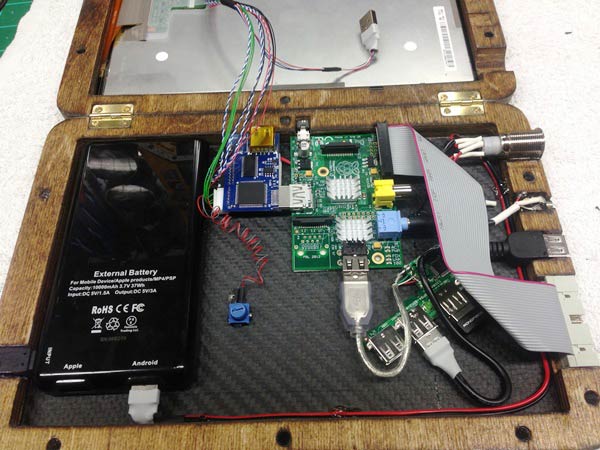
The main challenge of this Raspberry Pi Tablet is to build a proper casing for it and Michael did it really well and shared it with community. For this PiPad, we mainly need Plywood for frame, Carbon Fiber Sheet for Backing material, 10’’ capacitive touch Screen, a good 10000mAH Battery and Raspberry Pi board of course. Besides these, we need many other components and materials like Wi-Fi & Bluetooth dongles, USB HUB, Heat sinks, USB ends, Power Switch, Hinges, 3.5mm audio jack etc. Whole list of needed material, with the links to buy them, is provided by Michael on its project page.
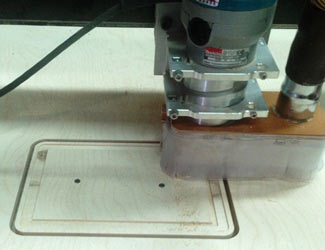
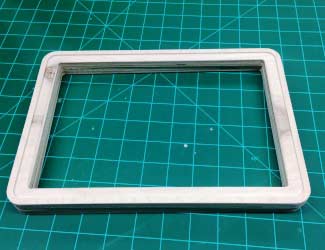
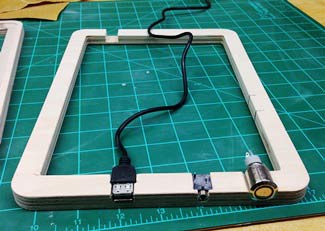
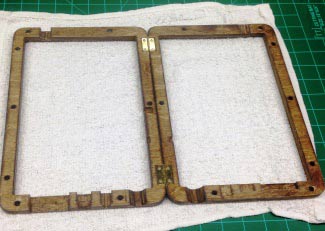
He built the tablet Frame with the Baltic Birch Plywood and designed the cut files by using Vectric’s Aspire CAD package. All the CNC files and other necessary files can be found here on this GitHub account. If someone needs files for 3D printer then check here. He then hand cut all the necessary slots for SD card, hinges, USB and drilled holes for audio jack, power button etc. in the Frame, as shown in the figure above. He used sand paper and varnish to get the wood and carved slots properly finished. Finally he glued the carbon fiber backing and installed all the components and soldered them. Hot glue and double sided tape are used to keep the components fixed inside the case. He also had to remove the USB and LAN port from the Raspberry Pi to give LCD proper clearance to work it properly. And finally Raspberry Pi tablet is ready to Switch On.
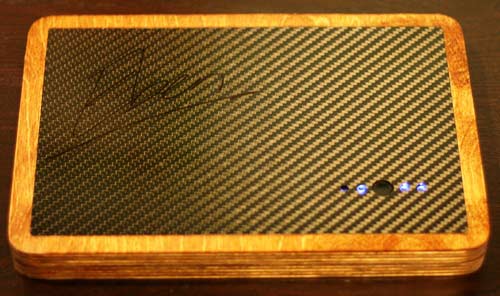
Michael made this Tab for Maker Faire and get it signed from the Raspberry Pi founder himself: Eben Upton. Michael has further plan to add Camera and IR sensor in this DIY Raspberry Pi Tablet. You can also add your creativity to enhance this beautiful gadget.
